Rainier via Ingraham Glacier Direct
Below is a case study of a successful Rainier summit ascent via the Ingraham Glacier Direct route in June 2018. If you have questions after reading this post, feel free to reach out to me via a DM on Instagram.
Permits and fees
1. “Climbing Cost Recovery Fee”:
- $48
- One per CLIMBER is required
- Book online
- Good for one calendar year
2. “Wilderness Permit”:
- $20
- One per PARTY per CLIMB is required
- Book online starting March 15
- If your preferred dates are already booked, you can try to obtain first-come-first-serve permits at the relevant ranger station on the morning of your ascent.
- Good for one calendar year
3. “Climbing Permit”:
- Free
- One per PARTY per CLIMB is required
- Download, fill out and bring an NPS Rainier “climbing permit registration card,” along with a photo ID, to the relevant ranger station the morning of your climb.
- Take it up the mountain with you
Permit changes: We initially booked for Camp Schurman and the Emmons-Winthrop route. However, the weather forecast on the morning of did not look promising, so we decided to switch to the Disappointment Cleaver route. At the White River ranger station, we changed our wilderness permit from Schurman to Camp Muir. We then traveled to the Paradise ranger station to obtain our climbing permit for the DC route.
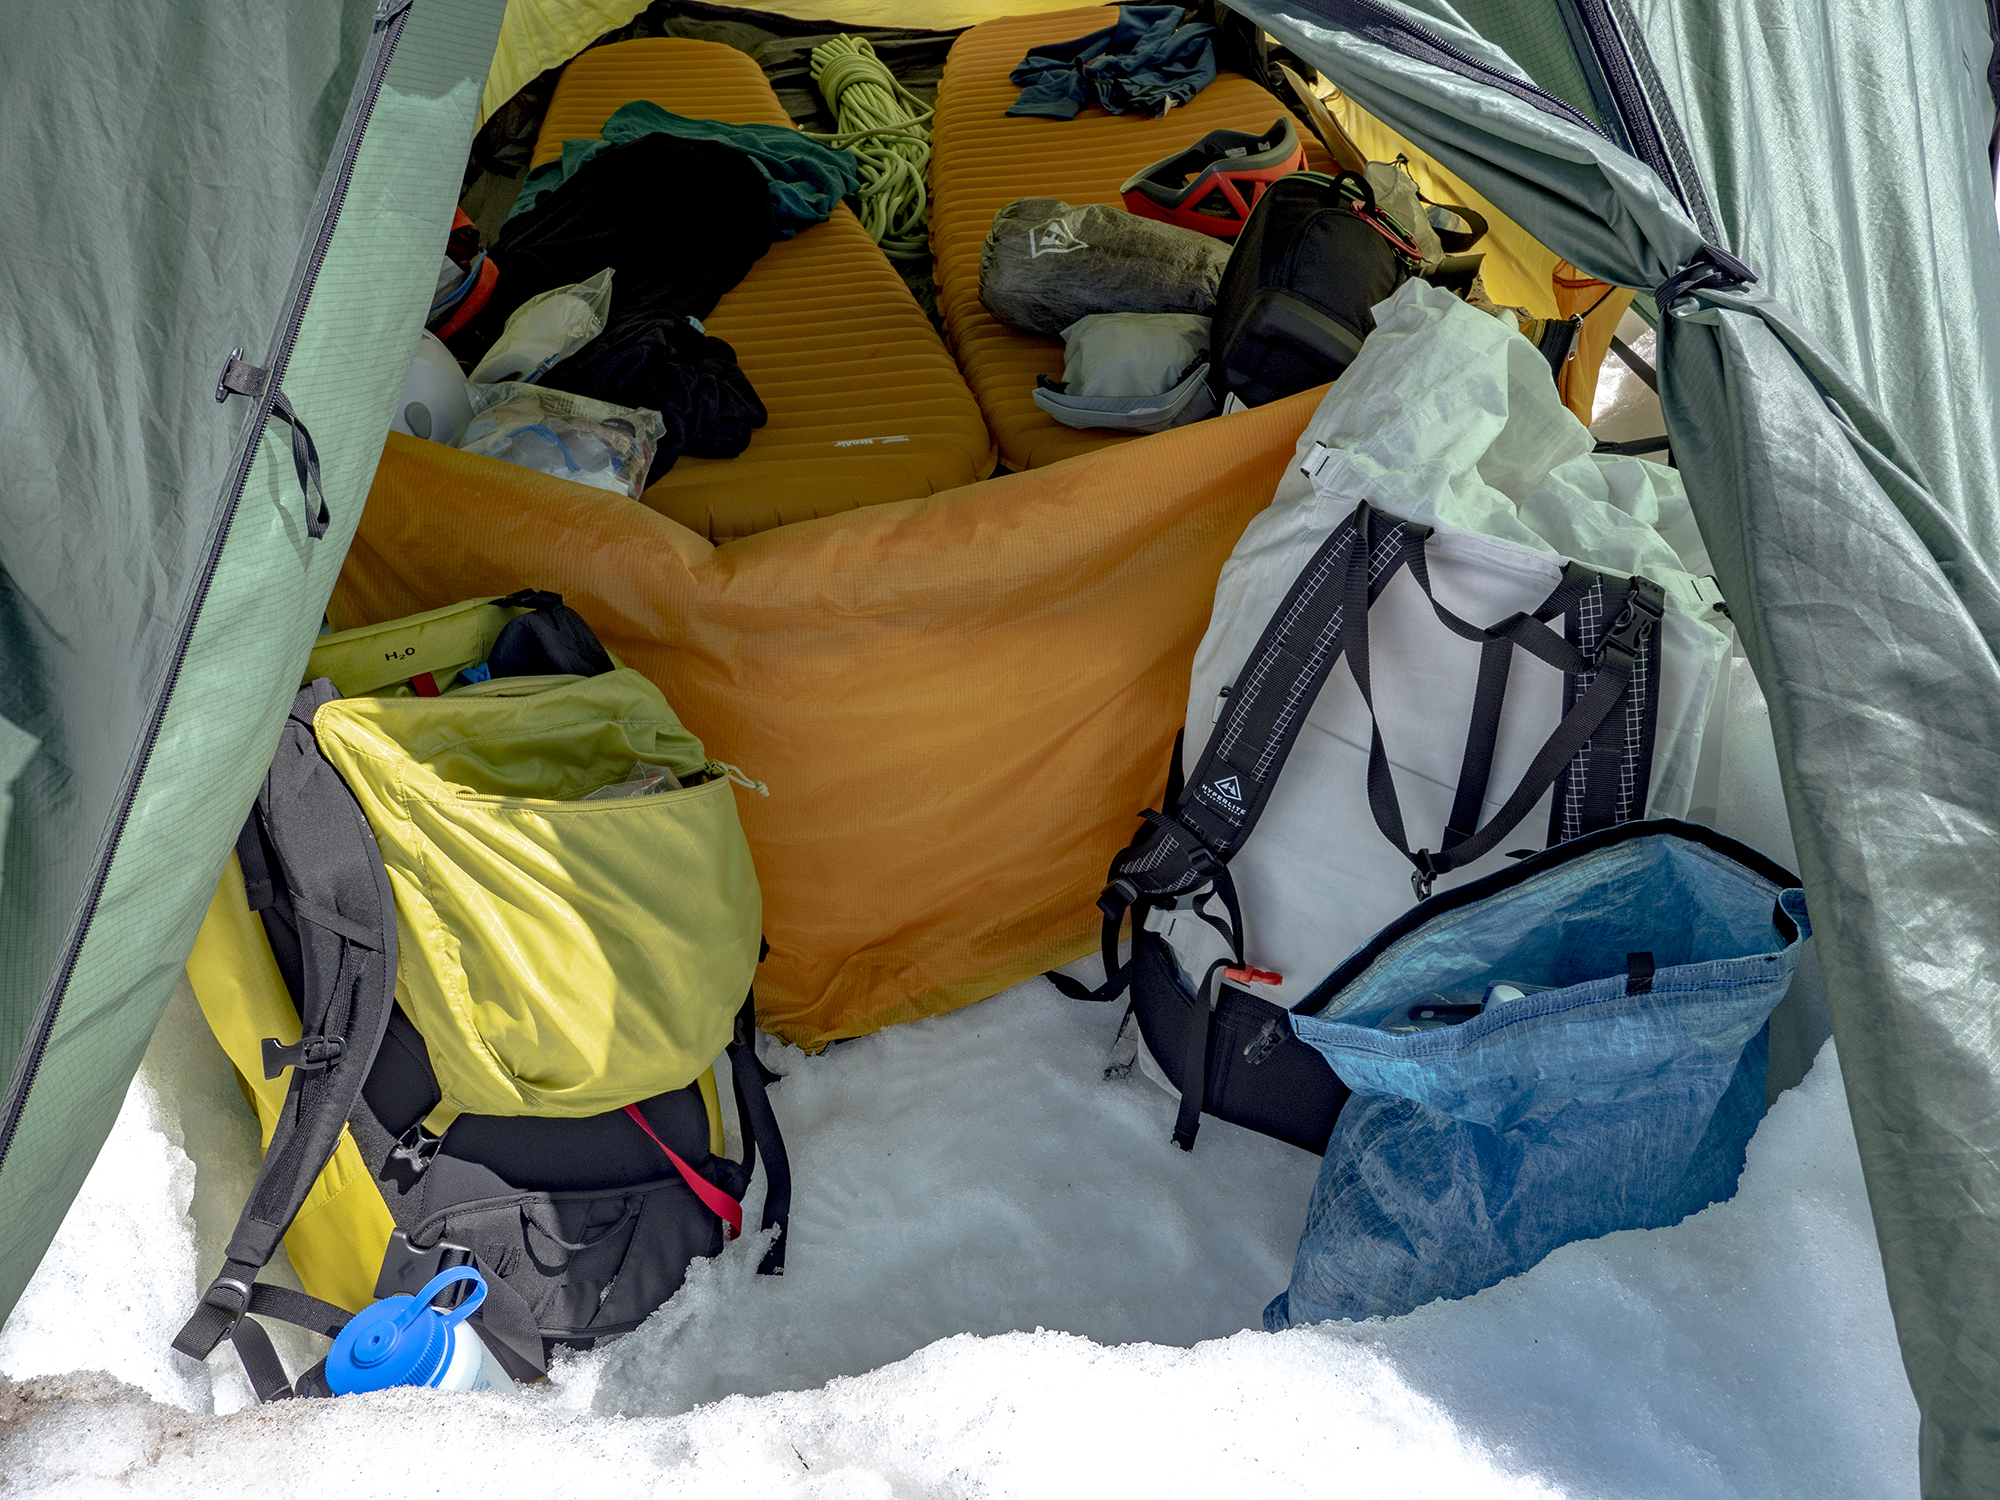
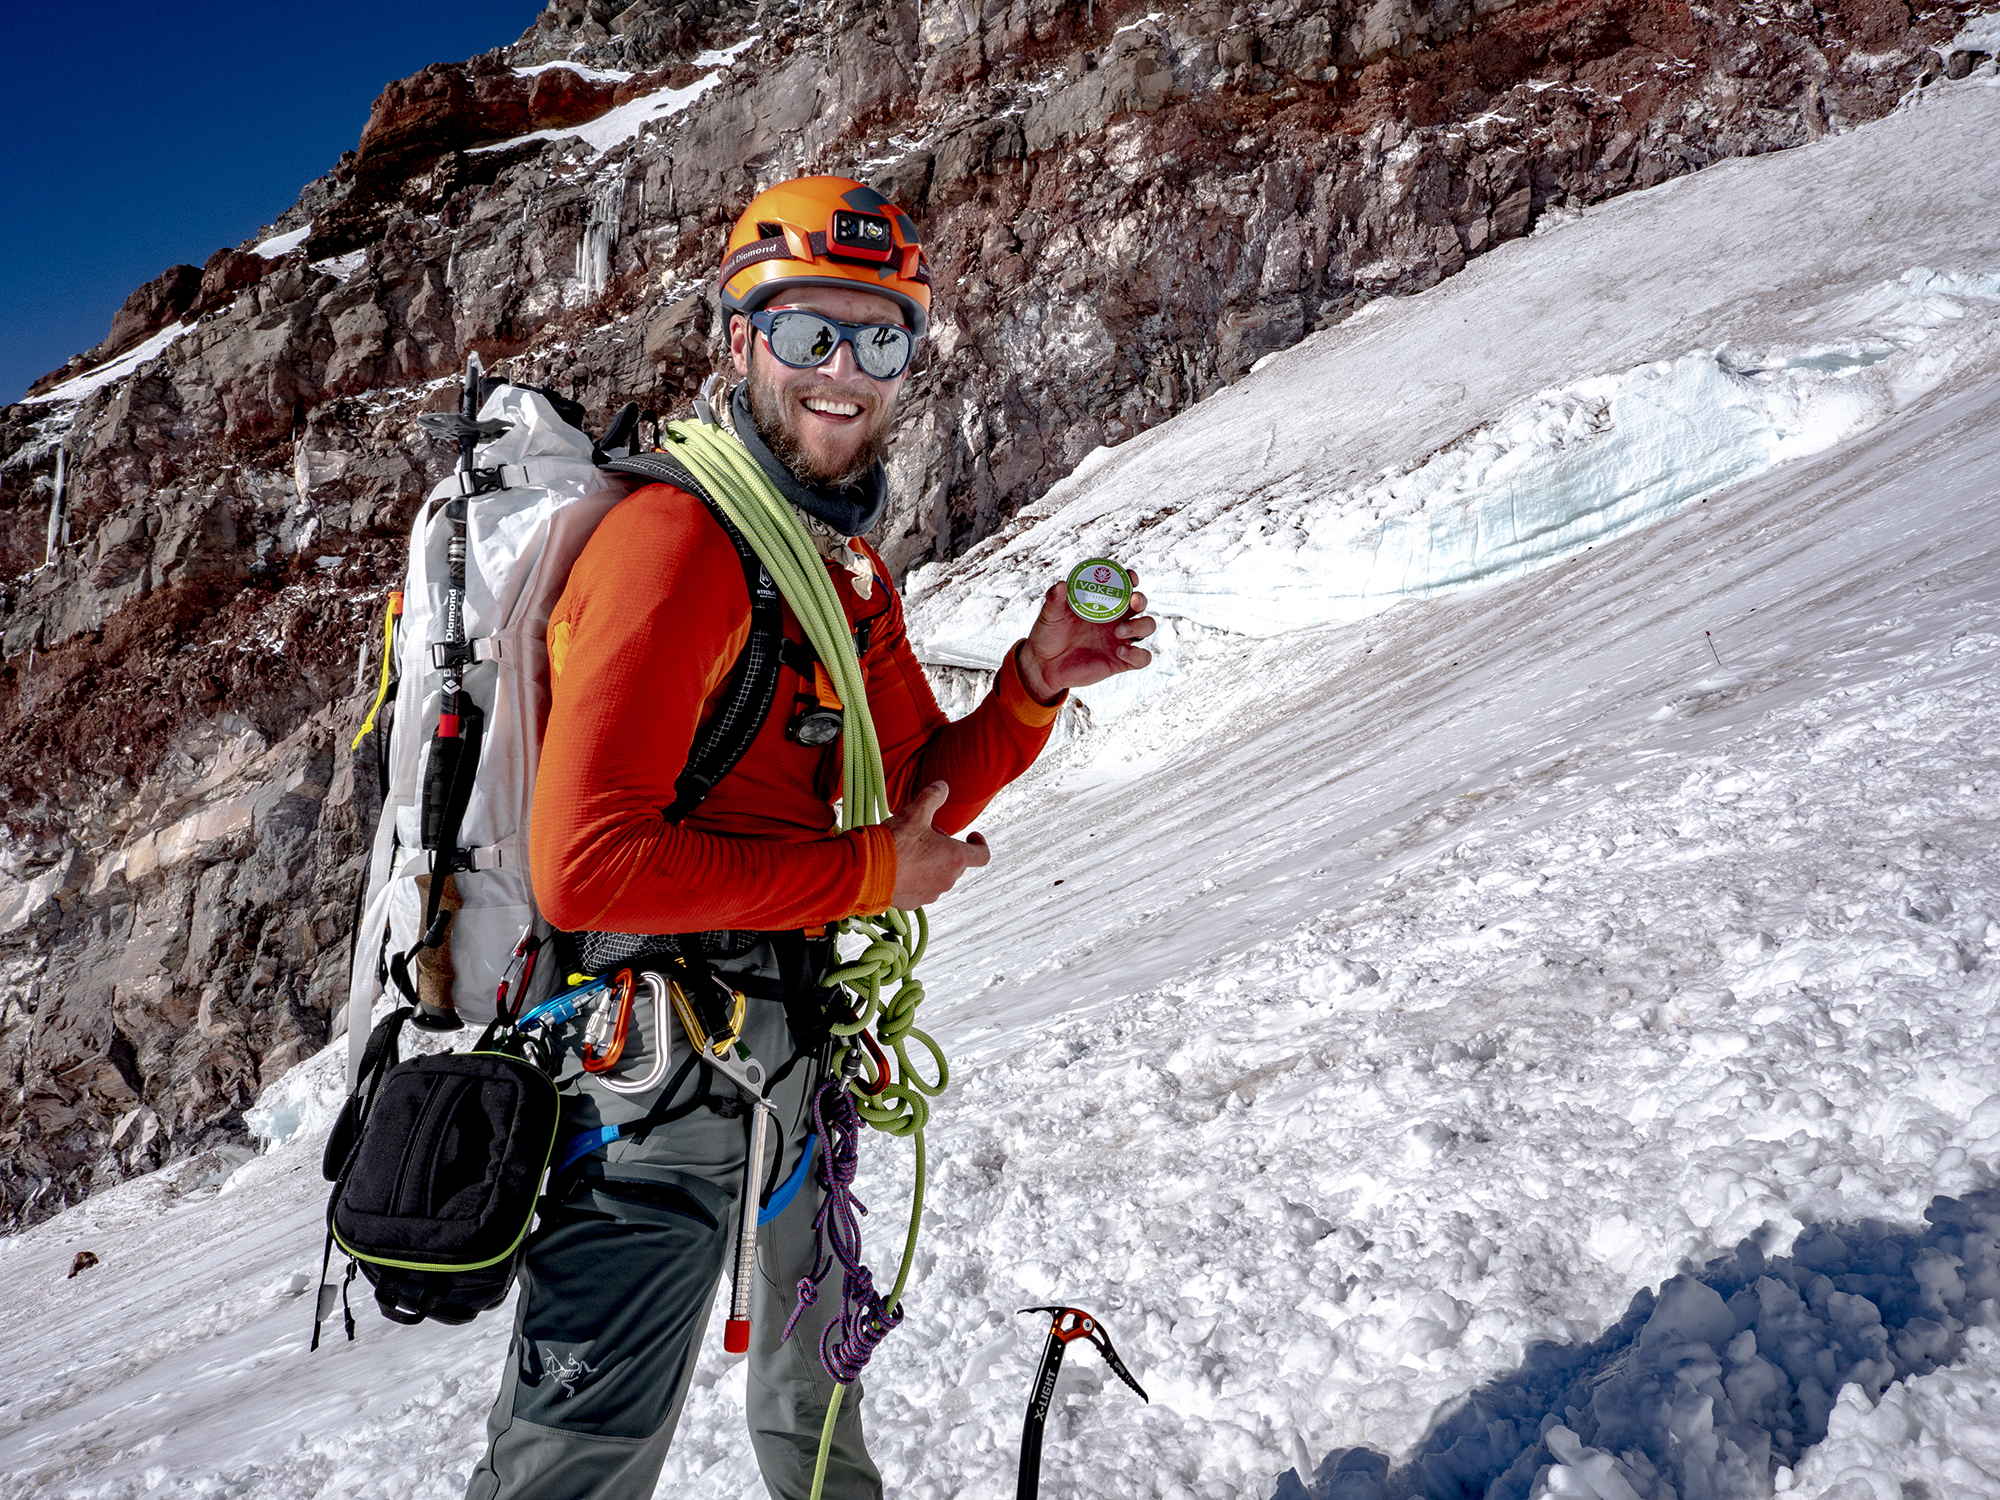
Equipment
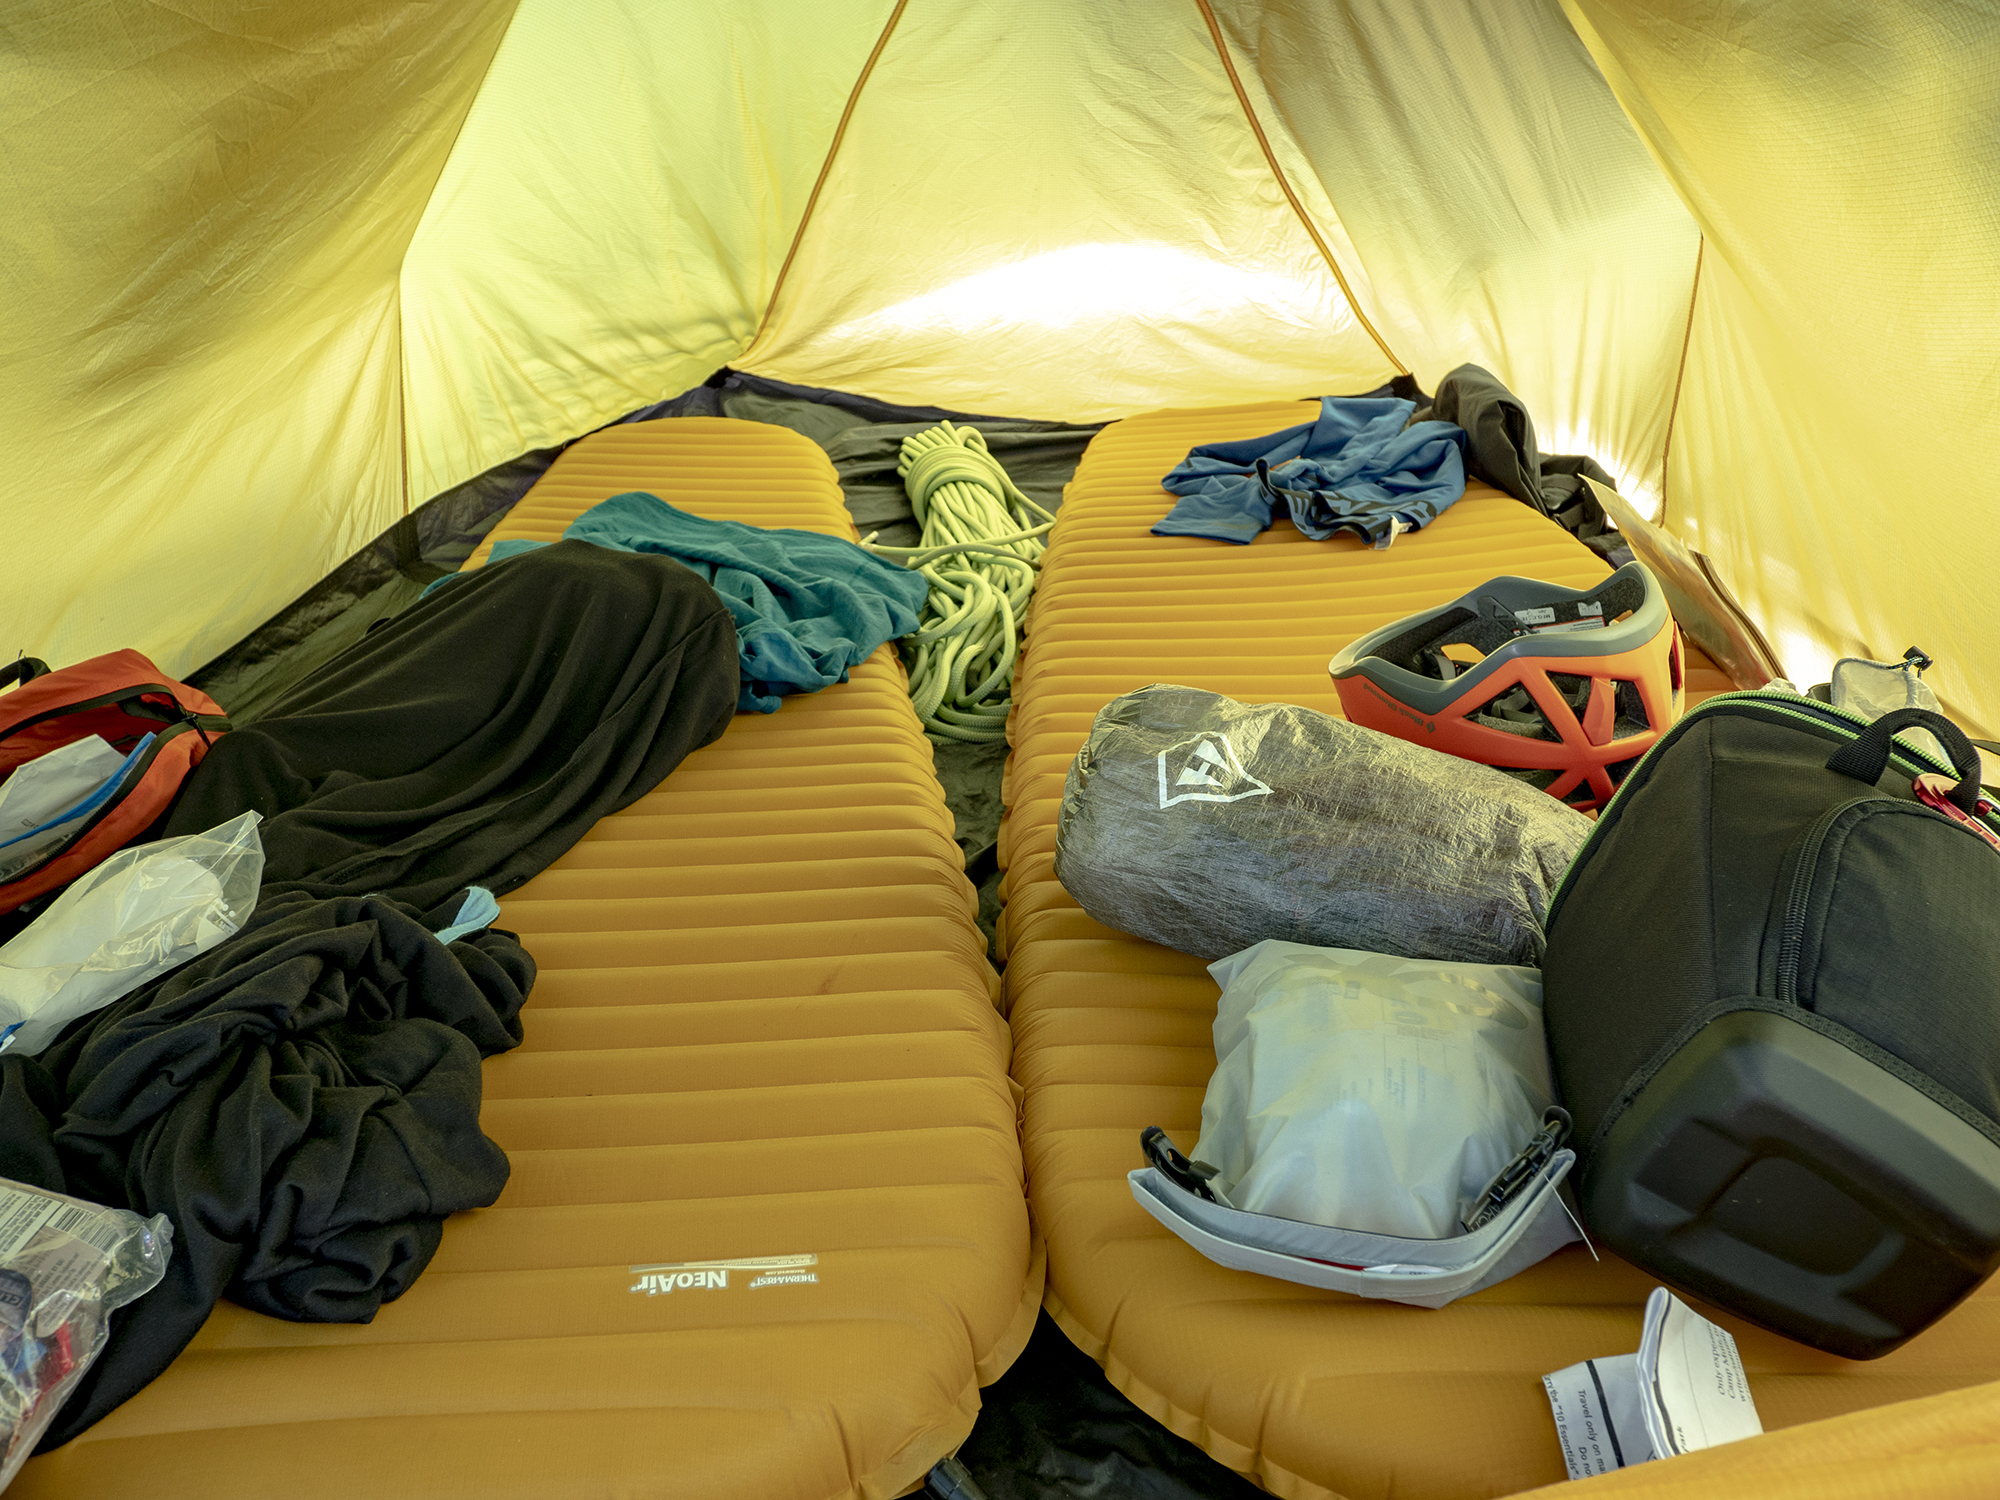
- Climbing pack (50L+)
- Climbing helmet
- 60m dry climbing rope (This was for a rope team of 3.)
- Climbing harness
- Pre-rigged prusiks
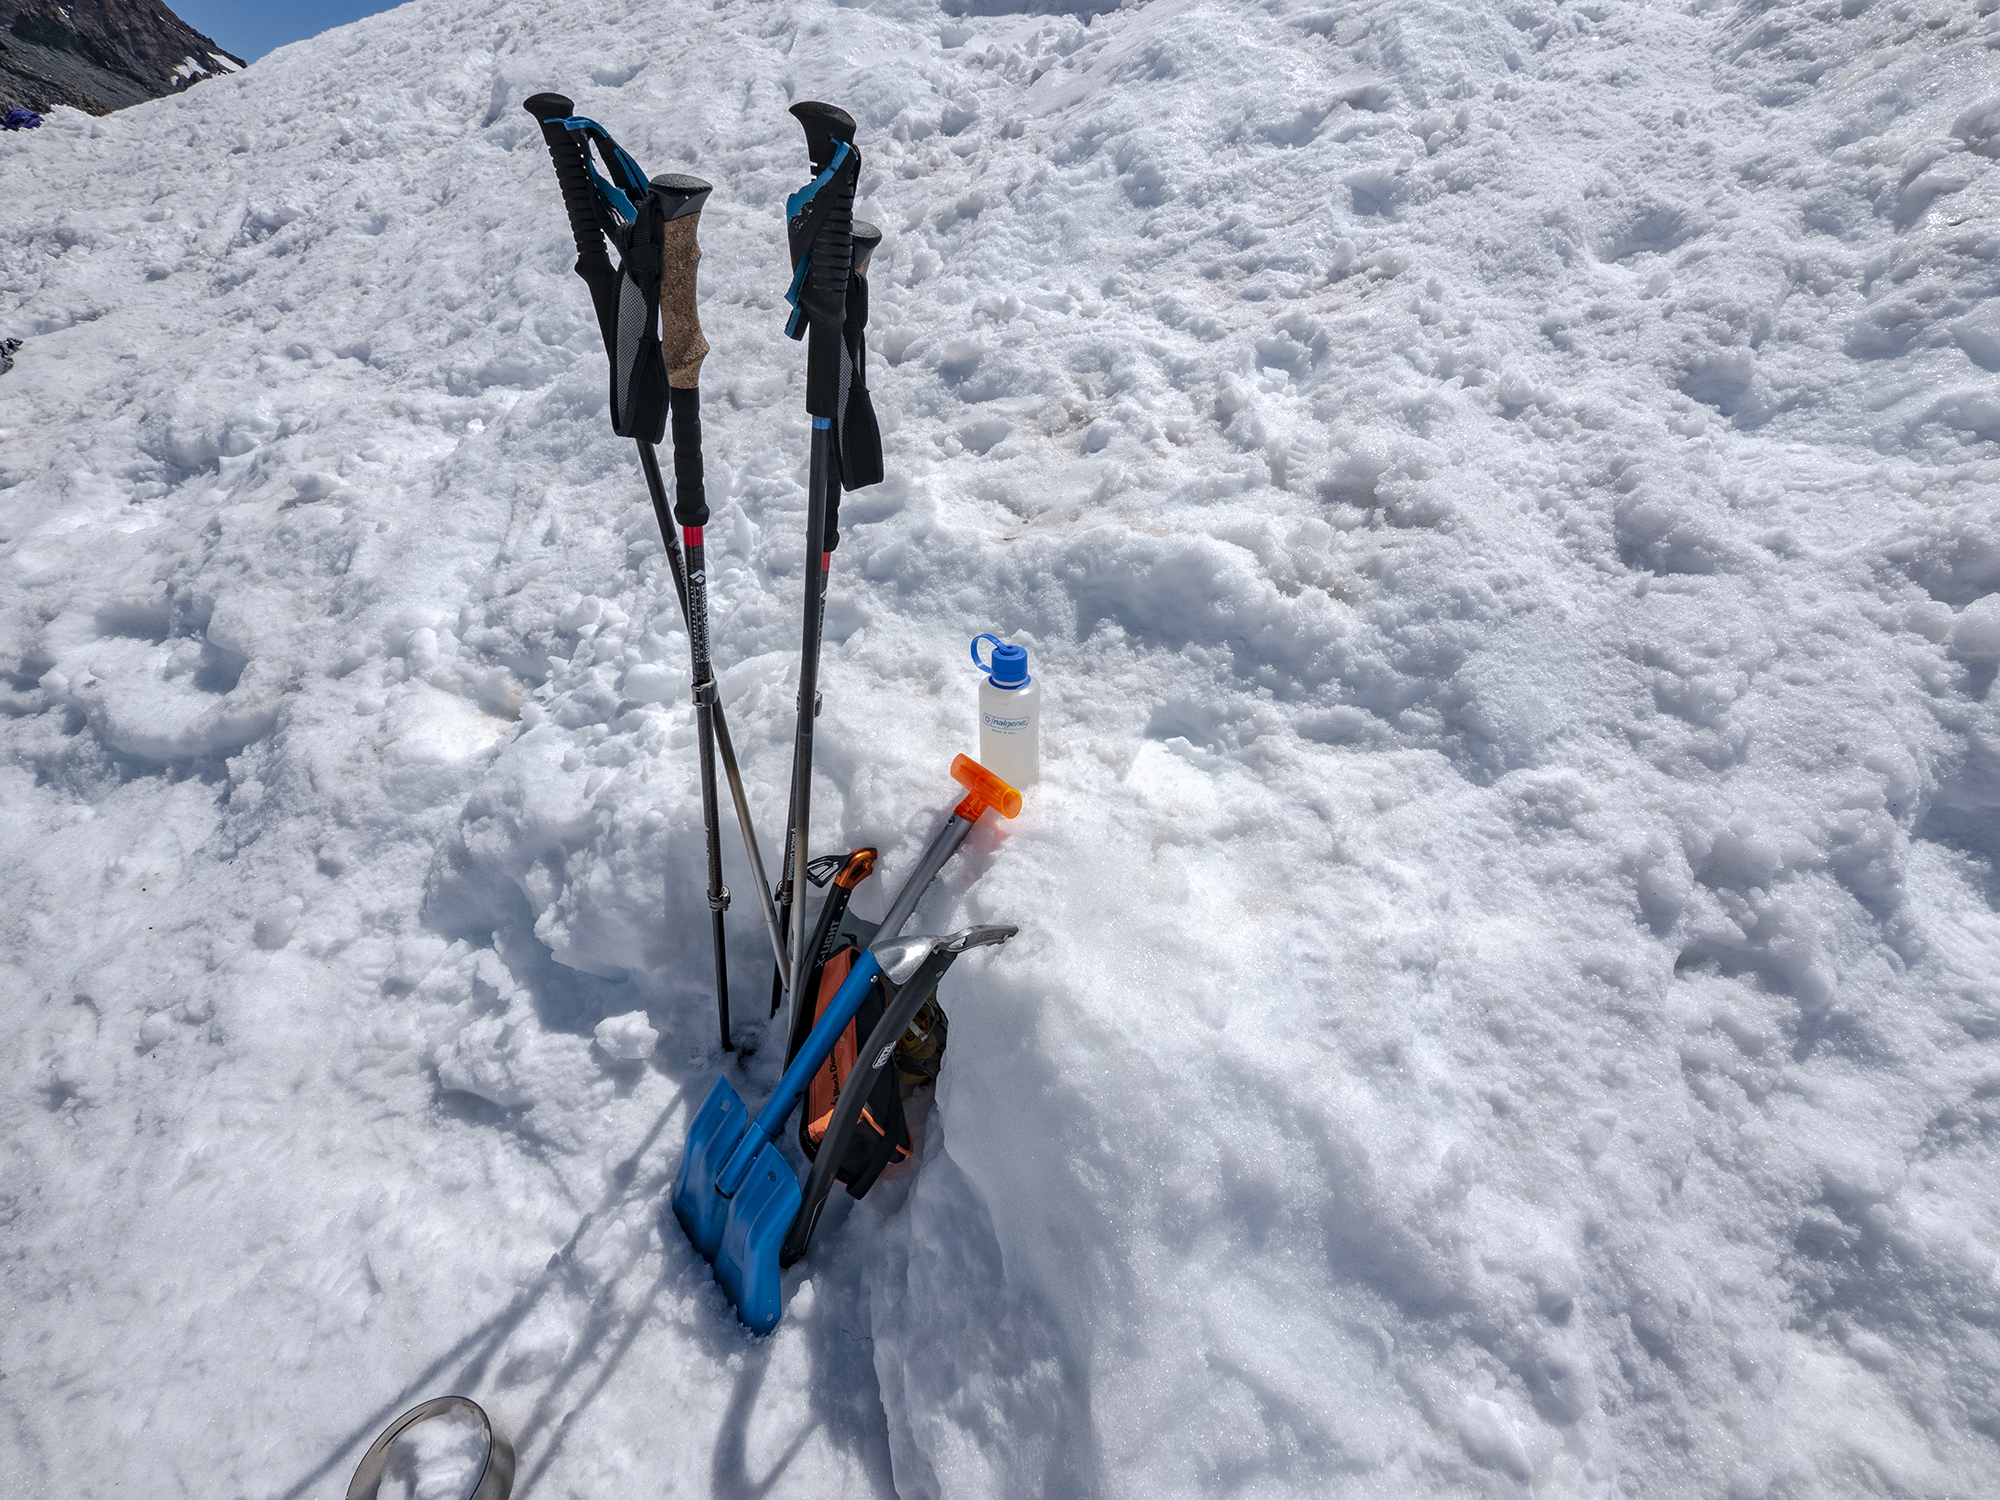
- Snow picket
- 48” sling (to attach to middle of snow picket)
- 4 locking biners
- 3-4 non-locking biners
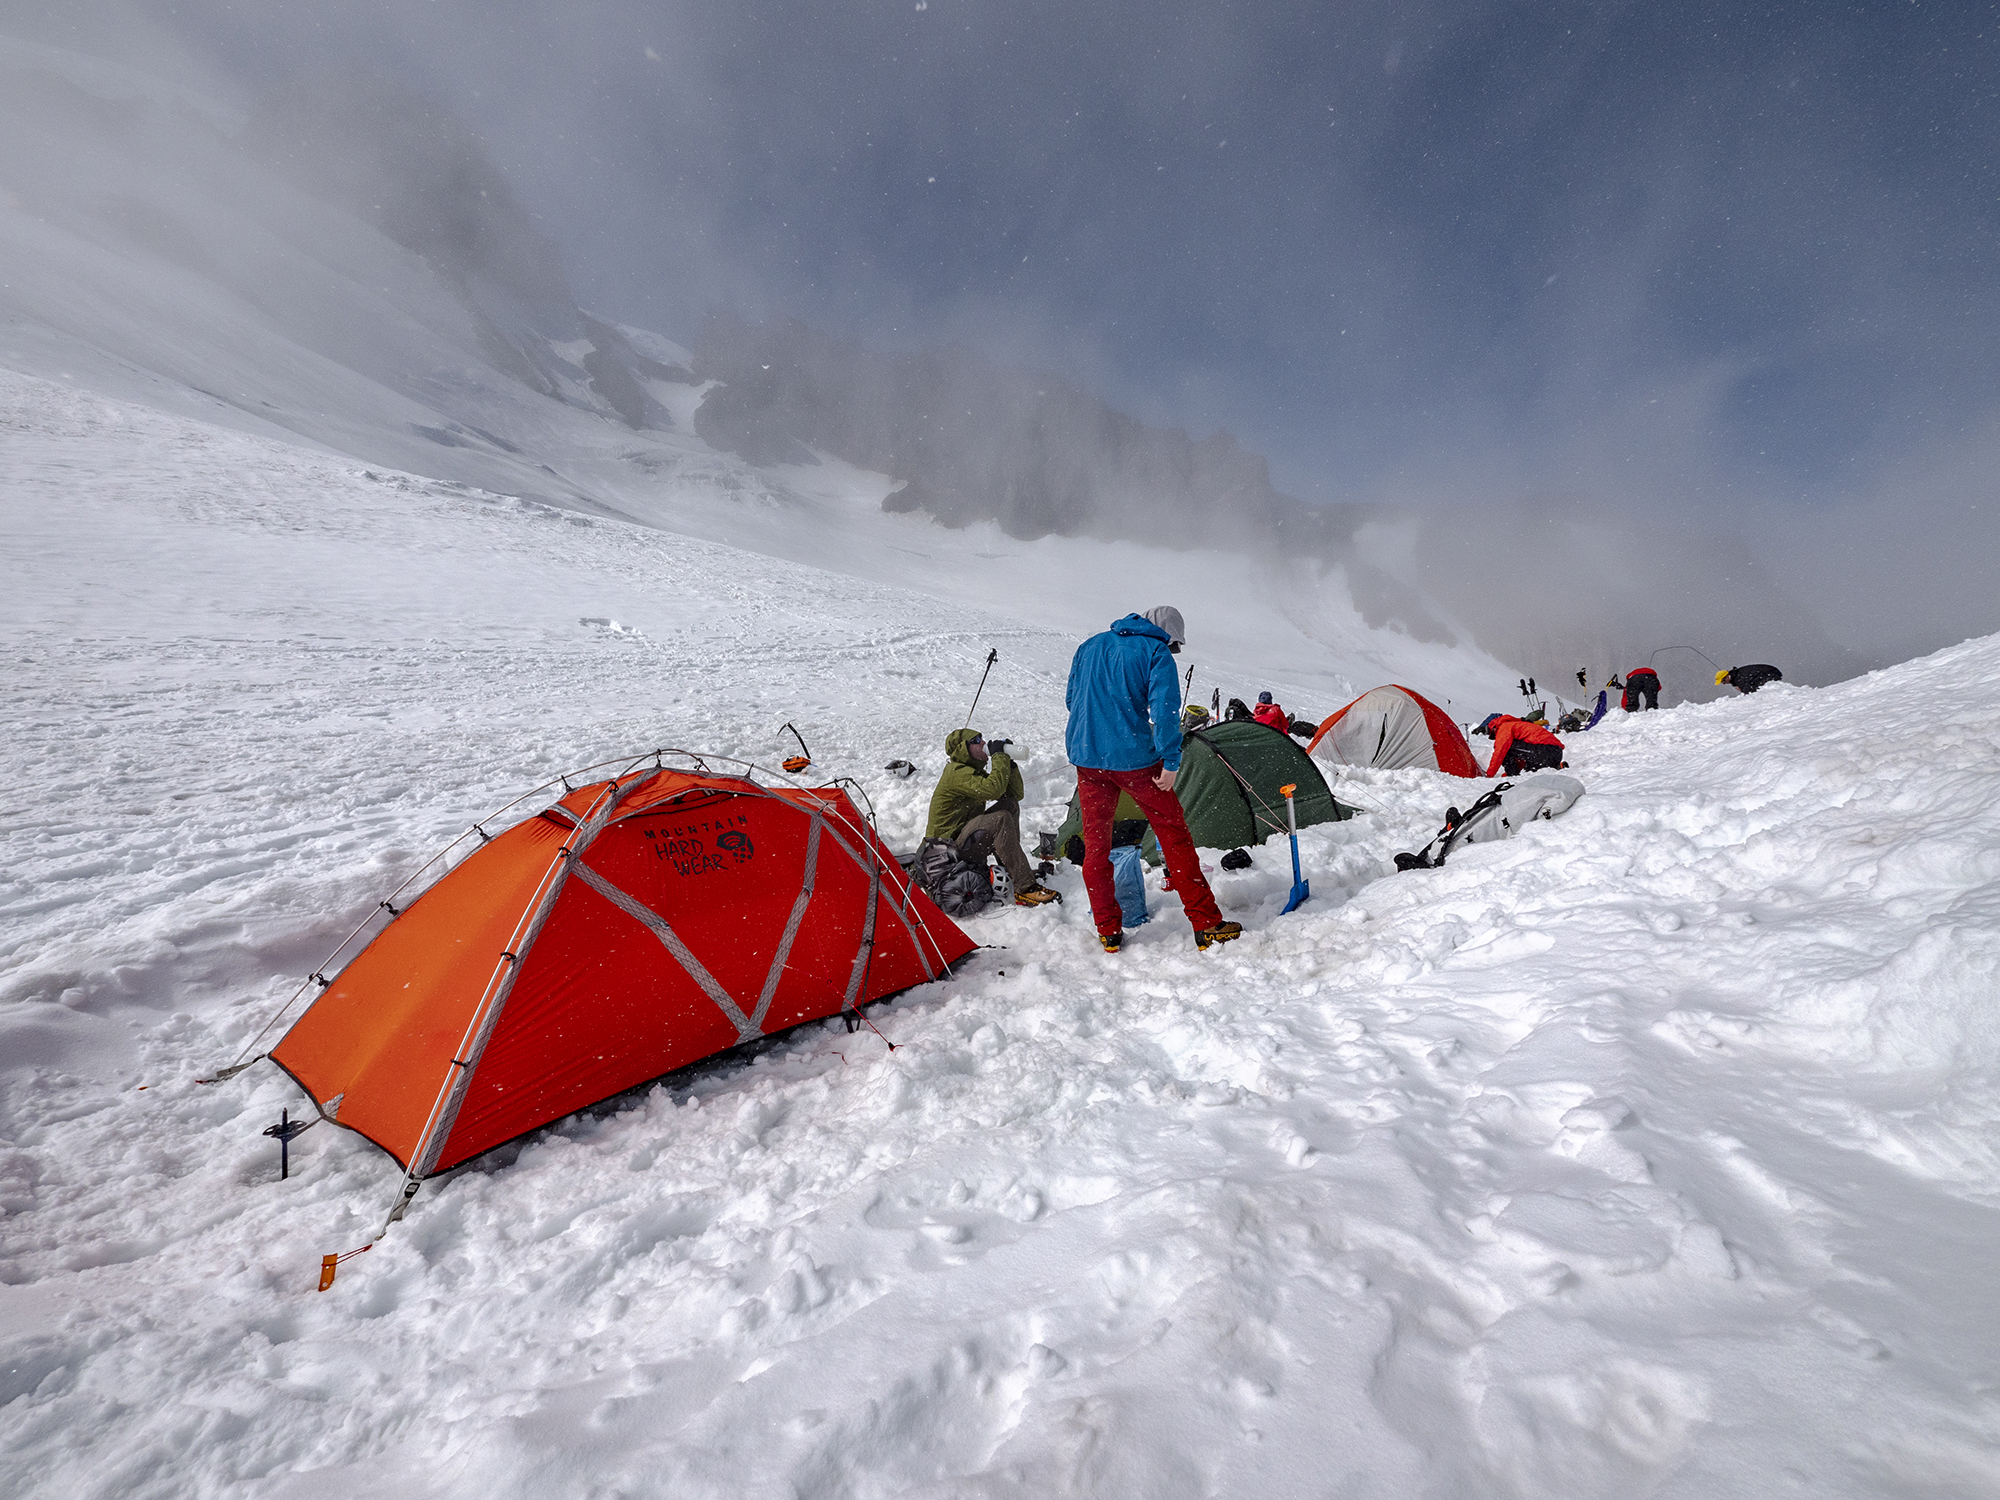
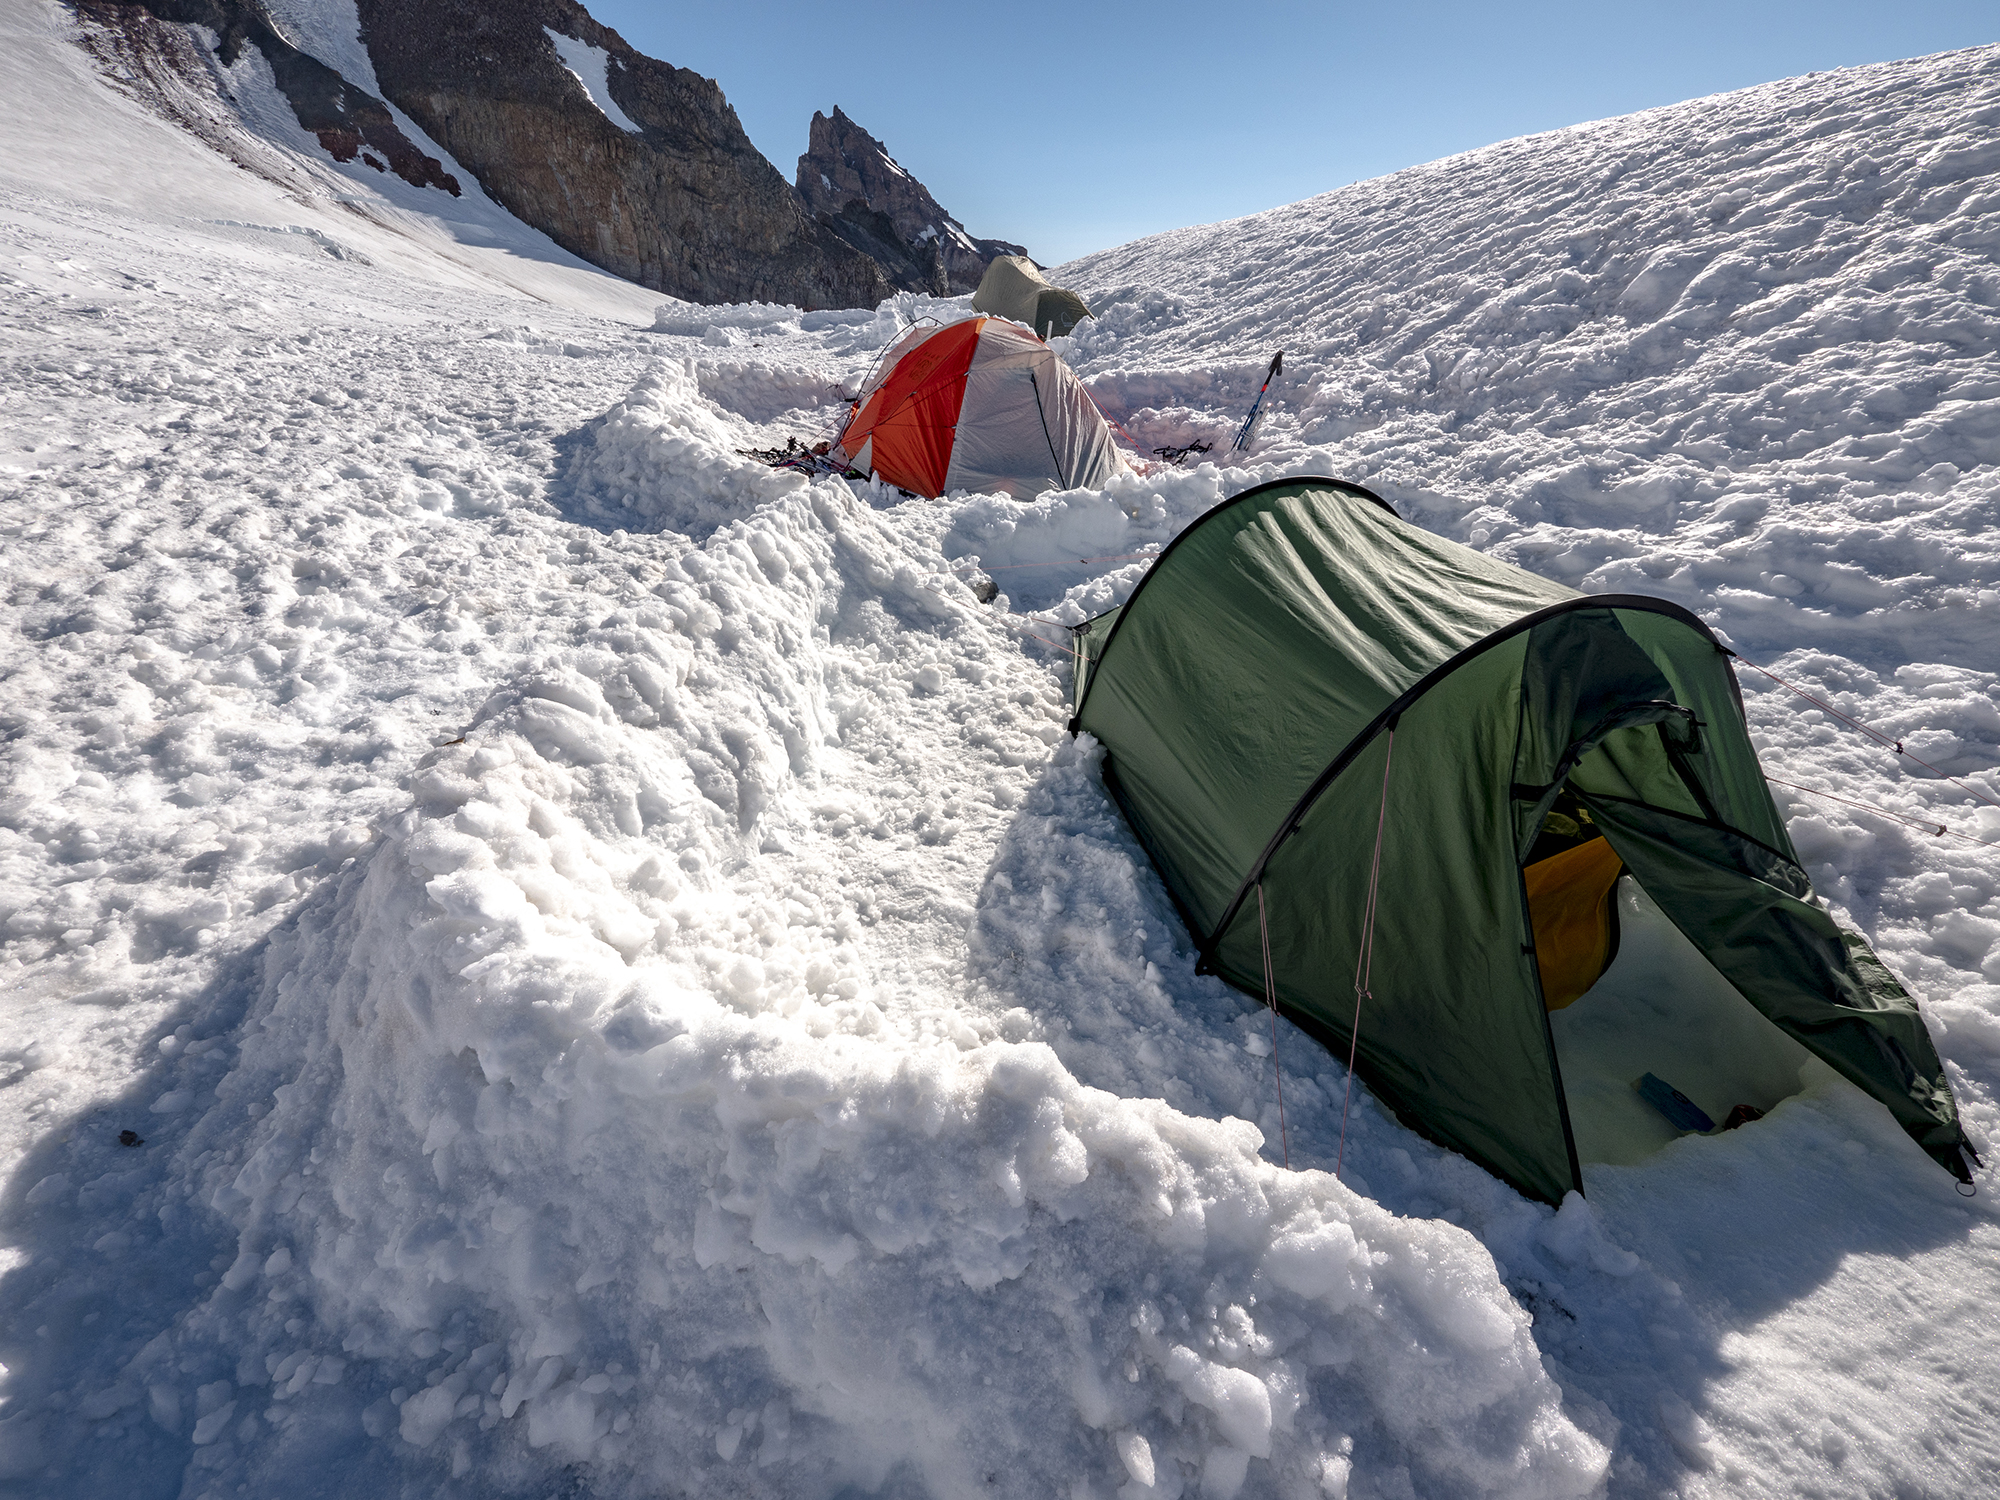
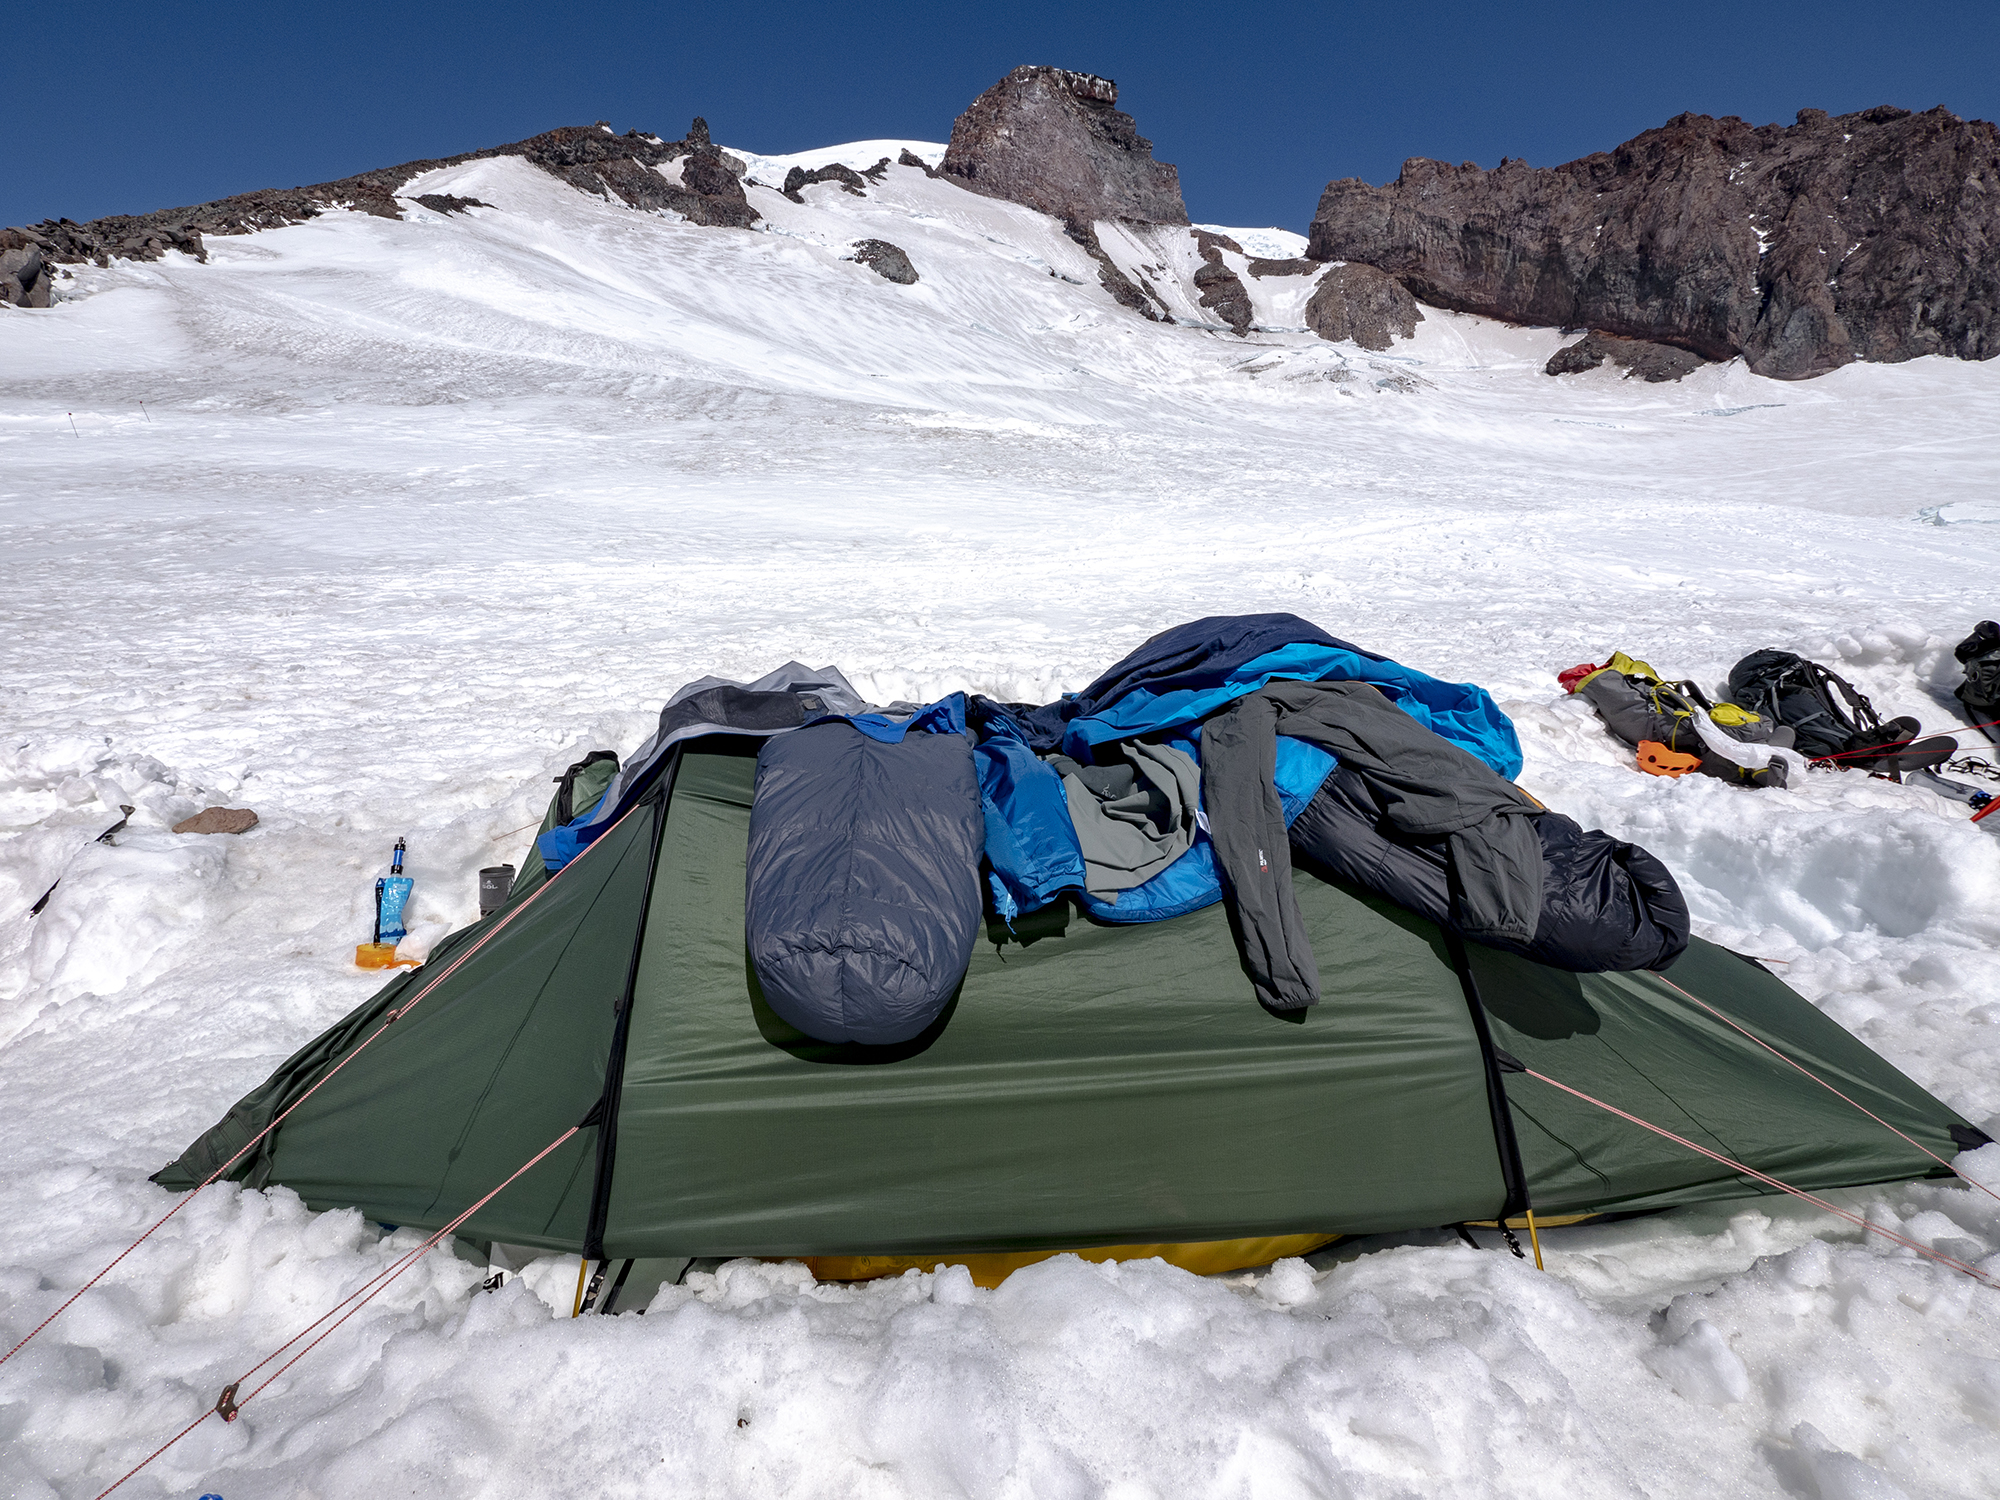
- 4-season tent (We used a Hilleberg Nallo 2 and a Mountain Hardwear EV2. Both held up well in the 40mph wind and snow.)
- Sleeping bag (I use the Feathered Friends Vireo sleeping system with a puffy.)
- Sleeping pad
- Snow stakes
- Mountaineering boots (The La Sportiva Nepal Cubes were awesome. Help protect these boots by applying wax prior to the trip.)
- Crampons
- Belay/rappel device
- Stove
- Lighter (Can’t fly with it!)
- LED headlamp with extra set of batteries
- Glacier glasses
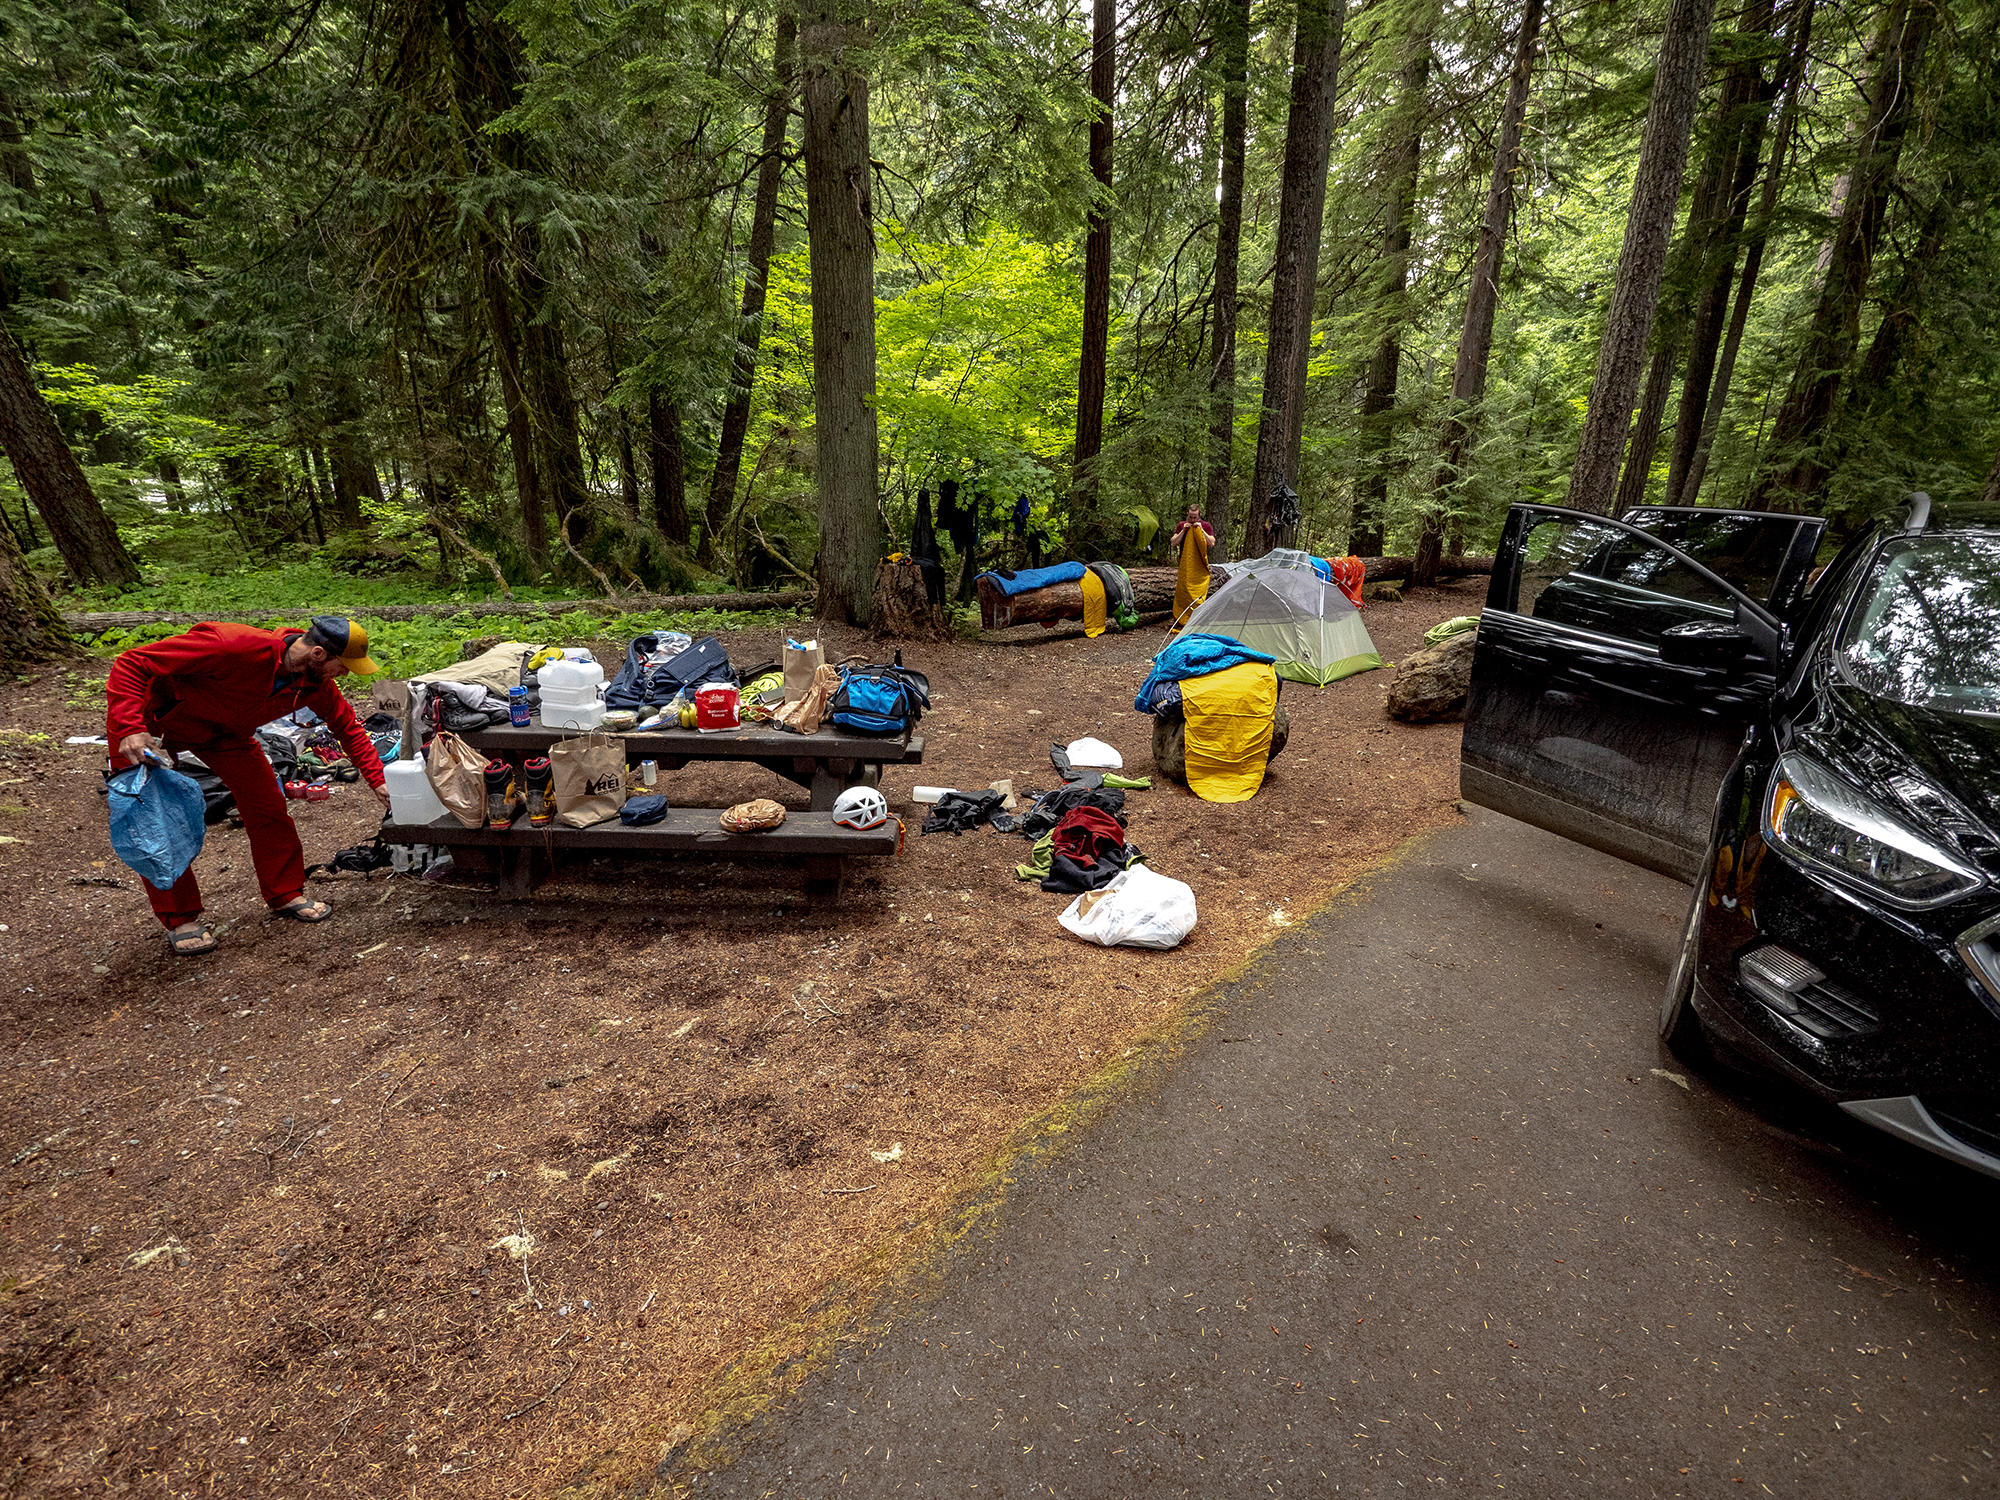
- Two 230g Jet Boil or MSR fuel canisters per person for melting snow for a 3 day, 2 night trip (You can pick these up at REI in Seattle.)
- Ice axe
- Snow shovel
- Map(s)
Clothing
- Quick-dry underwear
- Wool socks (The Fox River socks were awesome. Will buy more.)
- Wool base layer
- Soft-shell pants
- Hard-shell pants (I brought these but never used them. Didn’t rain.)
- Soft-shell jacket
- Hard-shell jacket
- Beanie (I wore this at night for more efficient heat regulation.)
- Balaclava (I WISH I had brought one. The ascent was COLD!)
- Baseball cap (You’ll want this if the sun comes out.)
- Puffy with hood
- Liner gloves (Important during the cold, early morning ascent.)
- Heavy-insulated shell gloves (I WISH I had brought these. Got frostnip on the fingertips.)
- Midweight waterproof gloves
- Gaiters (I wore a pair but the other two members of my team did not. Not necessary.)
Personal items
- Altimeter watch (We used this routinely on the route.)
- Glacier glasses (Don’t burn your corneas!)
- Water treatment device
- TP
- Blue bags
- Sunblock
- Lip balm
- First-aid kit
- Large, white compactor garbage bag for lining pack
- Mount Rainier Climbing Permit
- Mount Rainier Wilderness Permit
- Photo ID
Food and water
- 2L+ water (The Muir Snowfield will melt your face off on a sunny day.)
- Food for 3 days, 2 nights
Tip: It is often cold enough on Rainier that water and some food – e.g. RX bars – will freeze overnight at high camp and during your early morning summit bid. Water bottles freeze starting at the top. You can turn your bottle upside down in or on your pack to help ensure you have some liquid to drink and can unscrew the lid.
Pre-approach accommodation
A lot of the Rainier campgrounds do not open until late June, so plan accordingly.
The night before we started our approach, we camped at Silver Springs Campground to dry out and organize gear, following our trip to Boston Basin in North Cascades National Park. The campsite was $20/night for a single vehicle. Clean privies were on site.
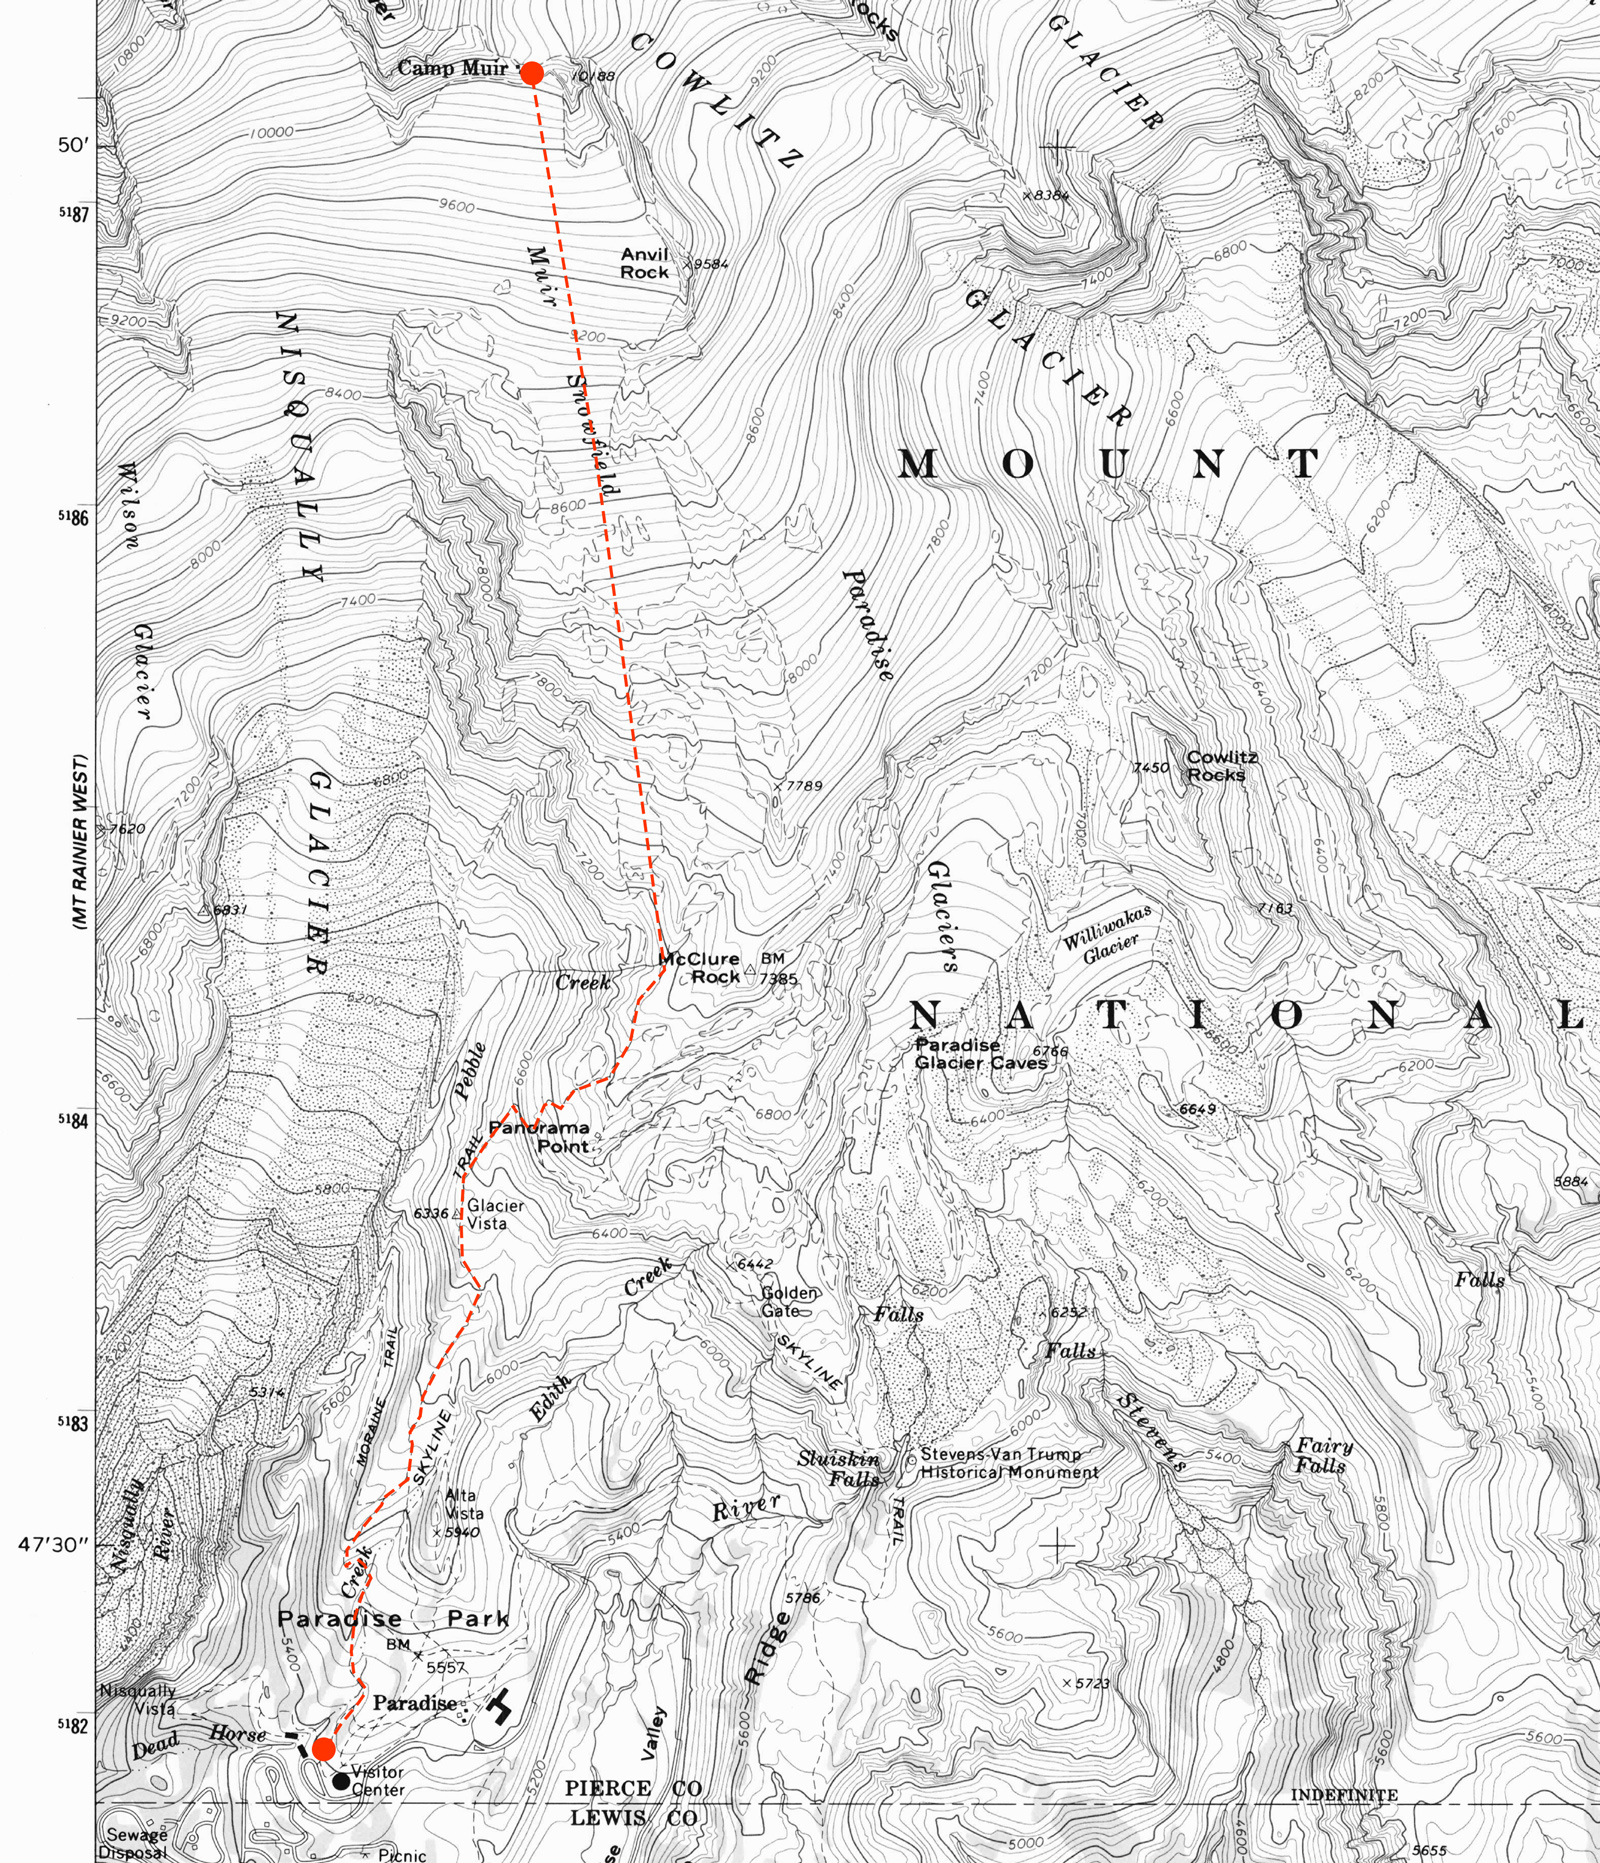
Approach
Distance: 7.25km (4.5mi)
Starting elevation: 1,646m (5,400ft)
Camp Muir elevation: 3,072m (10,078ft)
Elevation gain: 1,426m (4,680ft)
Time: 4.5hrs (NPS guidance is 6-8hrs)
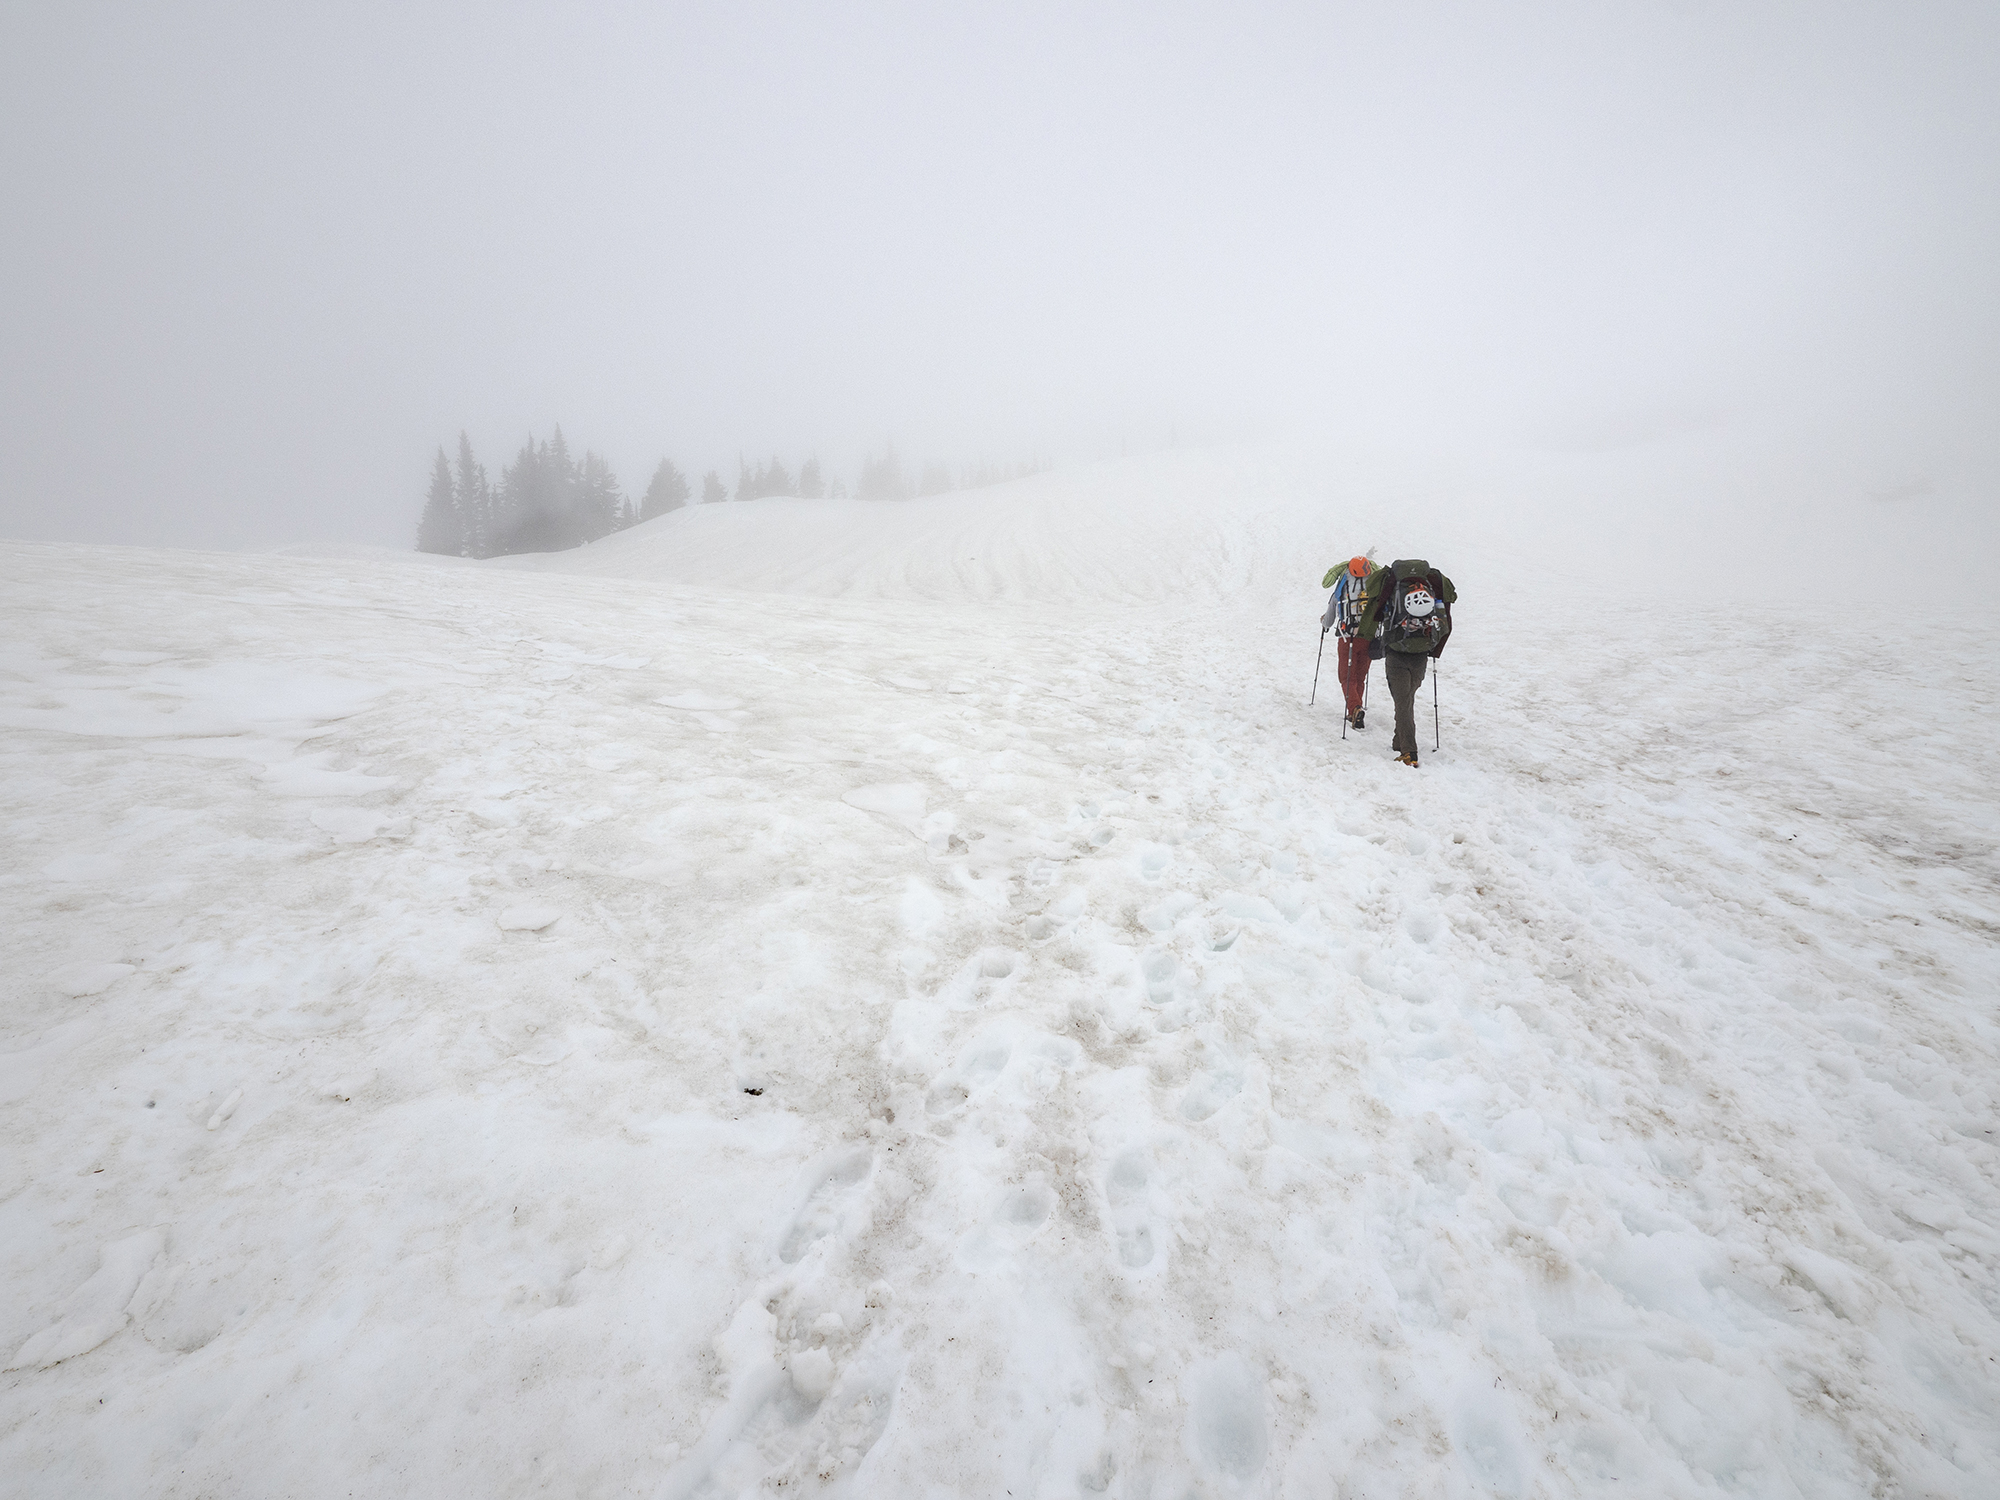
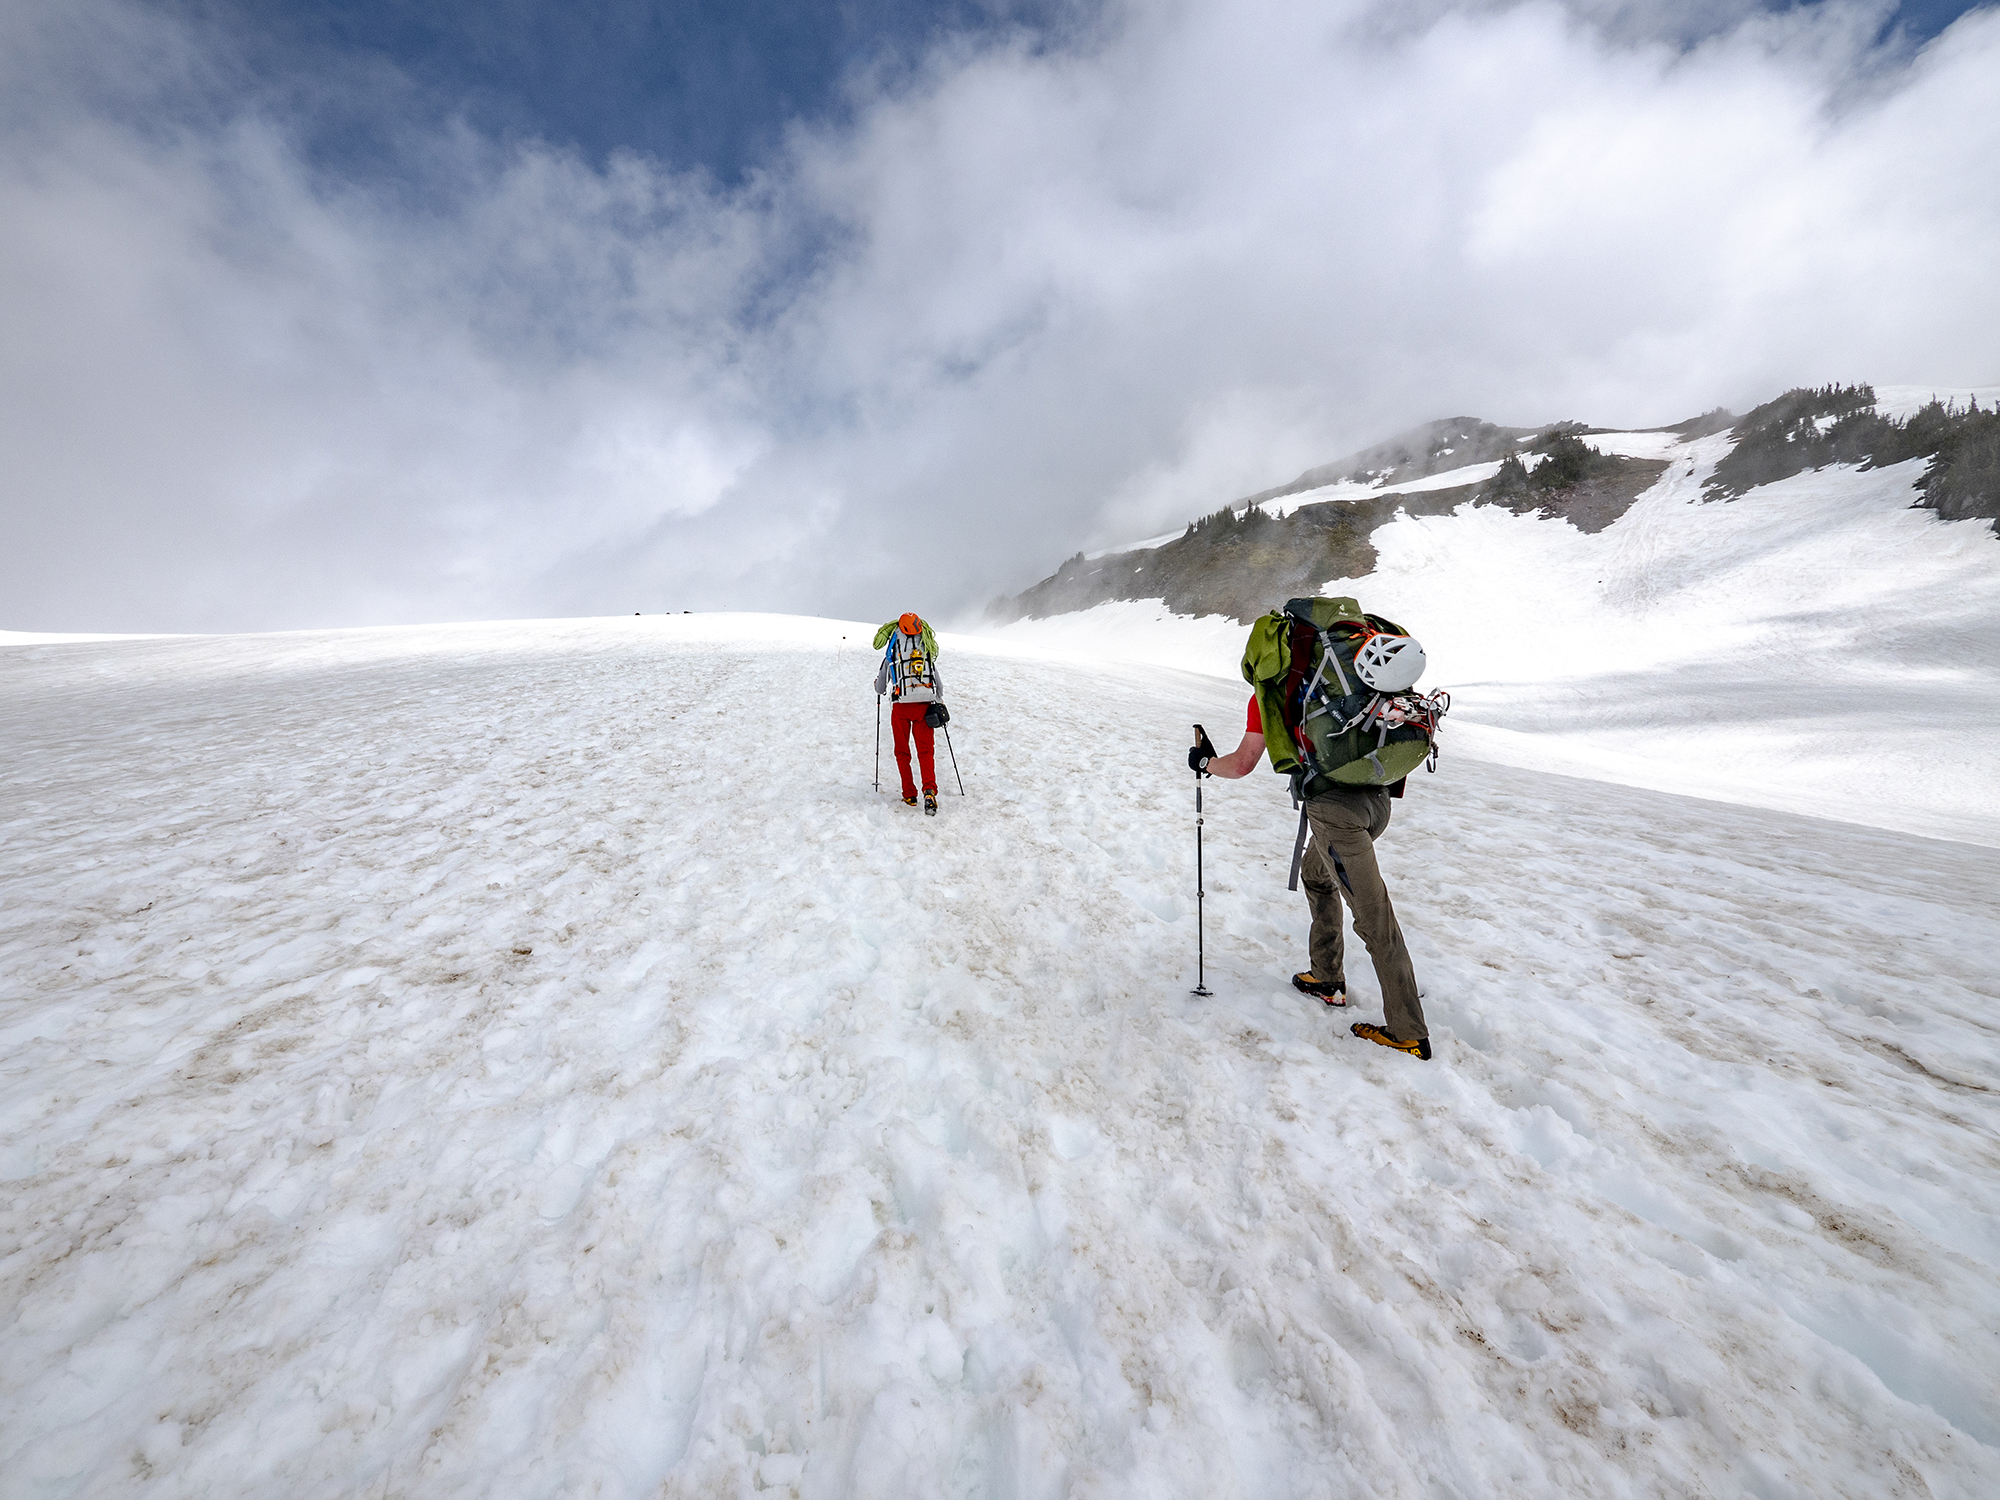
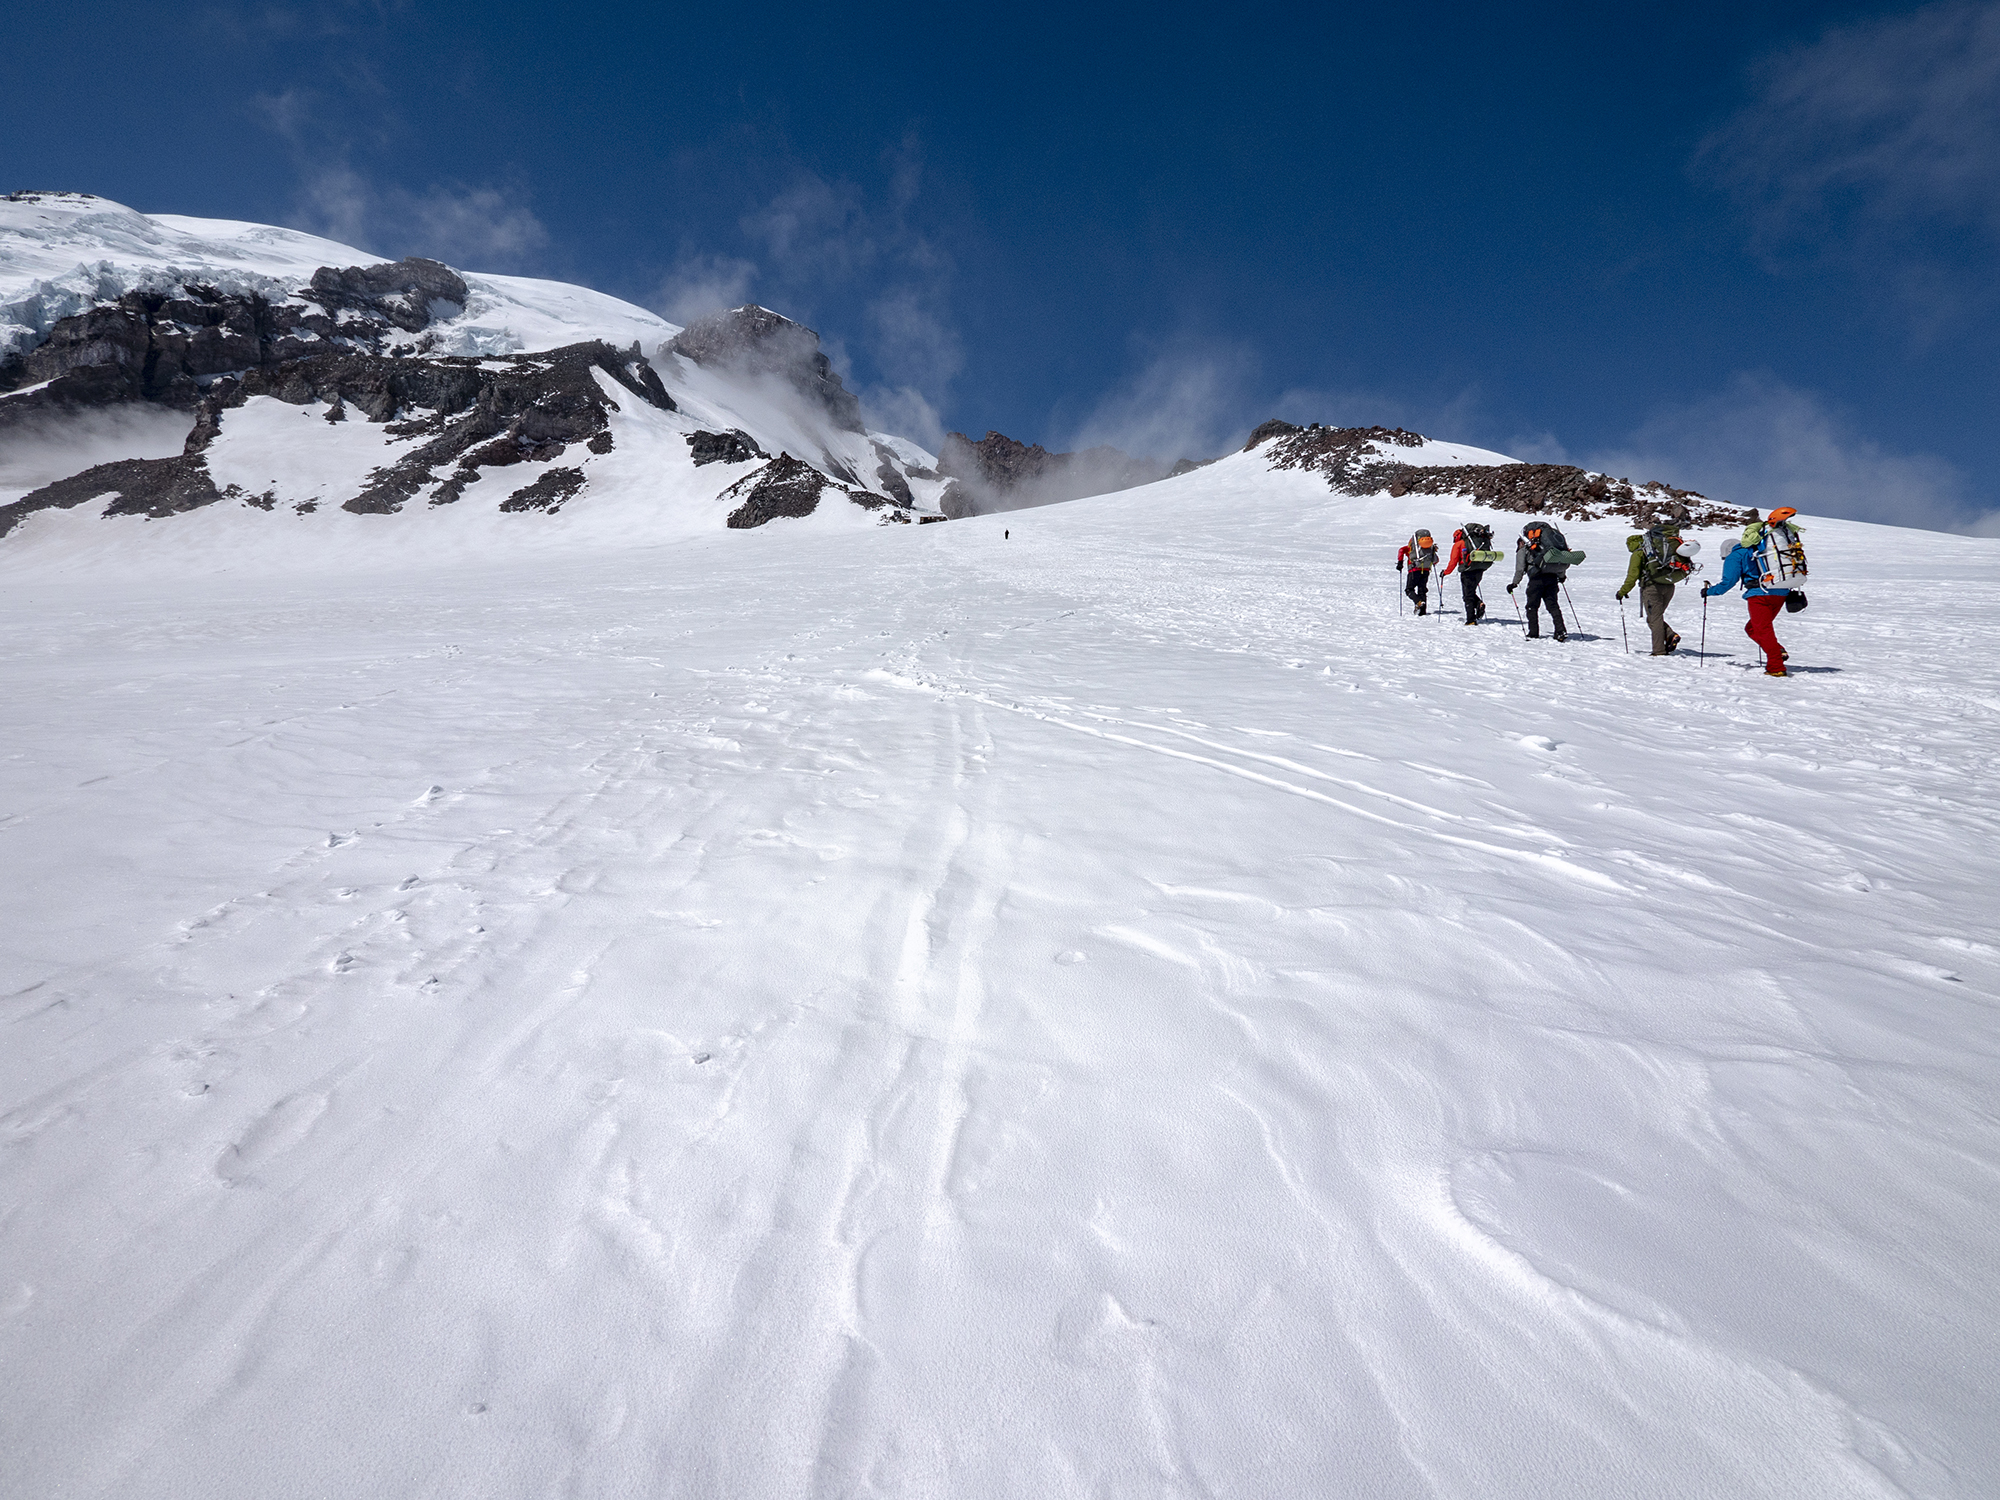
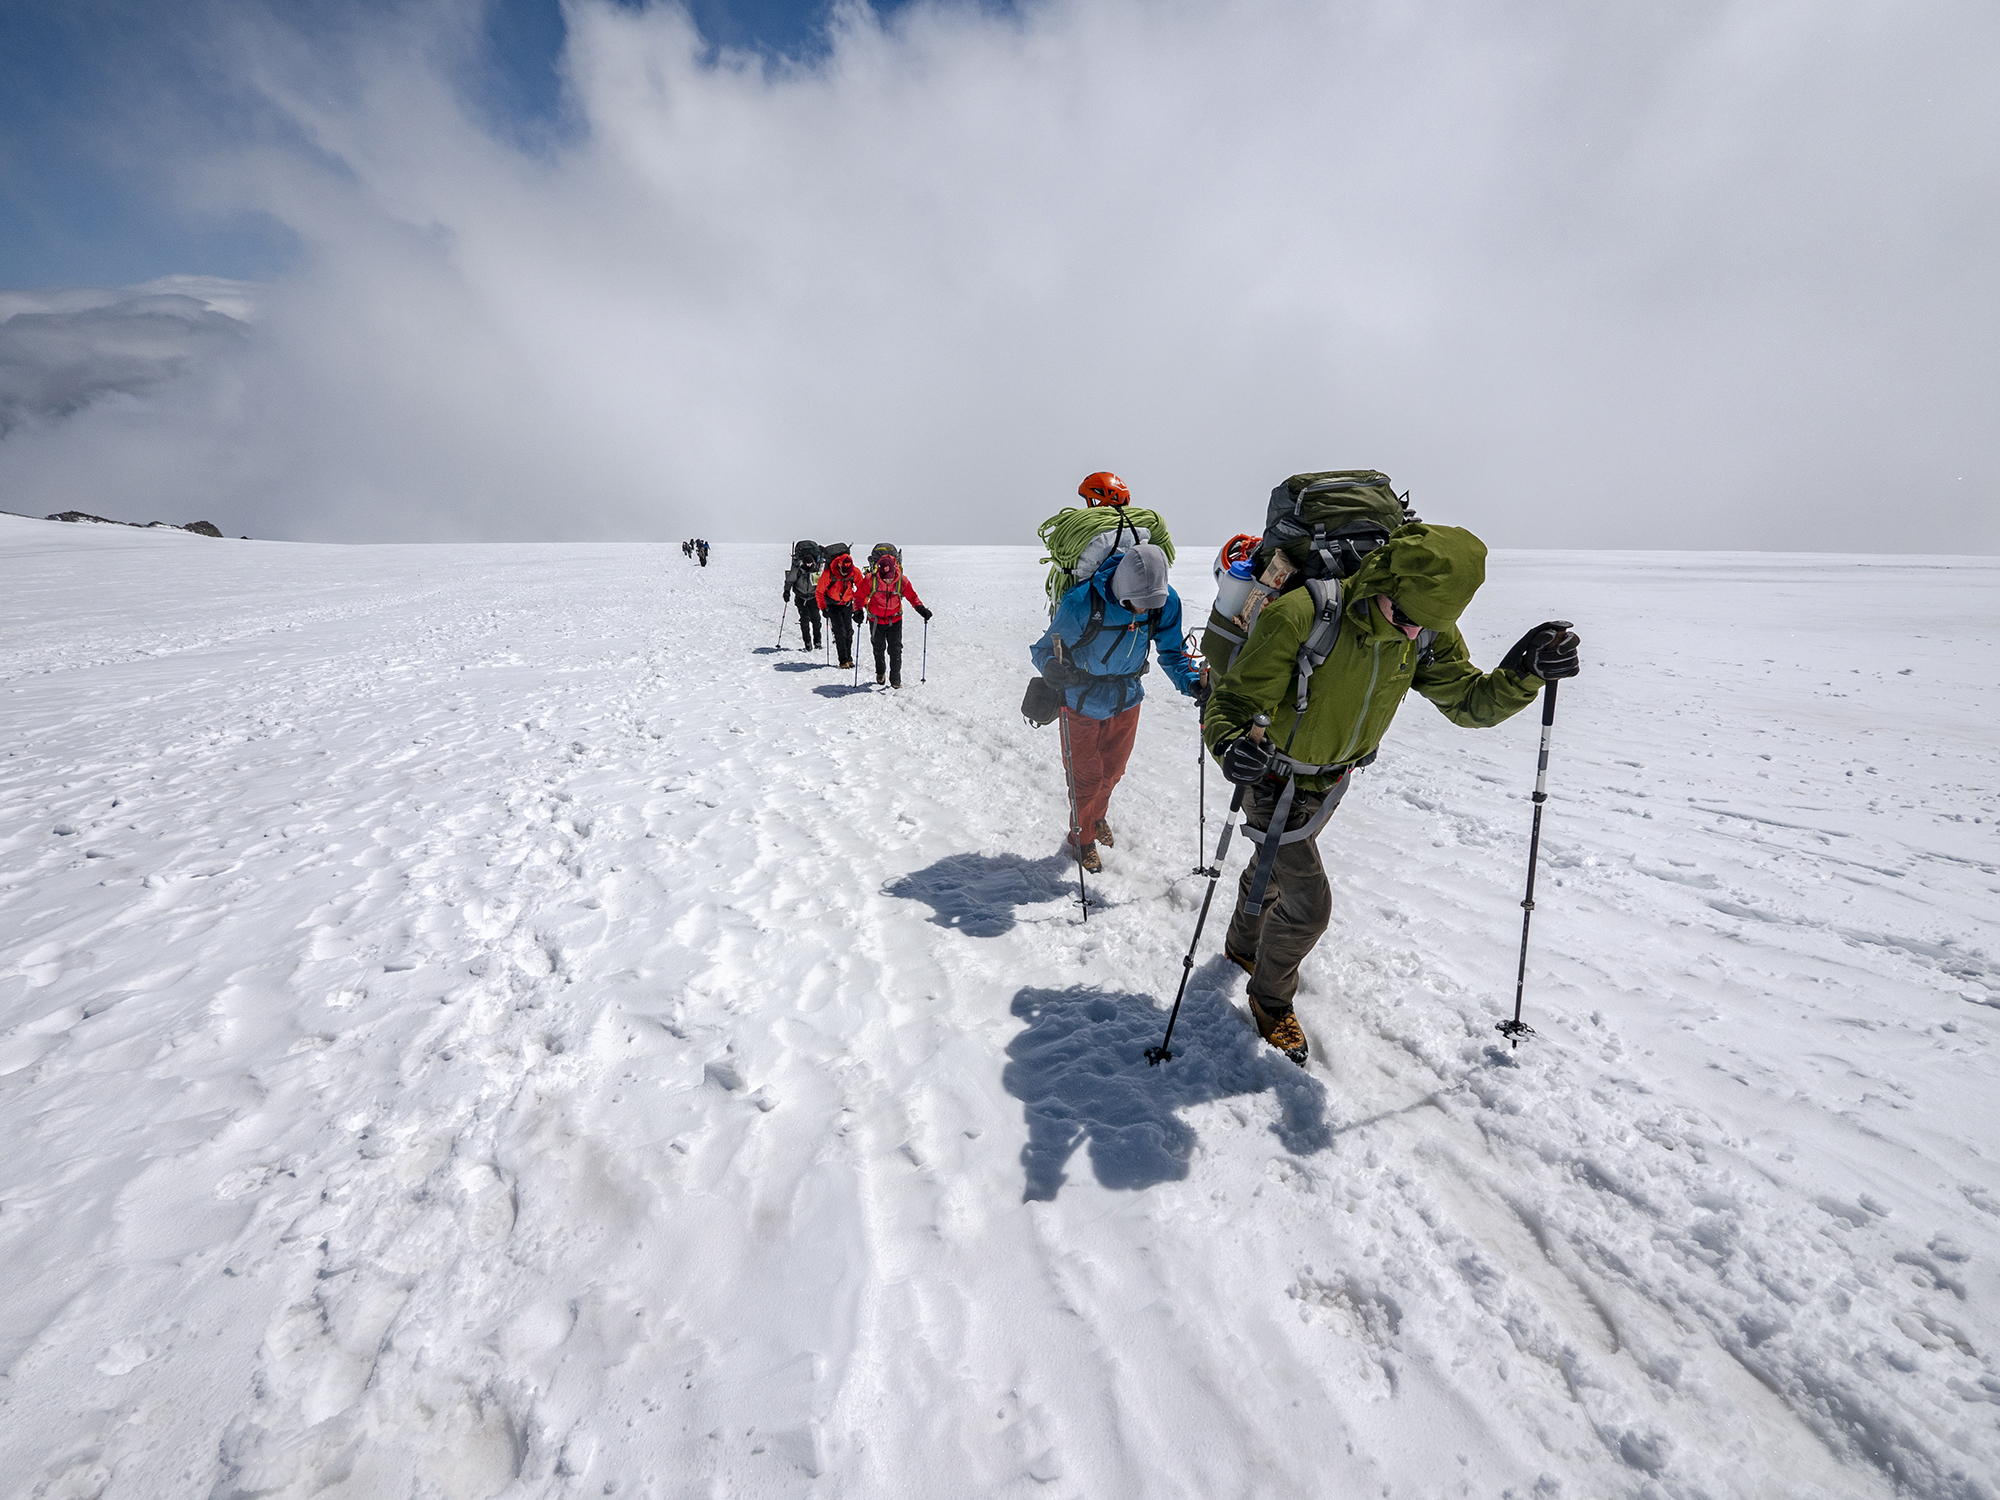
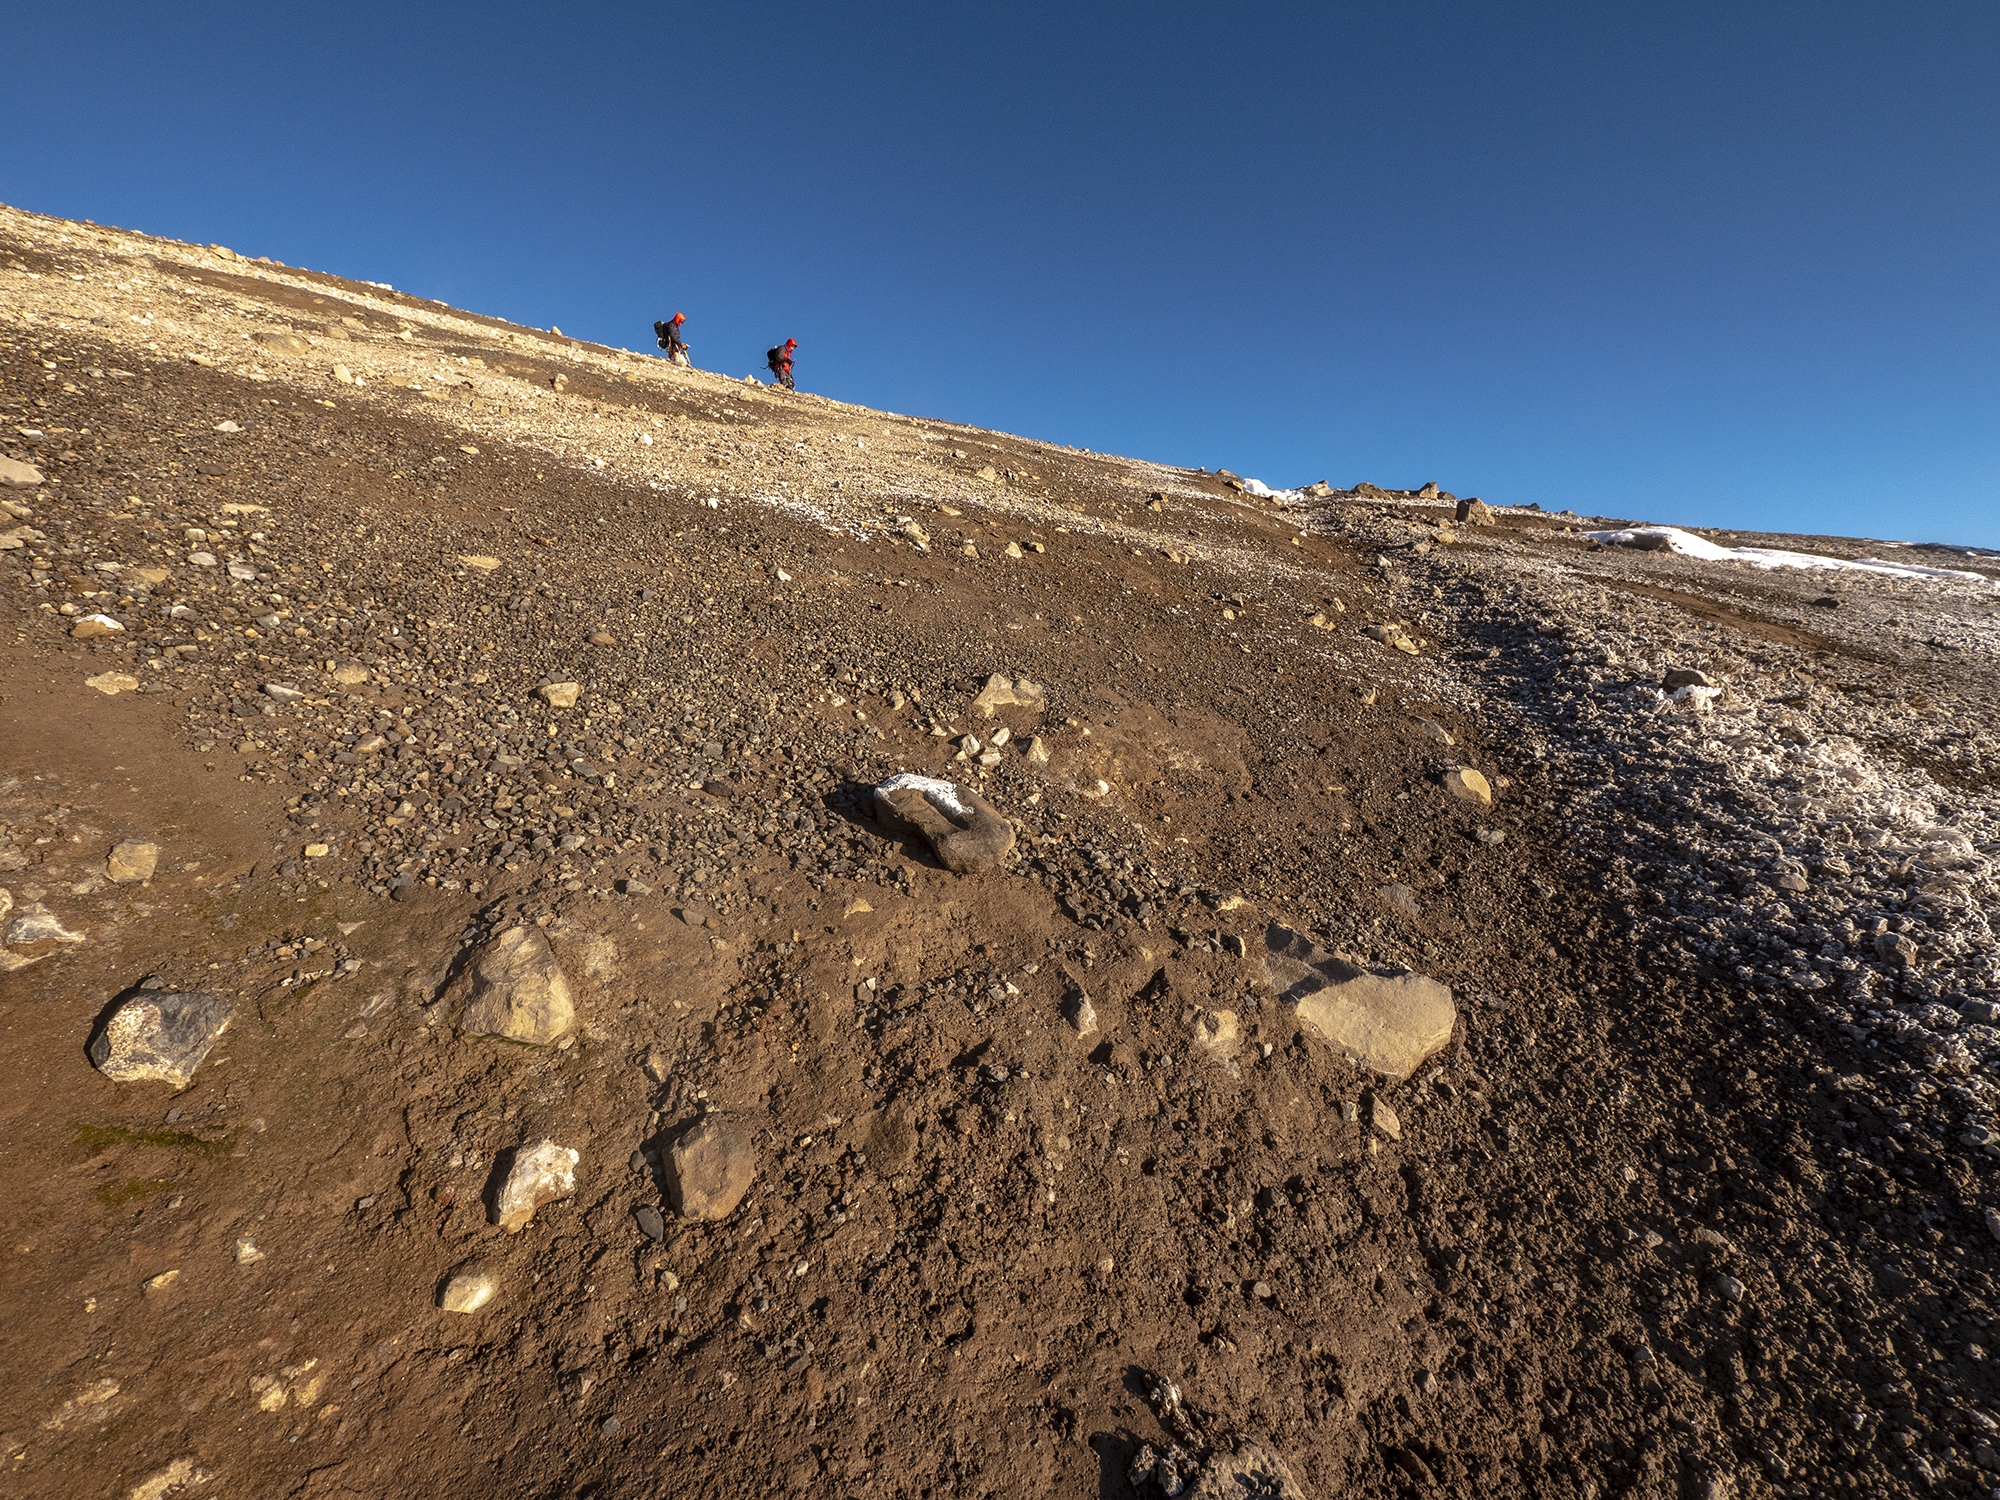
Conditions encountered: The 3.7km (2.3mi) trail from the parking lot in Paradise was easy to follow up to the Muir Snowfield. Orange NPS marker flags guided us up the rest of the way to Camp Muir in whiteout conditions. In the absence of the flags, we would have needed to use our GPS device or compass to navigate. After you hit the snowfield, it is a monotonous 844m (2,900ft) slog up to Camp Muir. Make sure to enjoy some glisading on the way back down!

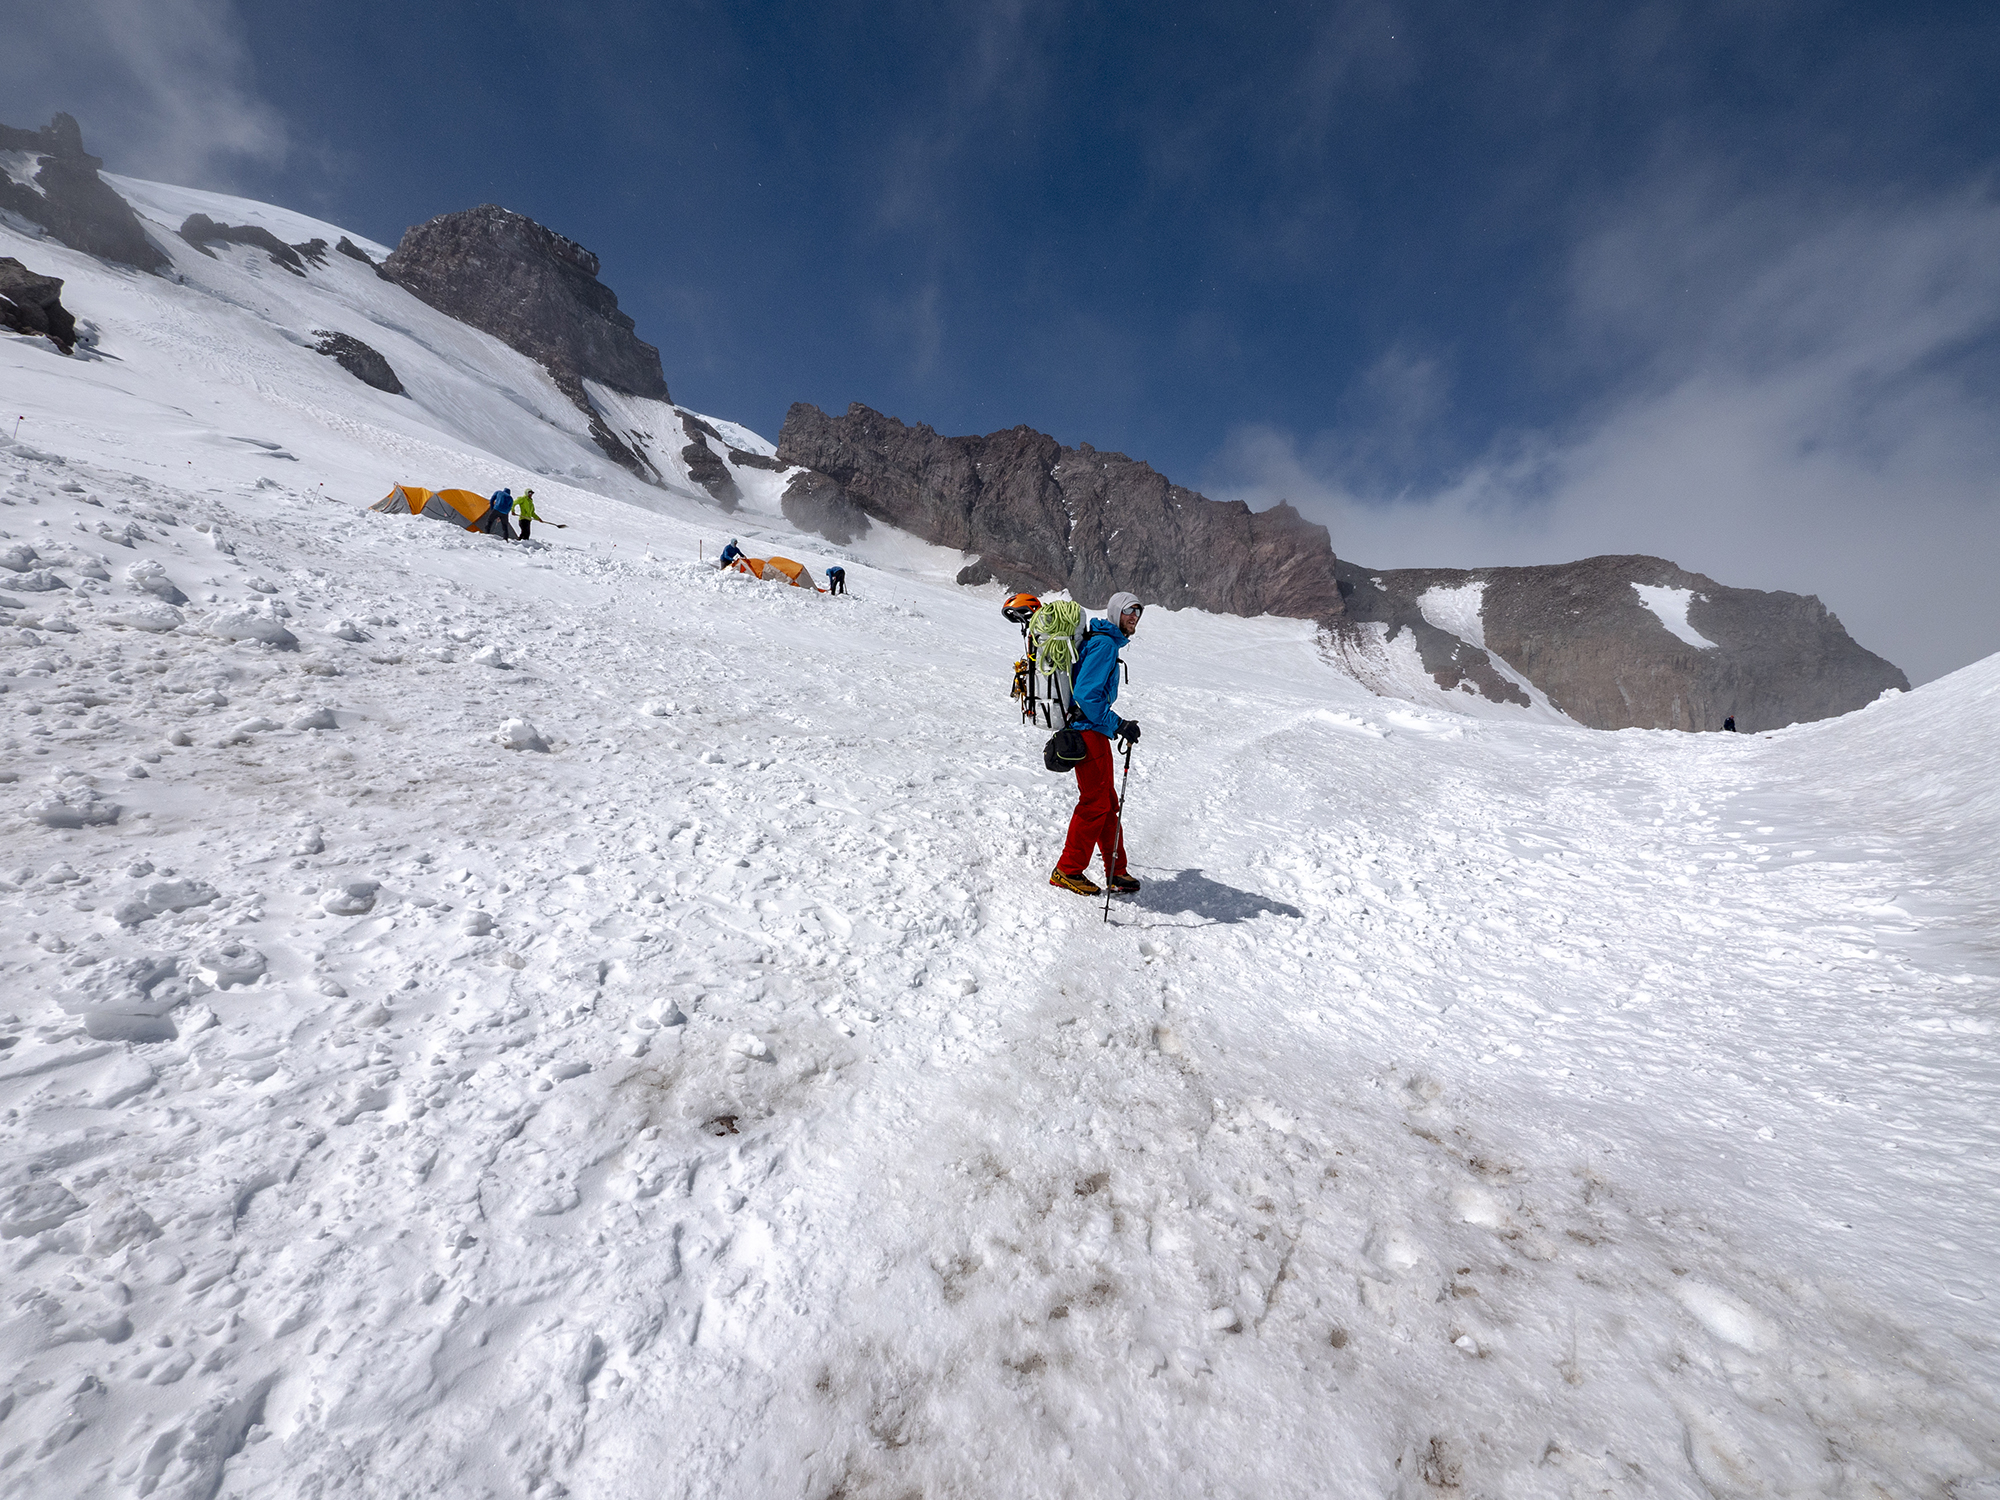
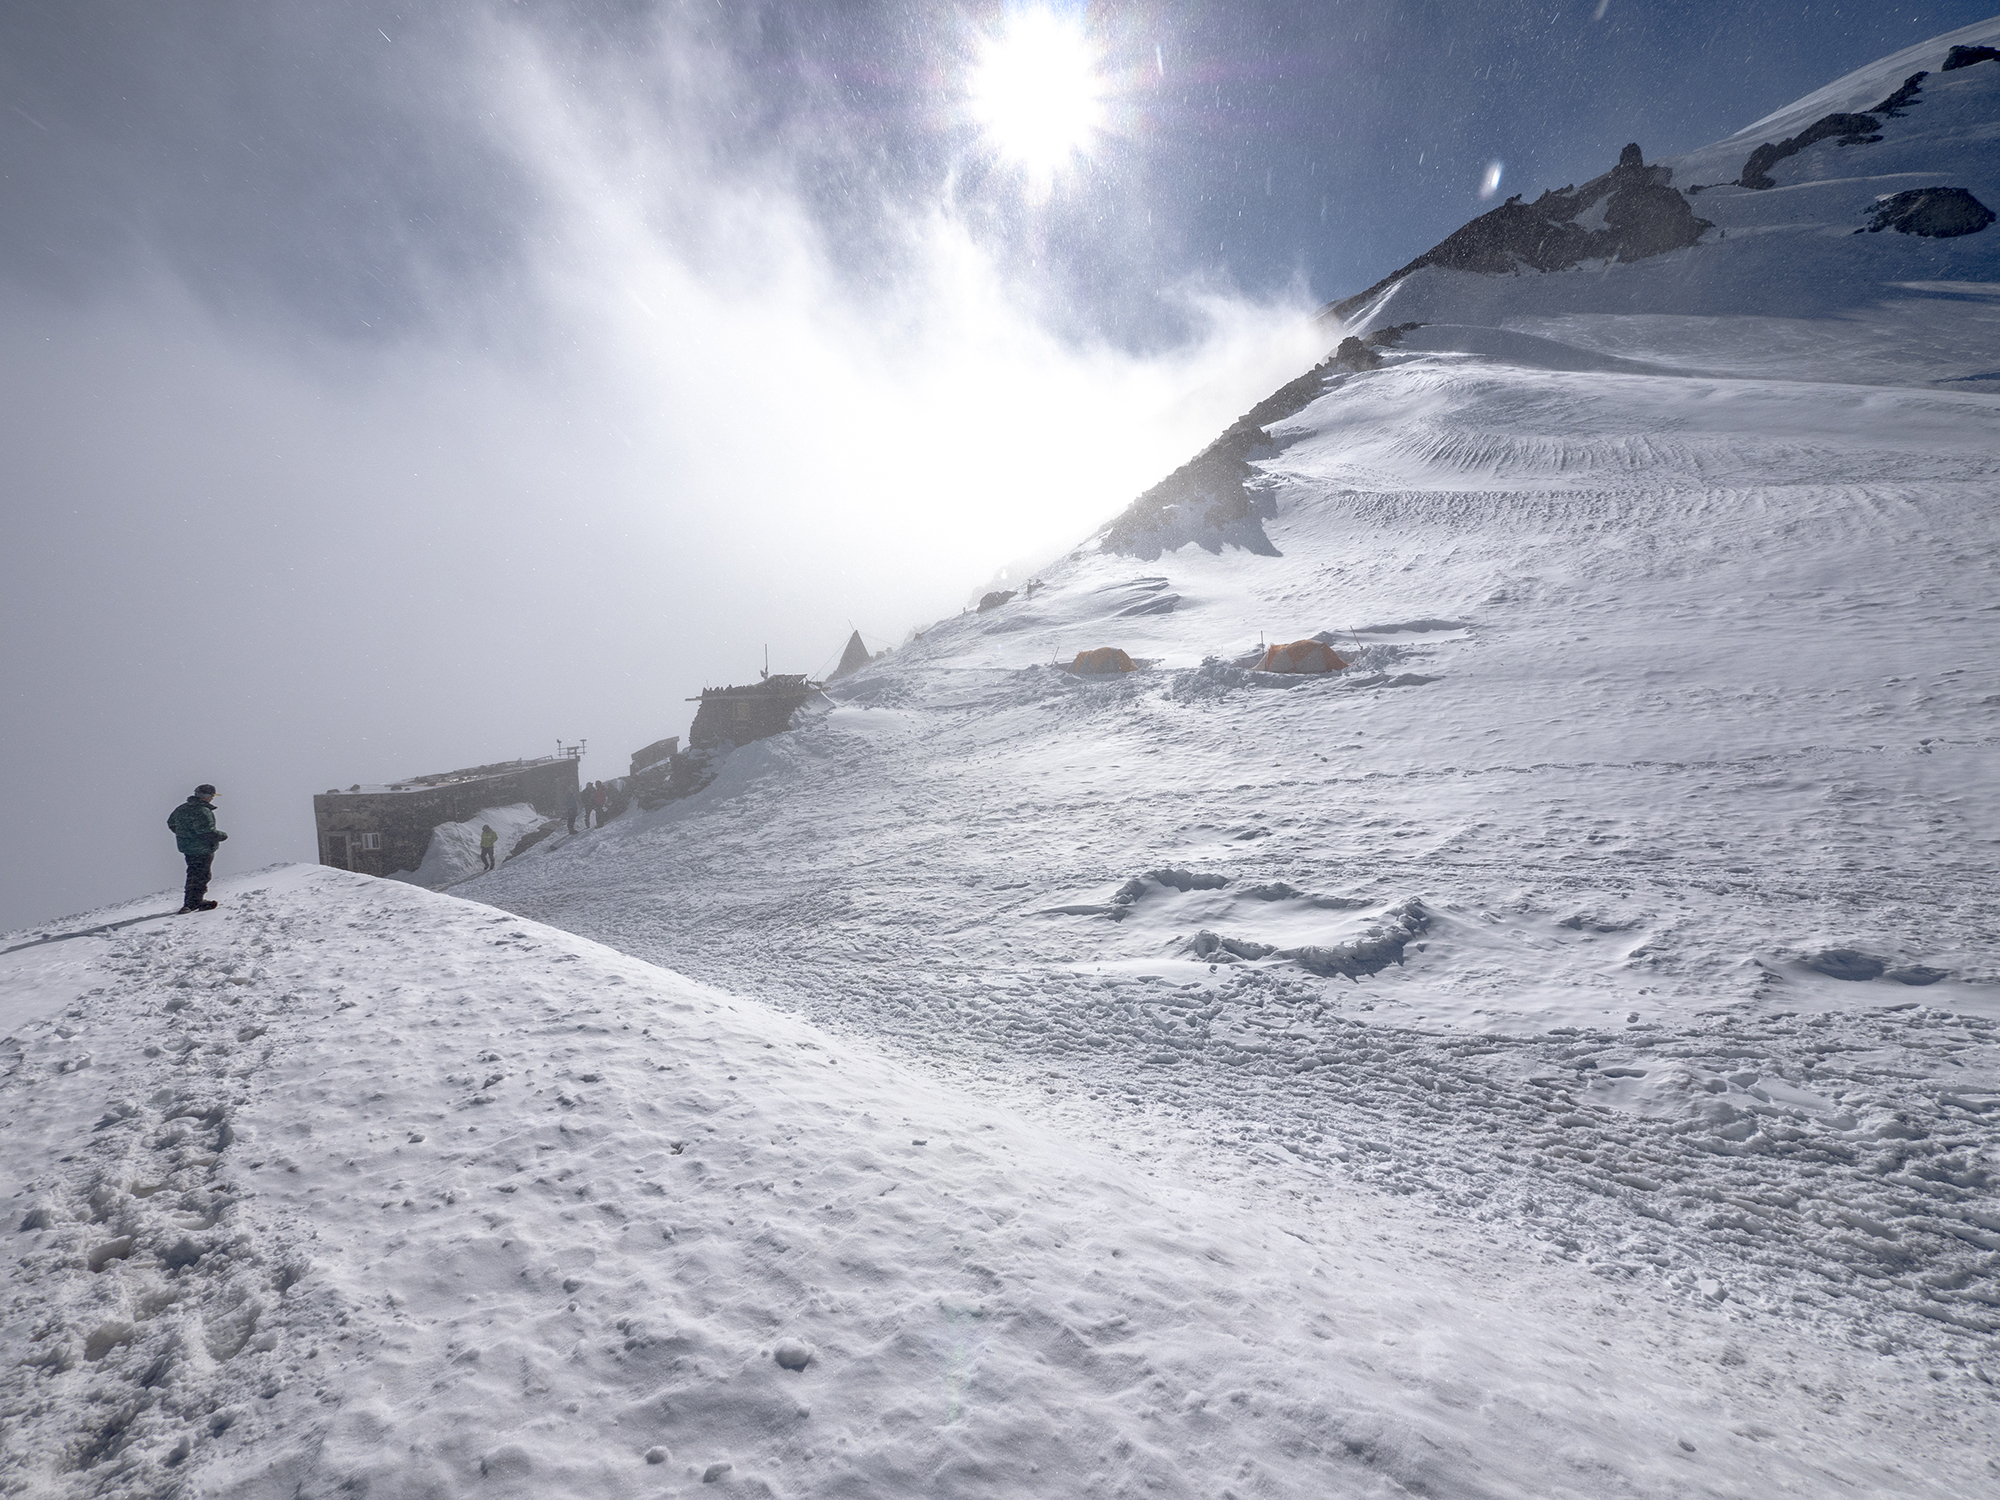
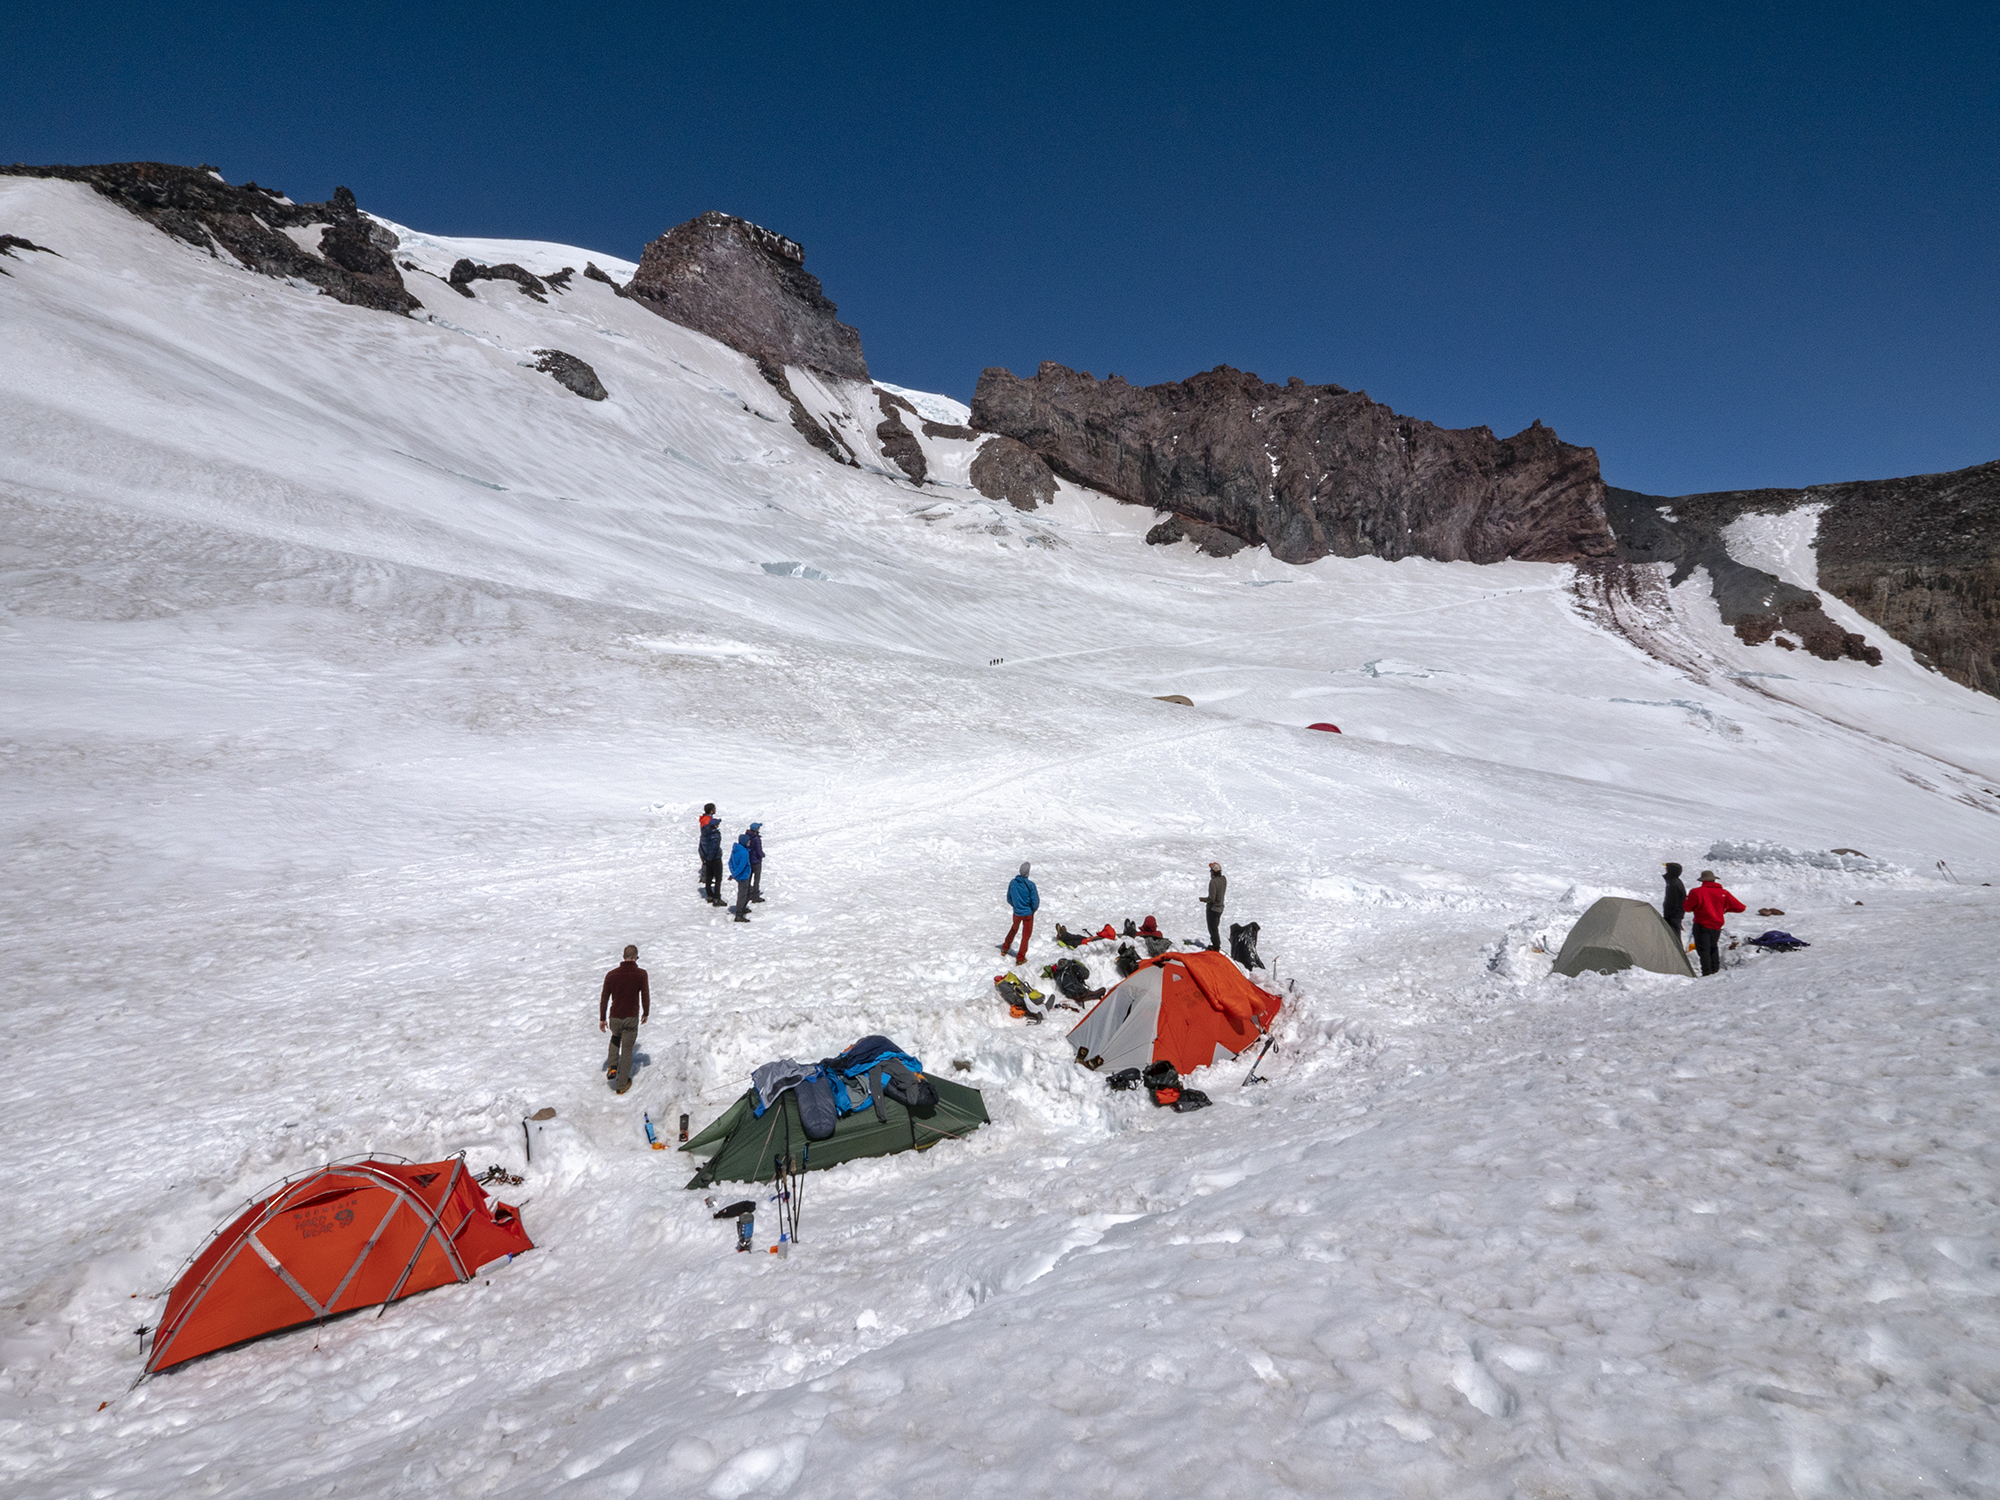
Camp Muir
Elevation: 3,072m (10,078ft)
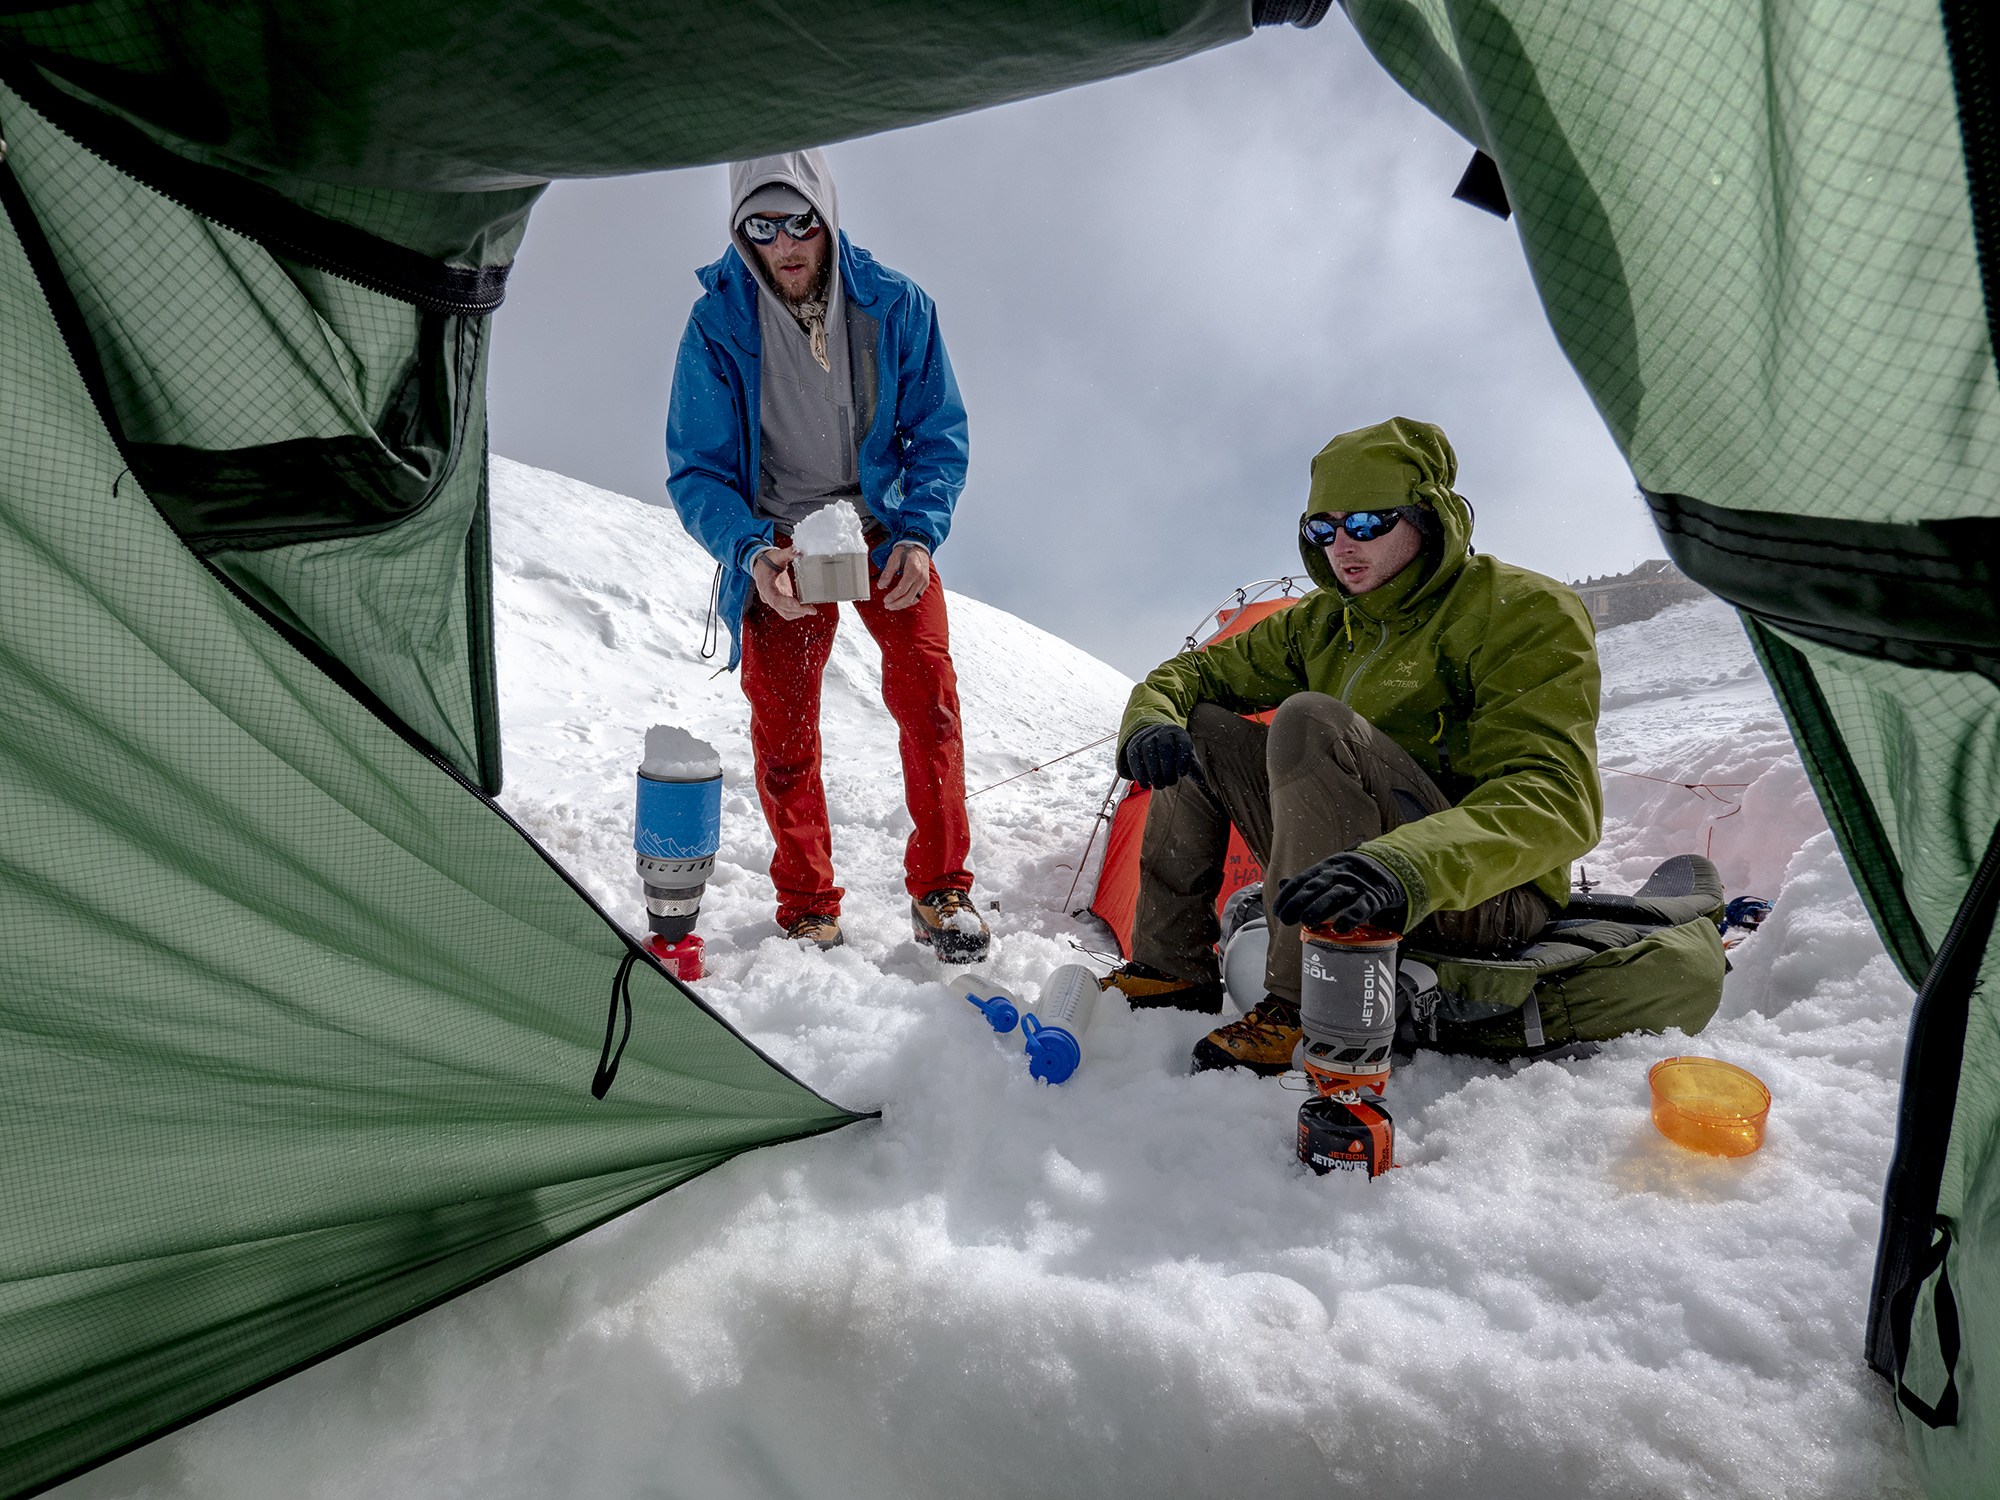
Conditions encountered: There are two solar-powered public privies with wall-mounted hand sanitizer! We still brought a few blue bags, just in case. You can pick them up for free at most ranger stations, including the one inside the REI Seattle flagship store.
The Muir Public Shelter, which accommodates approximately 25 people, is available to campers on a first-come, first-served basis.
Make sure to build a snow wall around your tent. We encountered 40mph winds our first night.
There was enough snow for us to dig out a “boot box” under the vestibule.


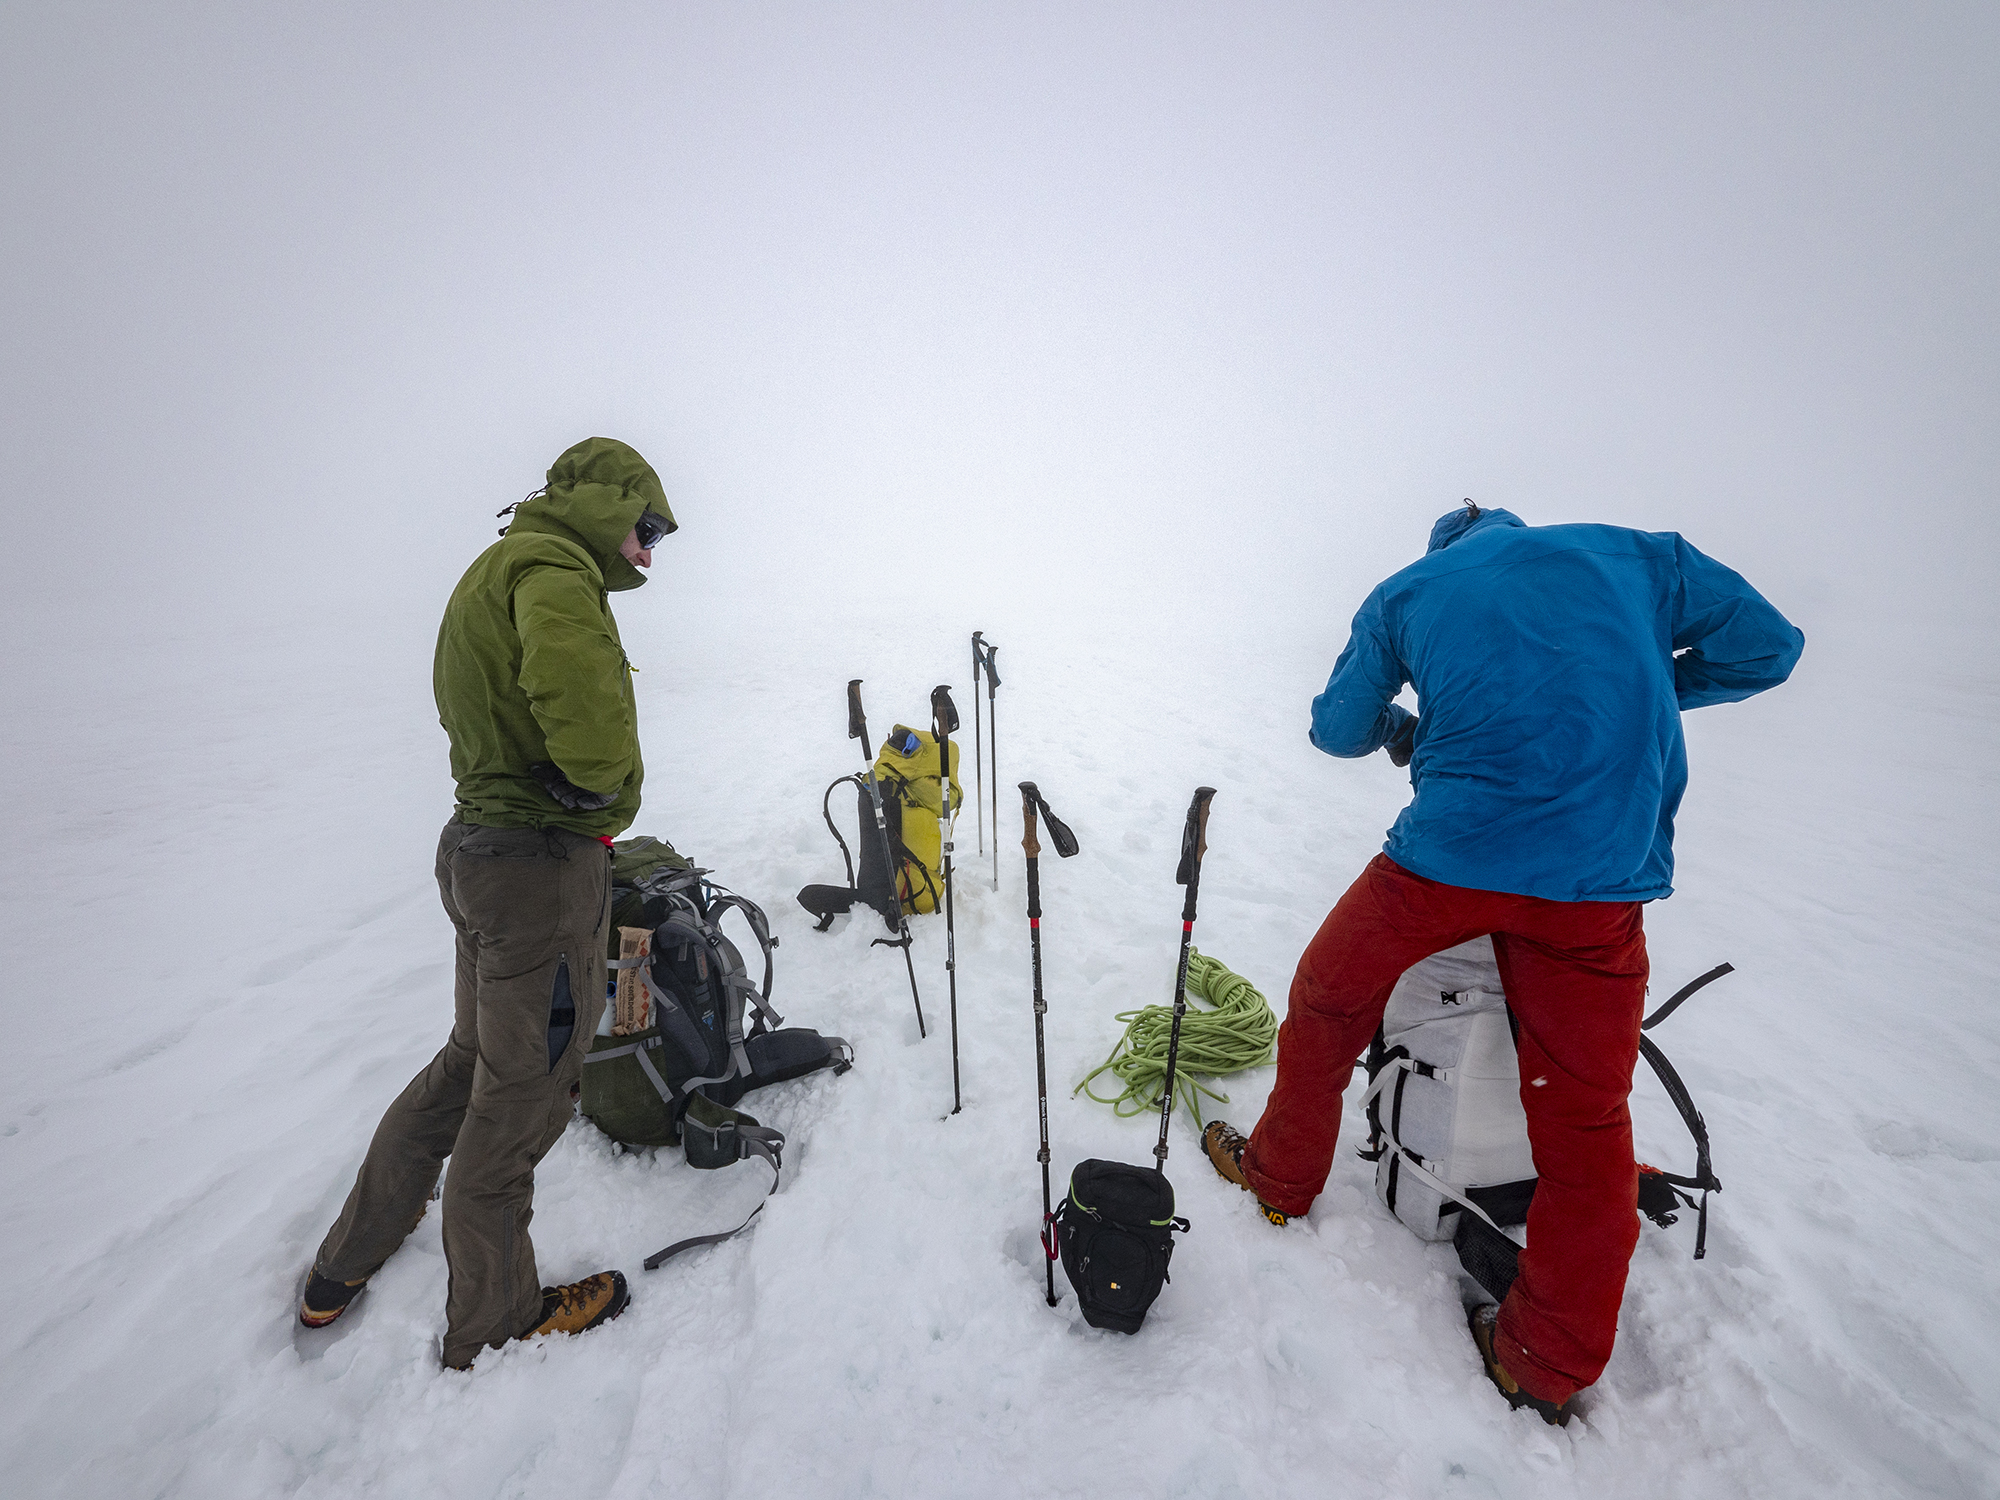
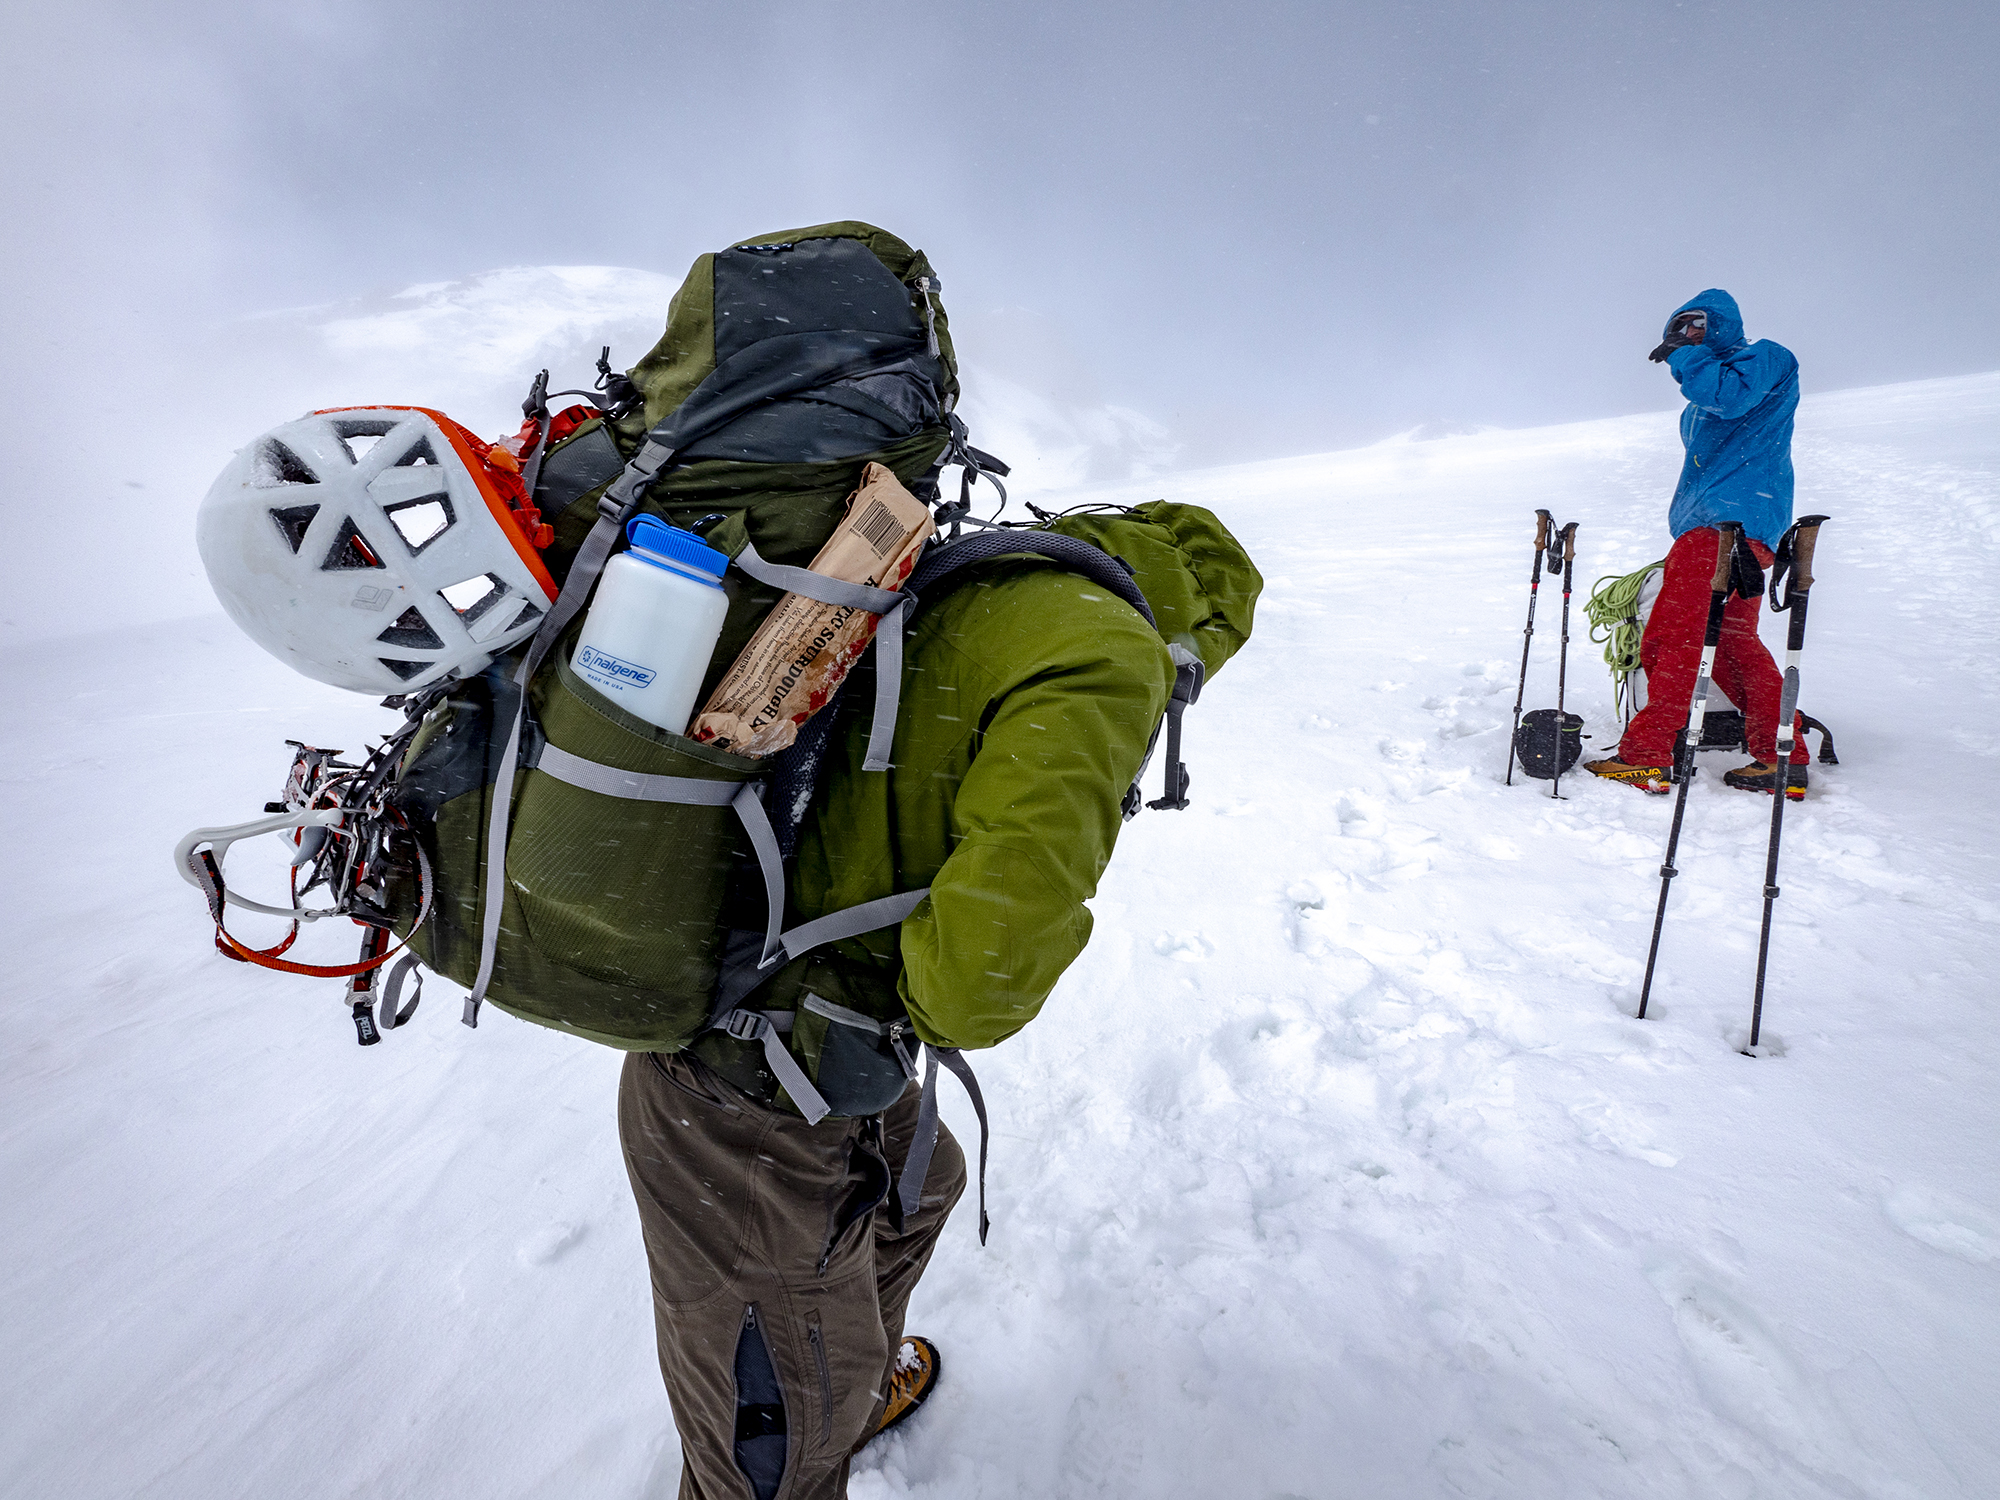
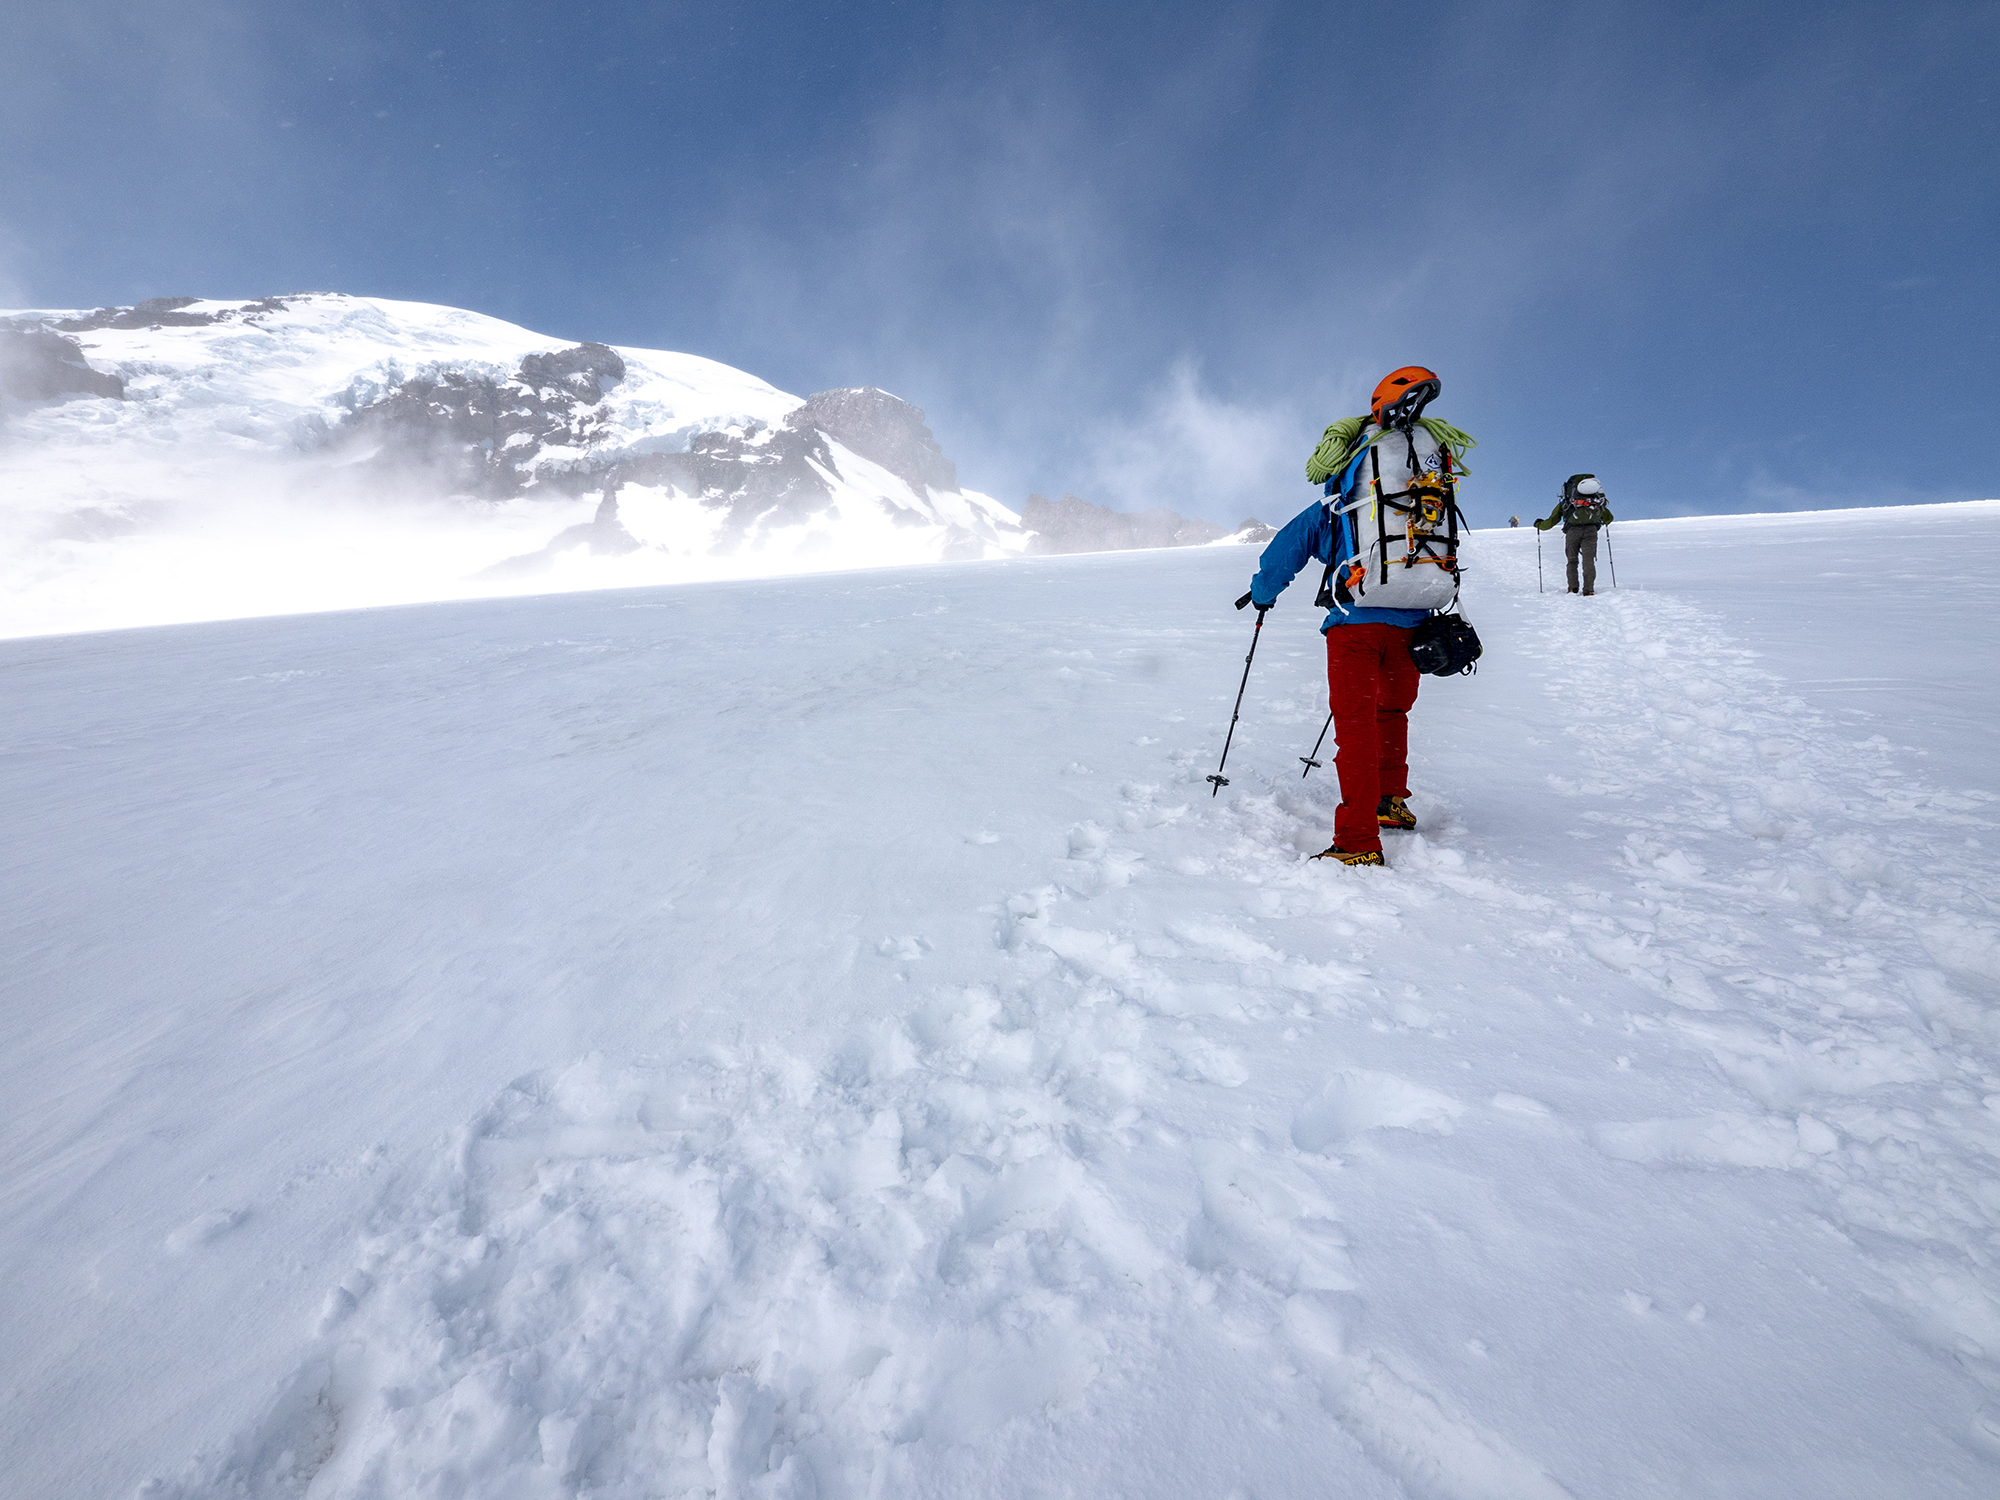
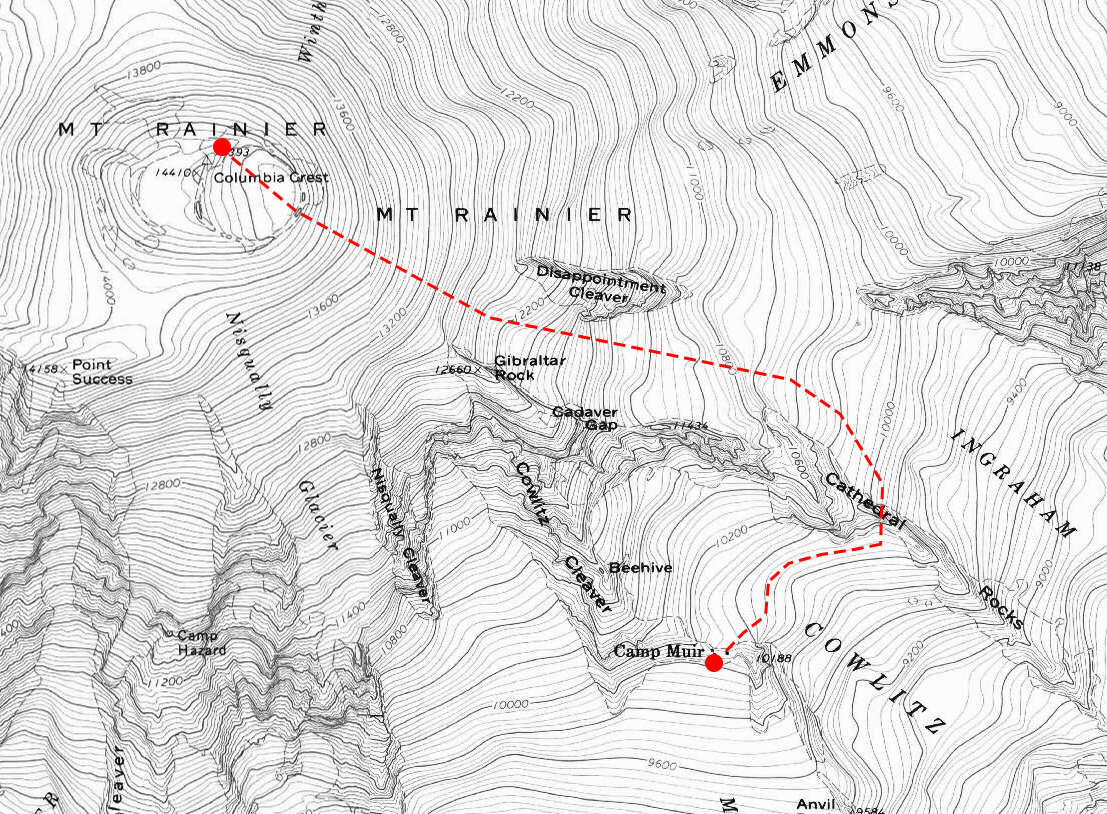
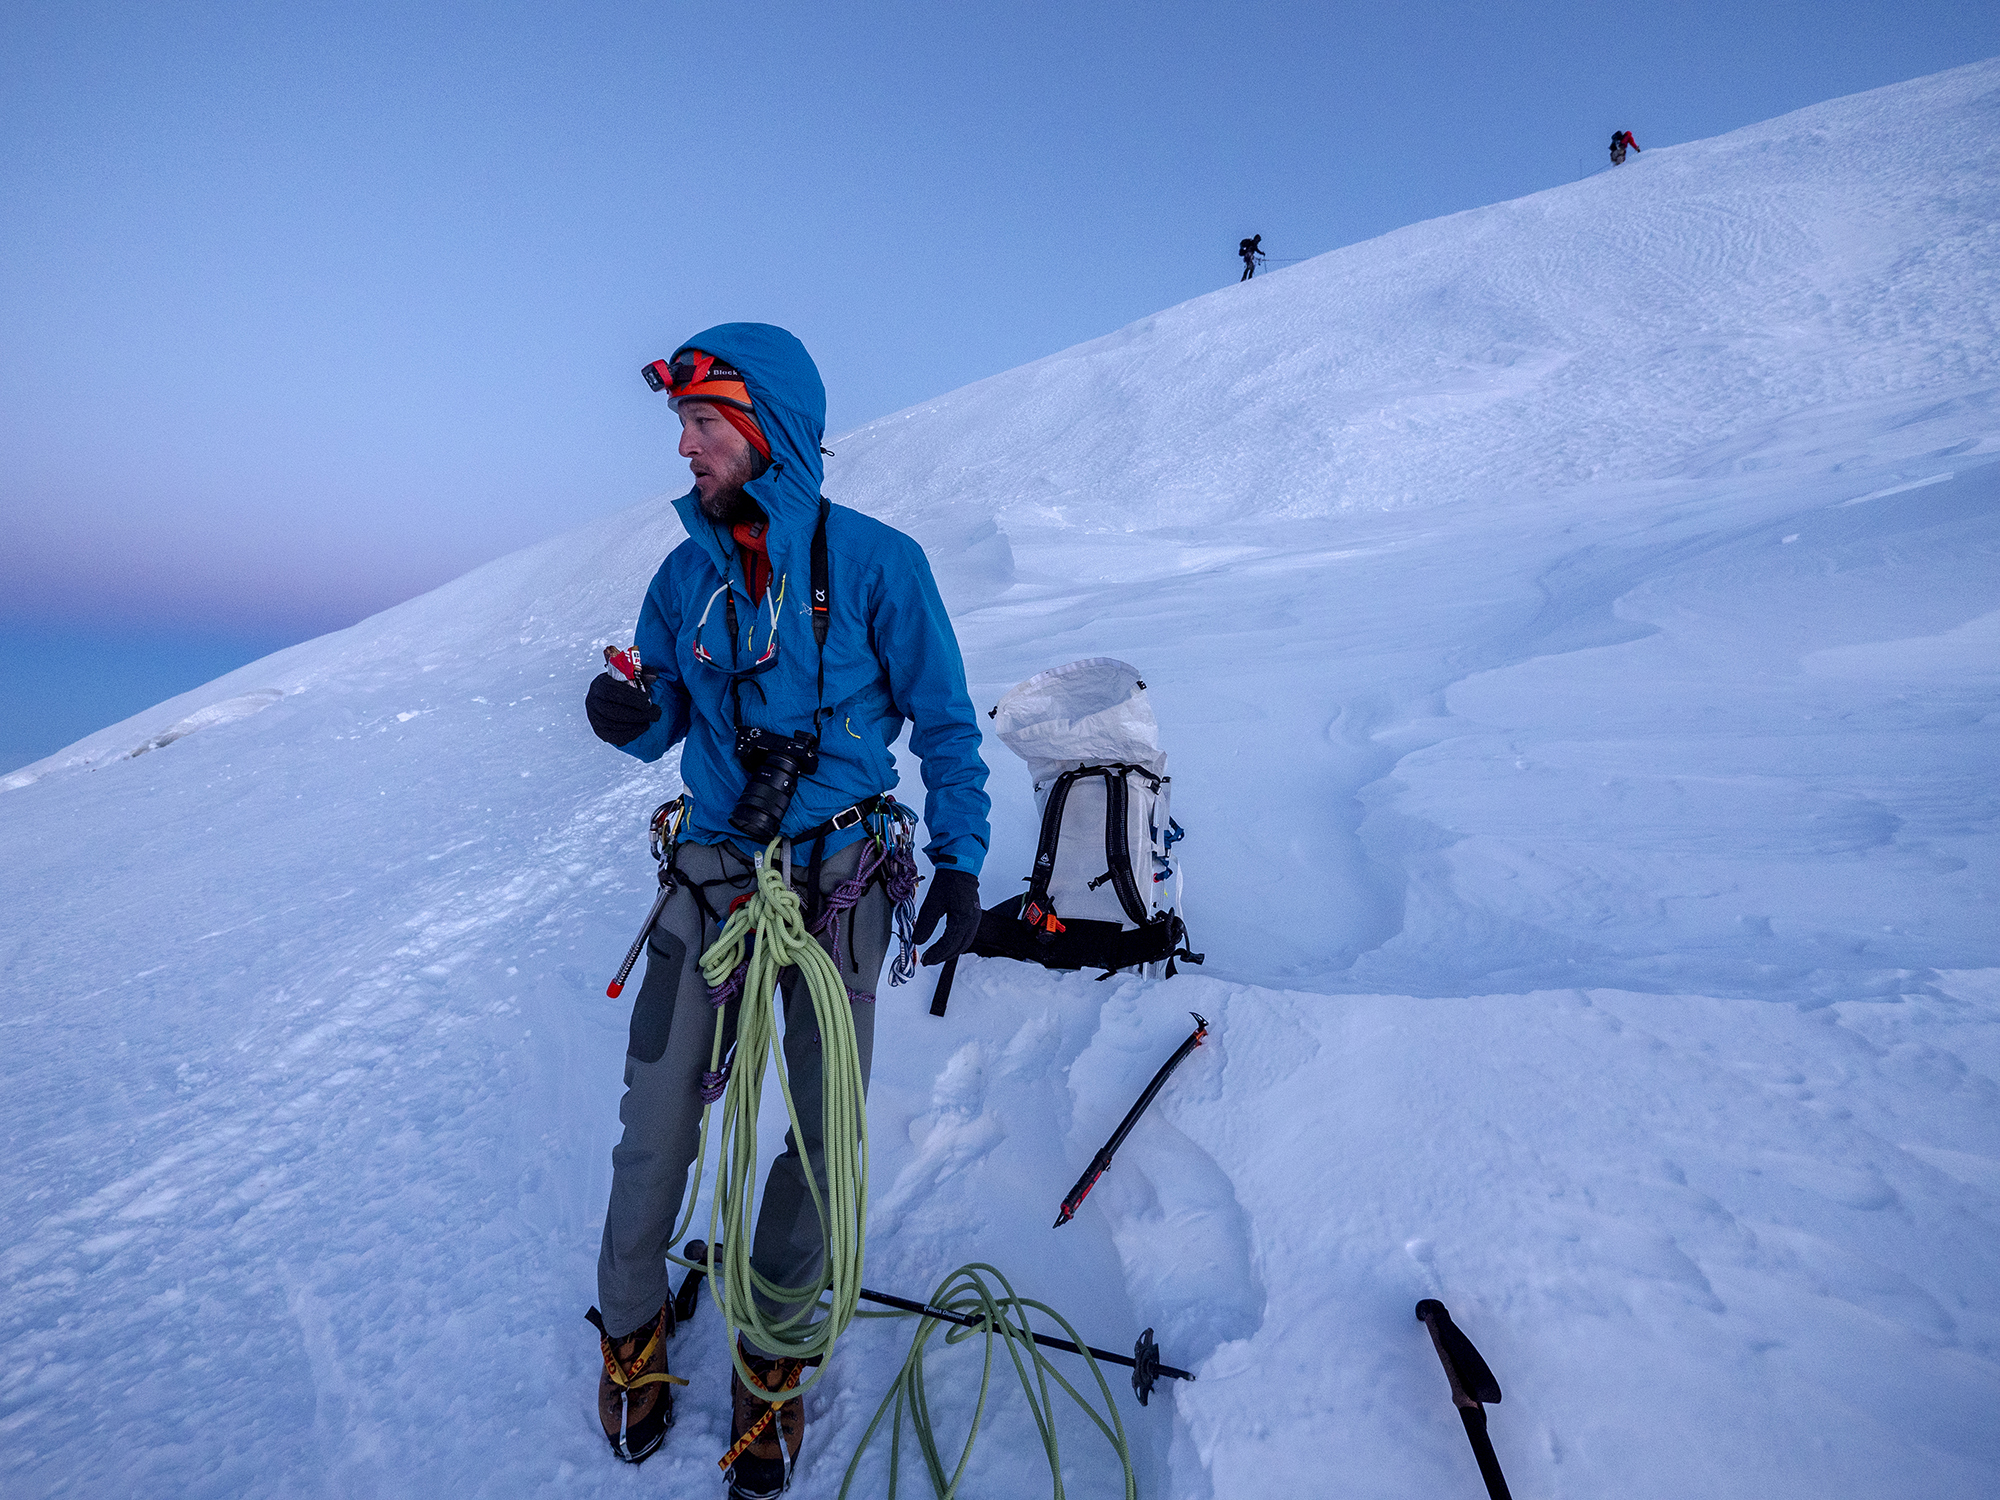
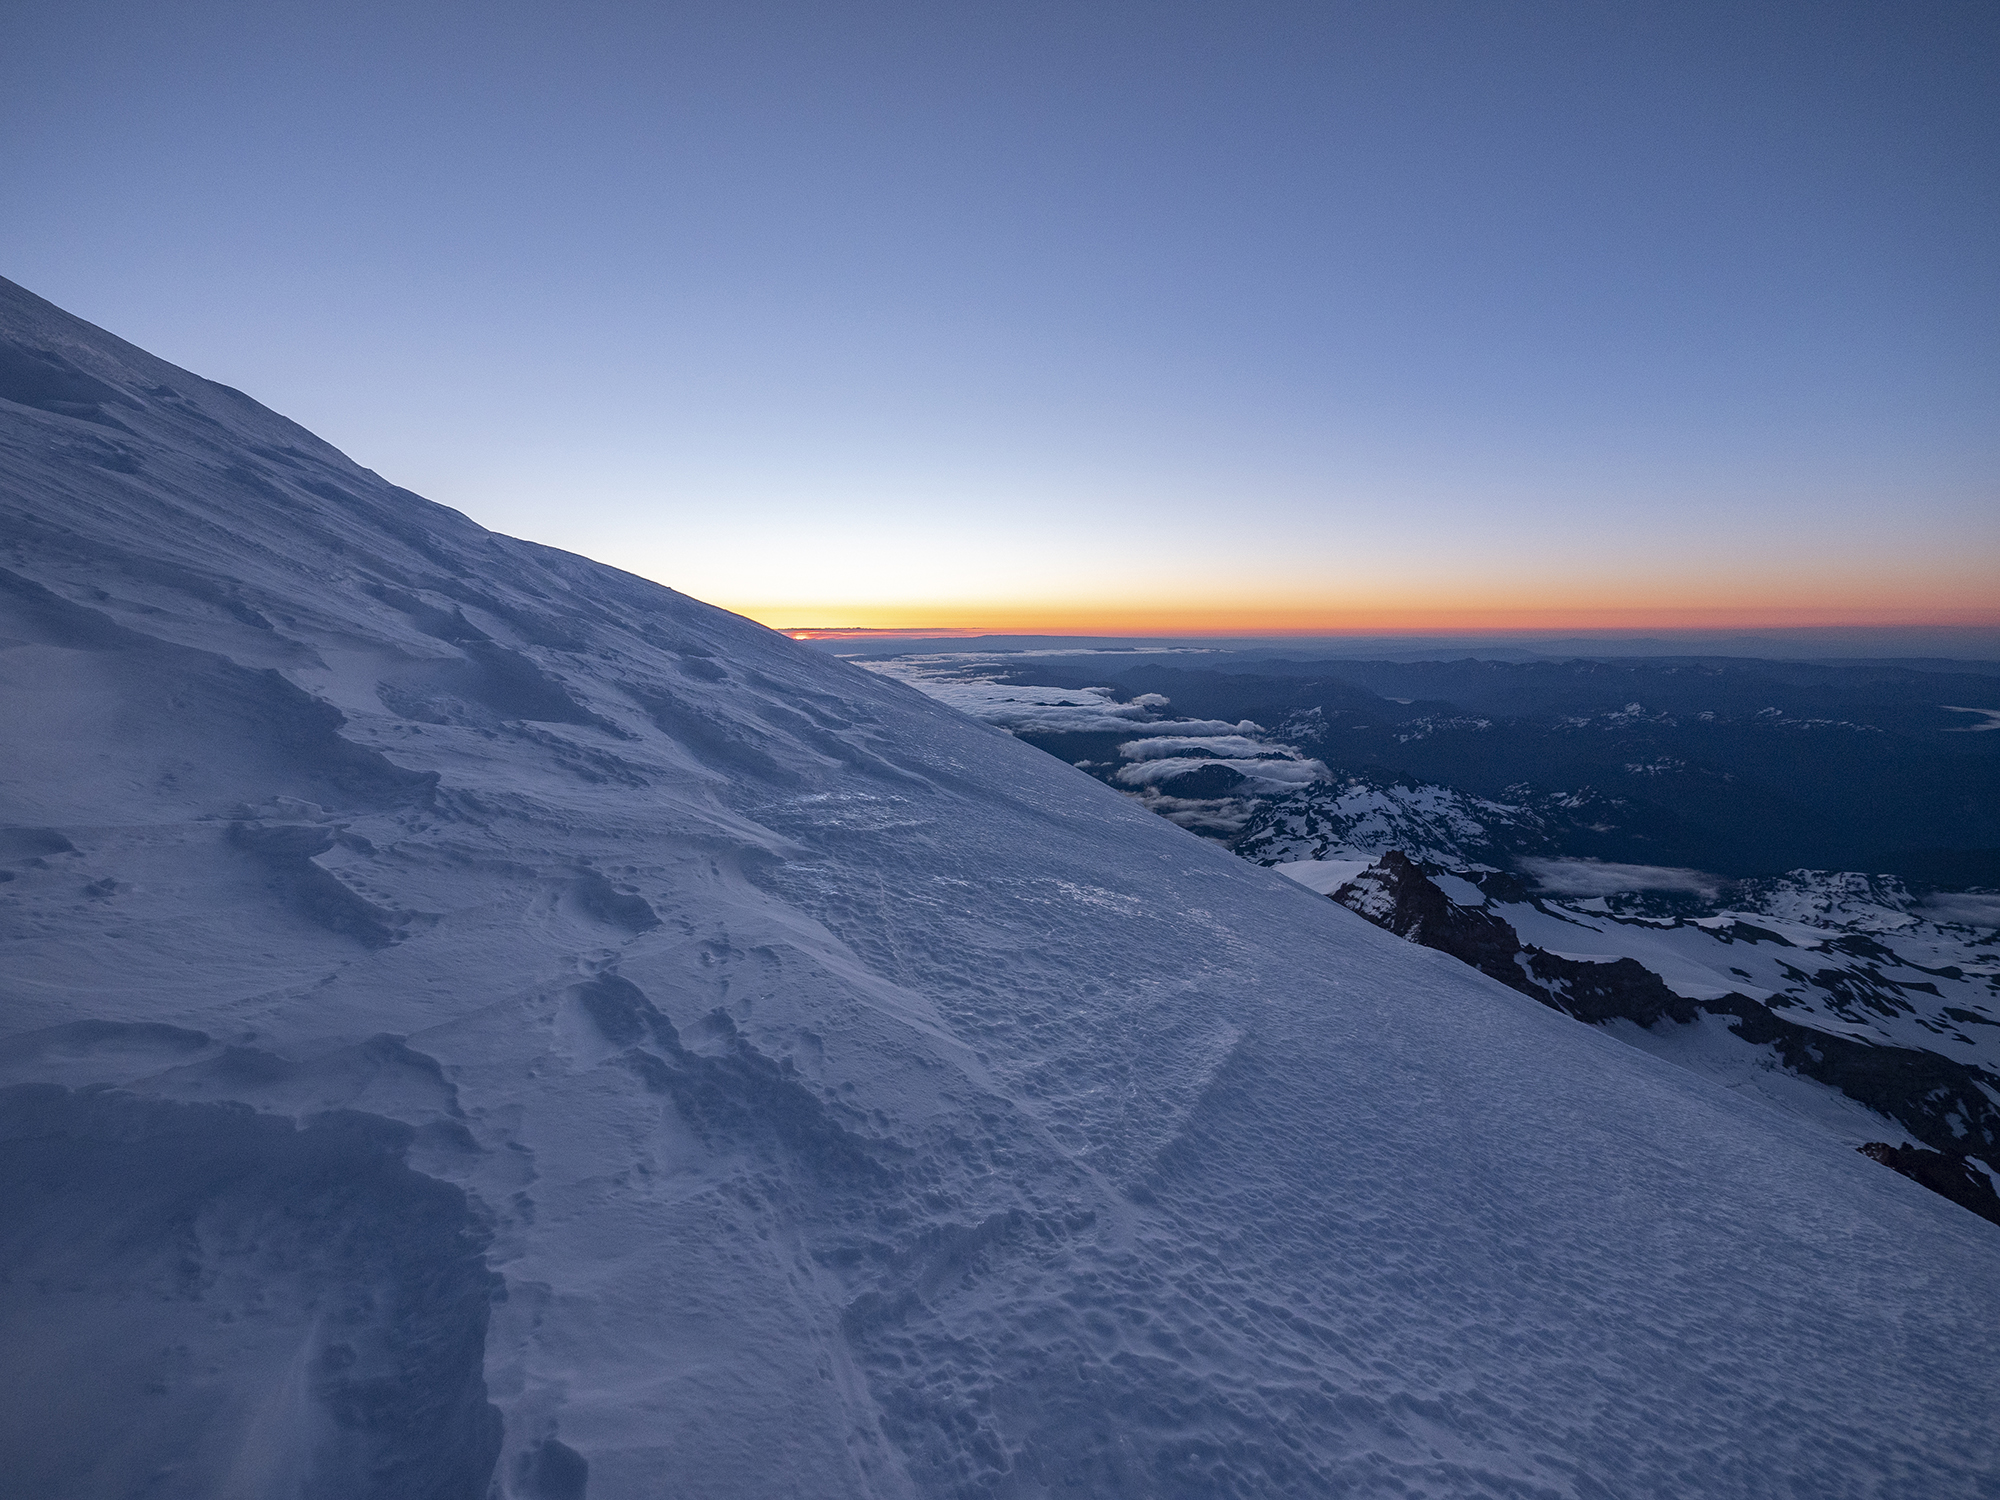
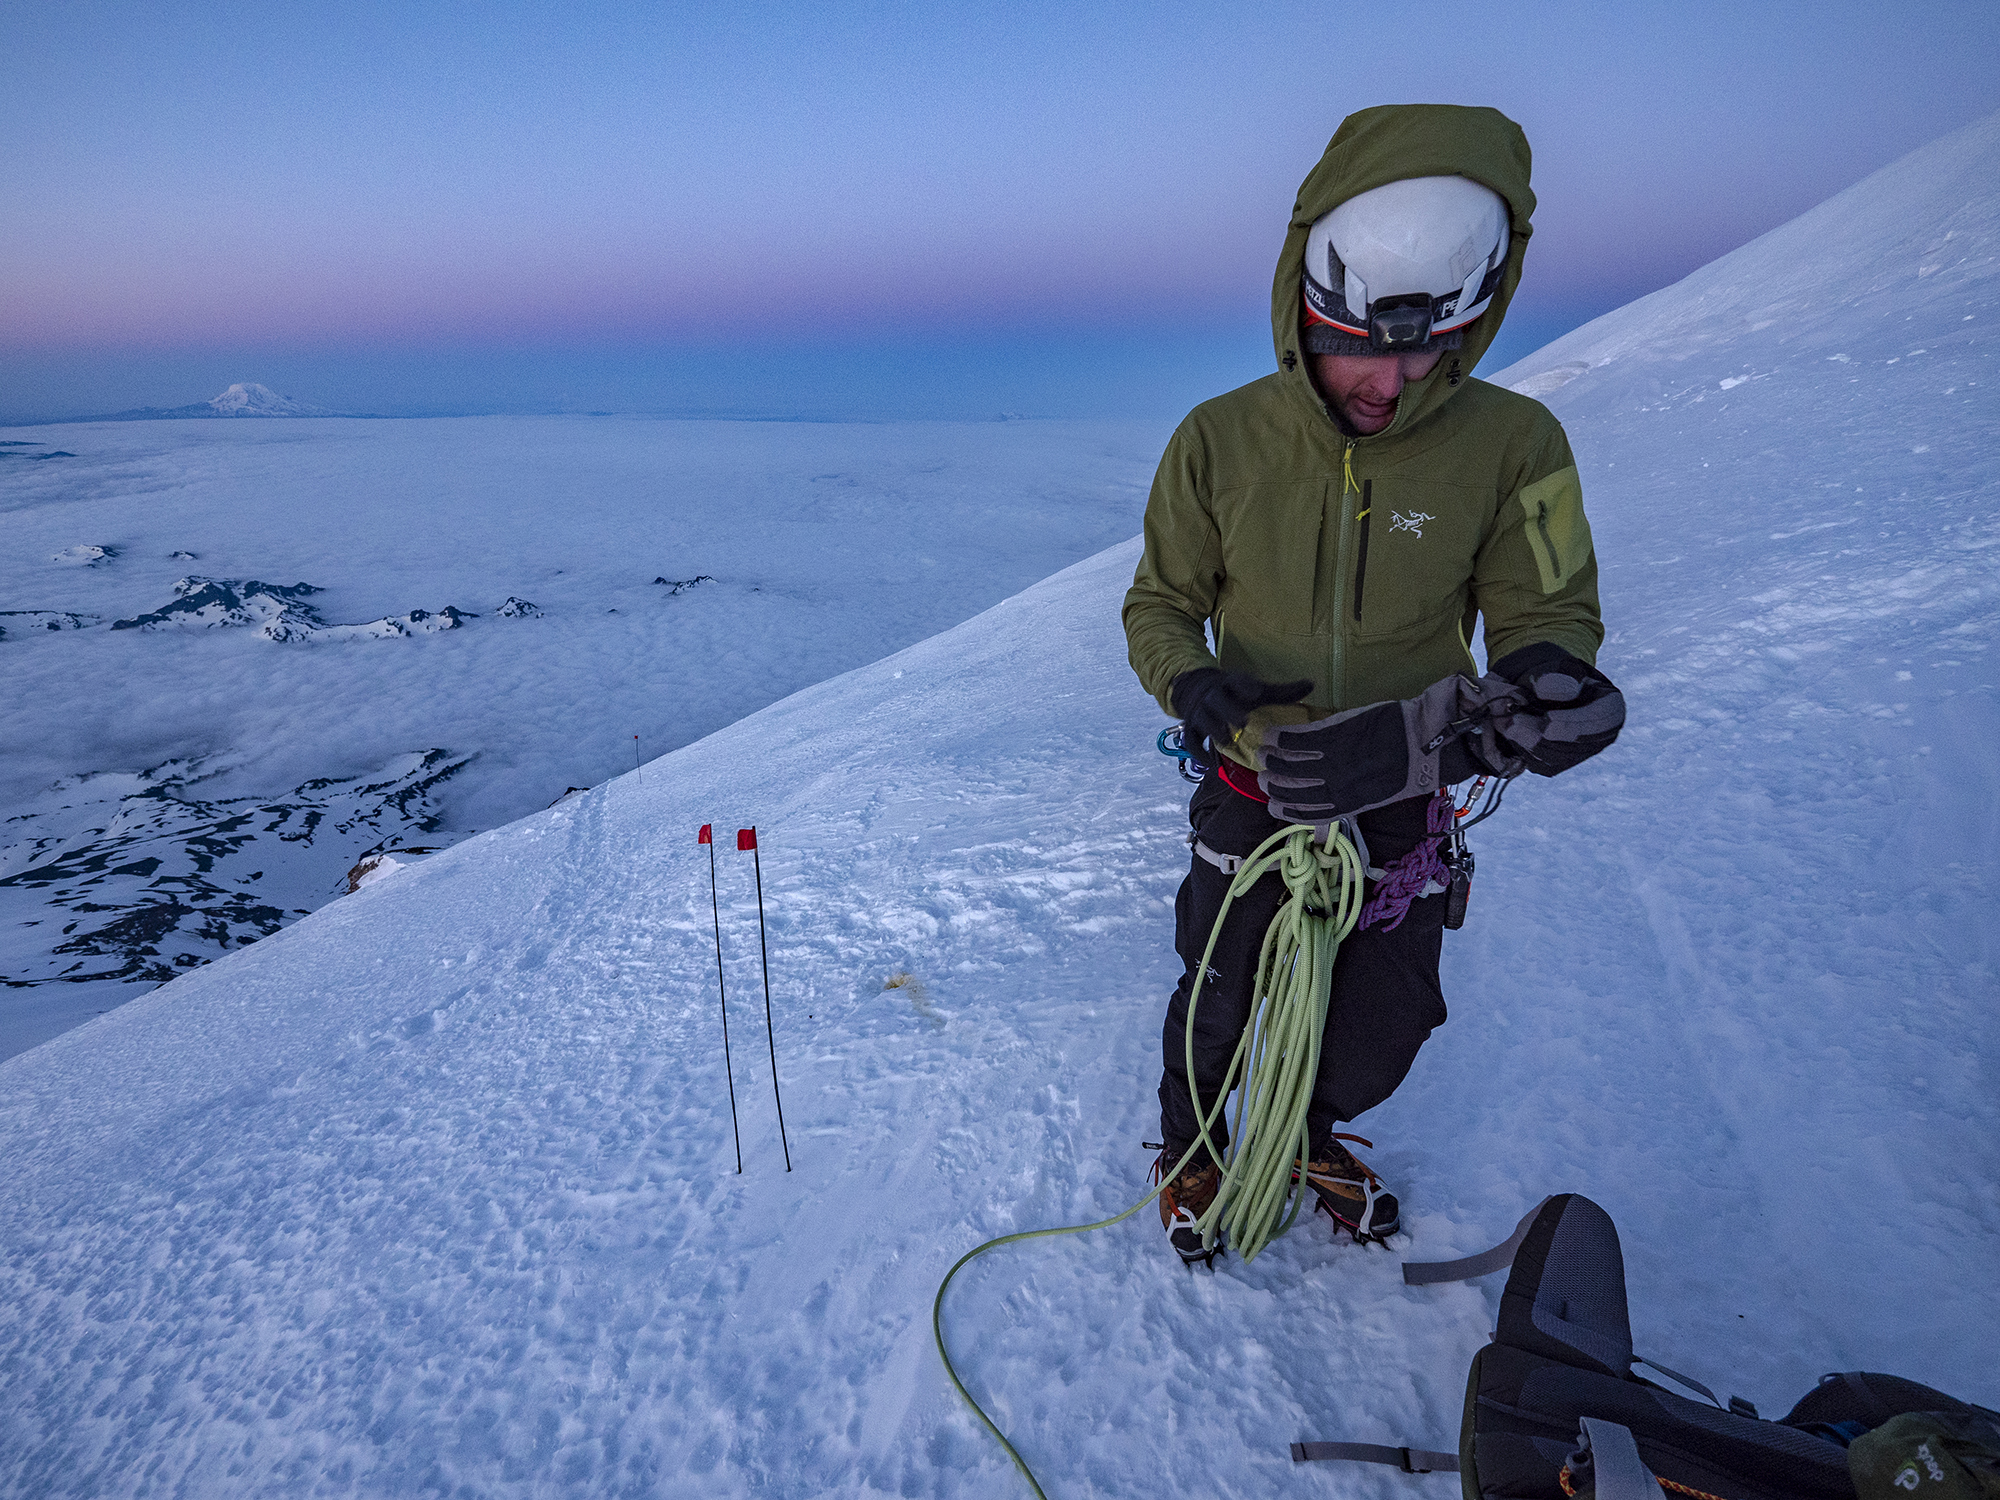
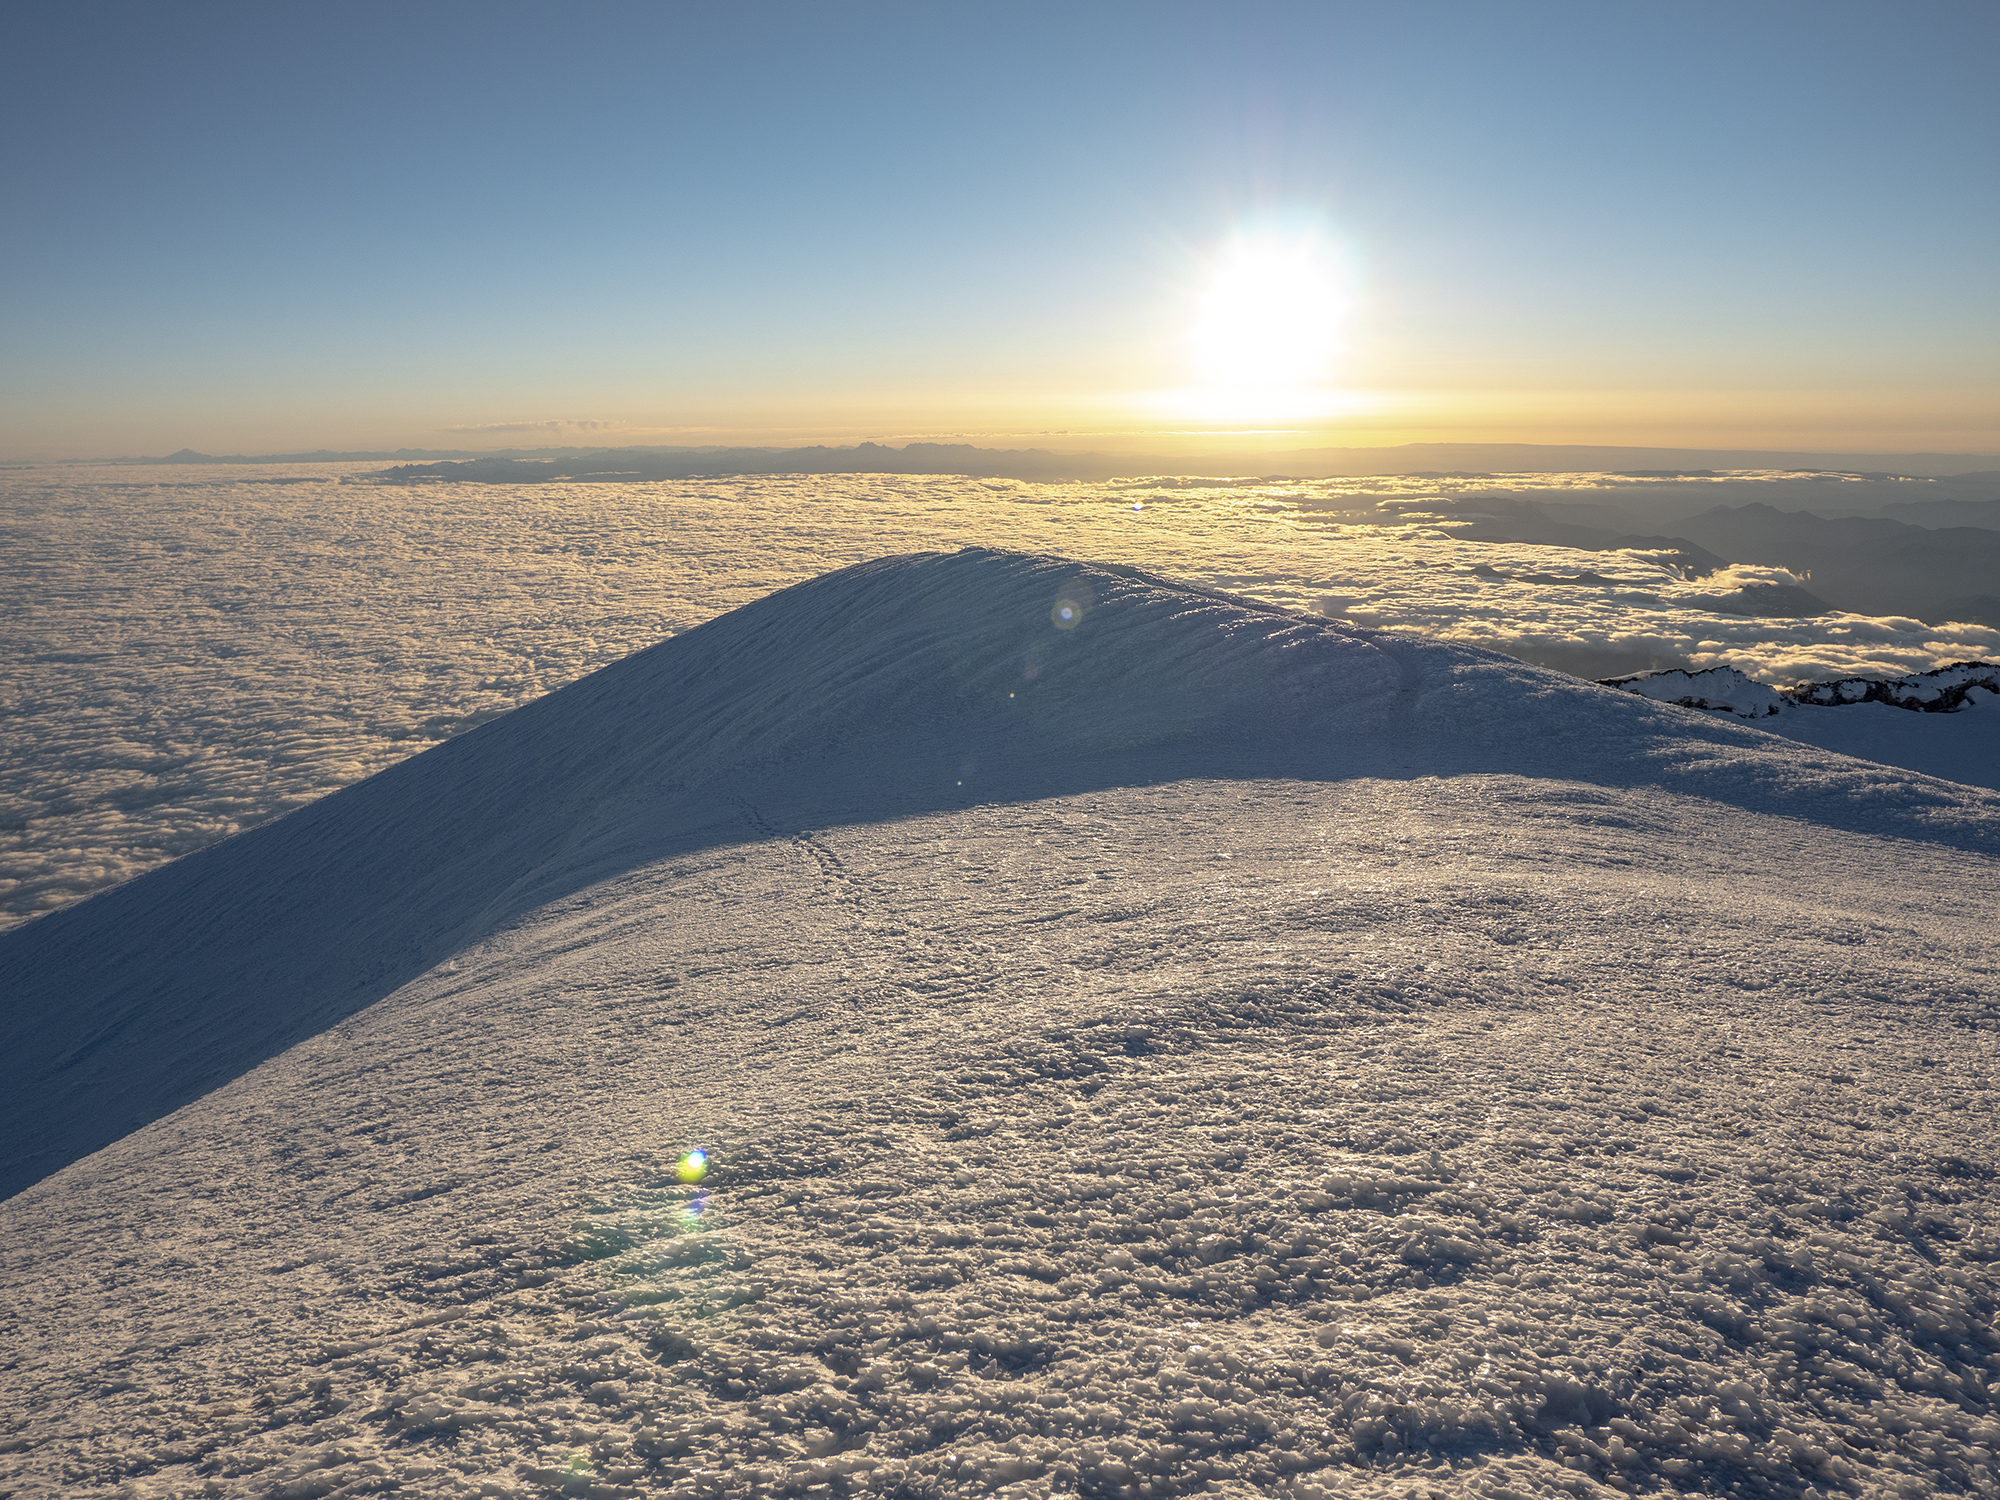
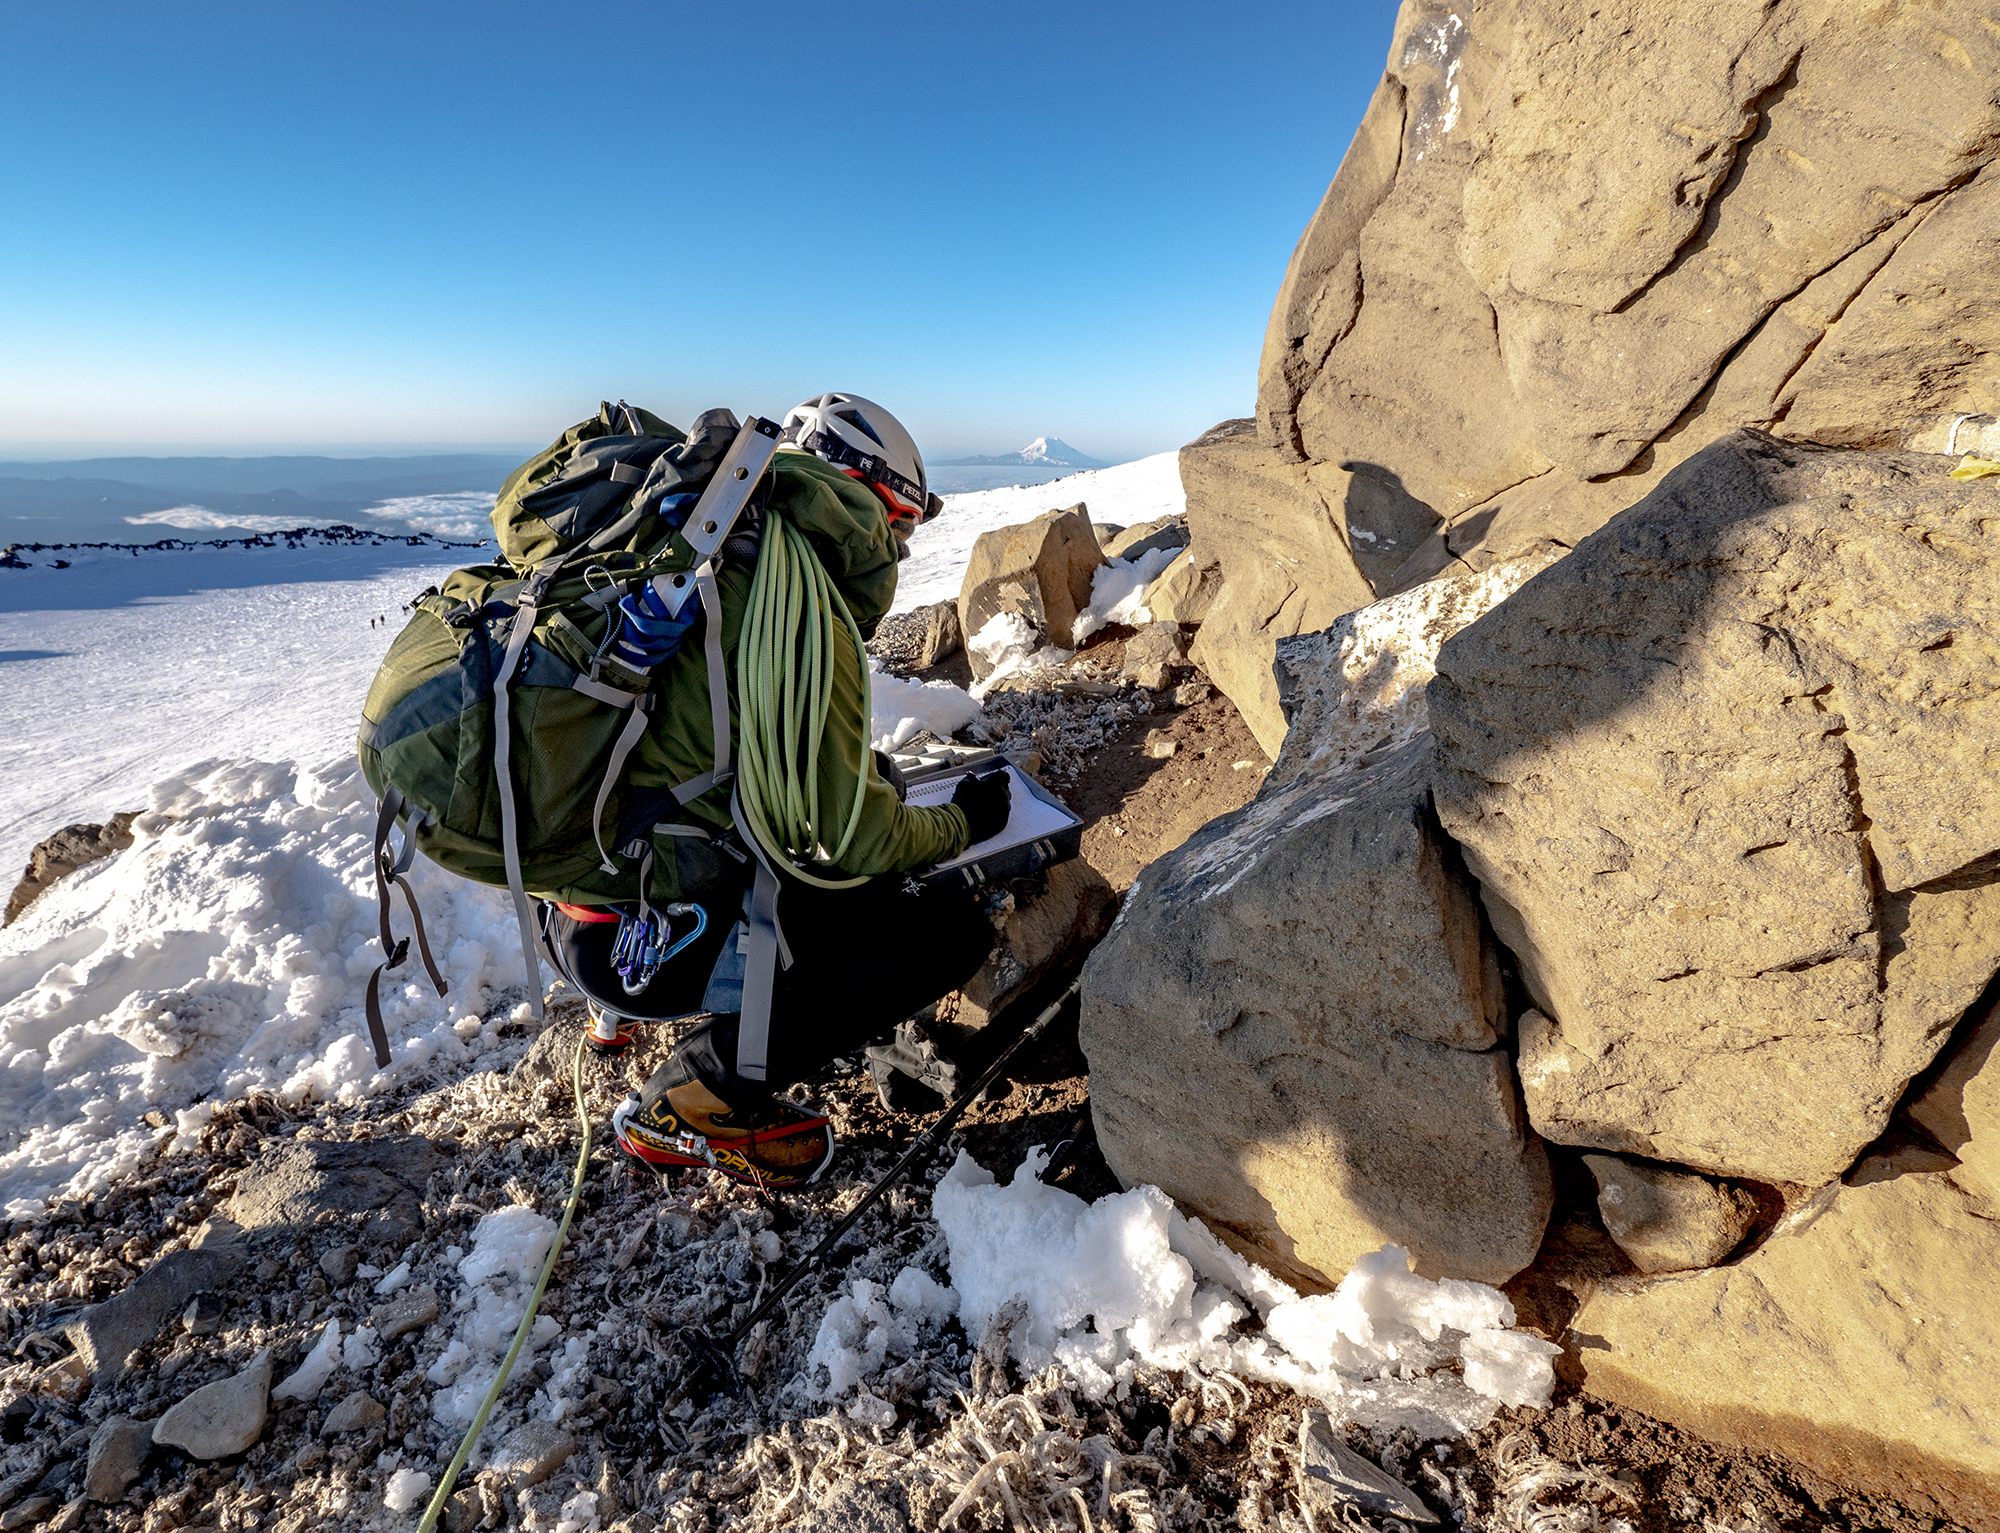
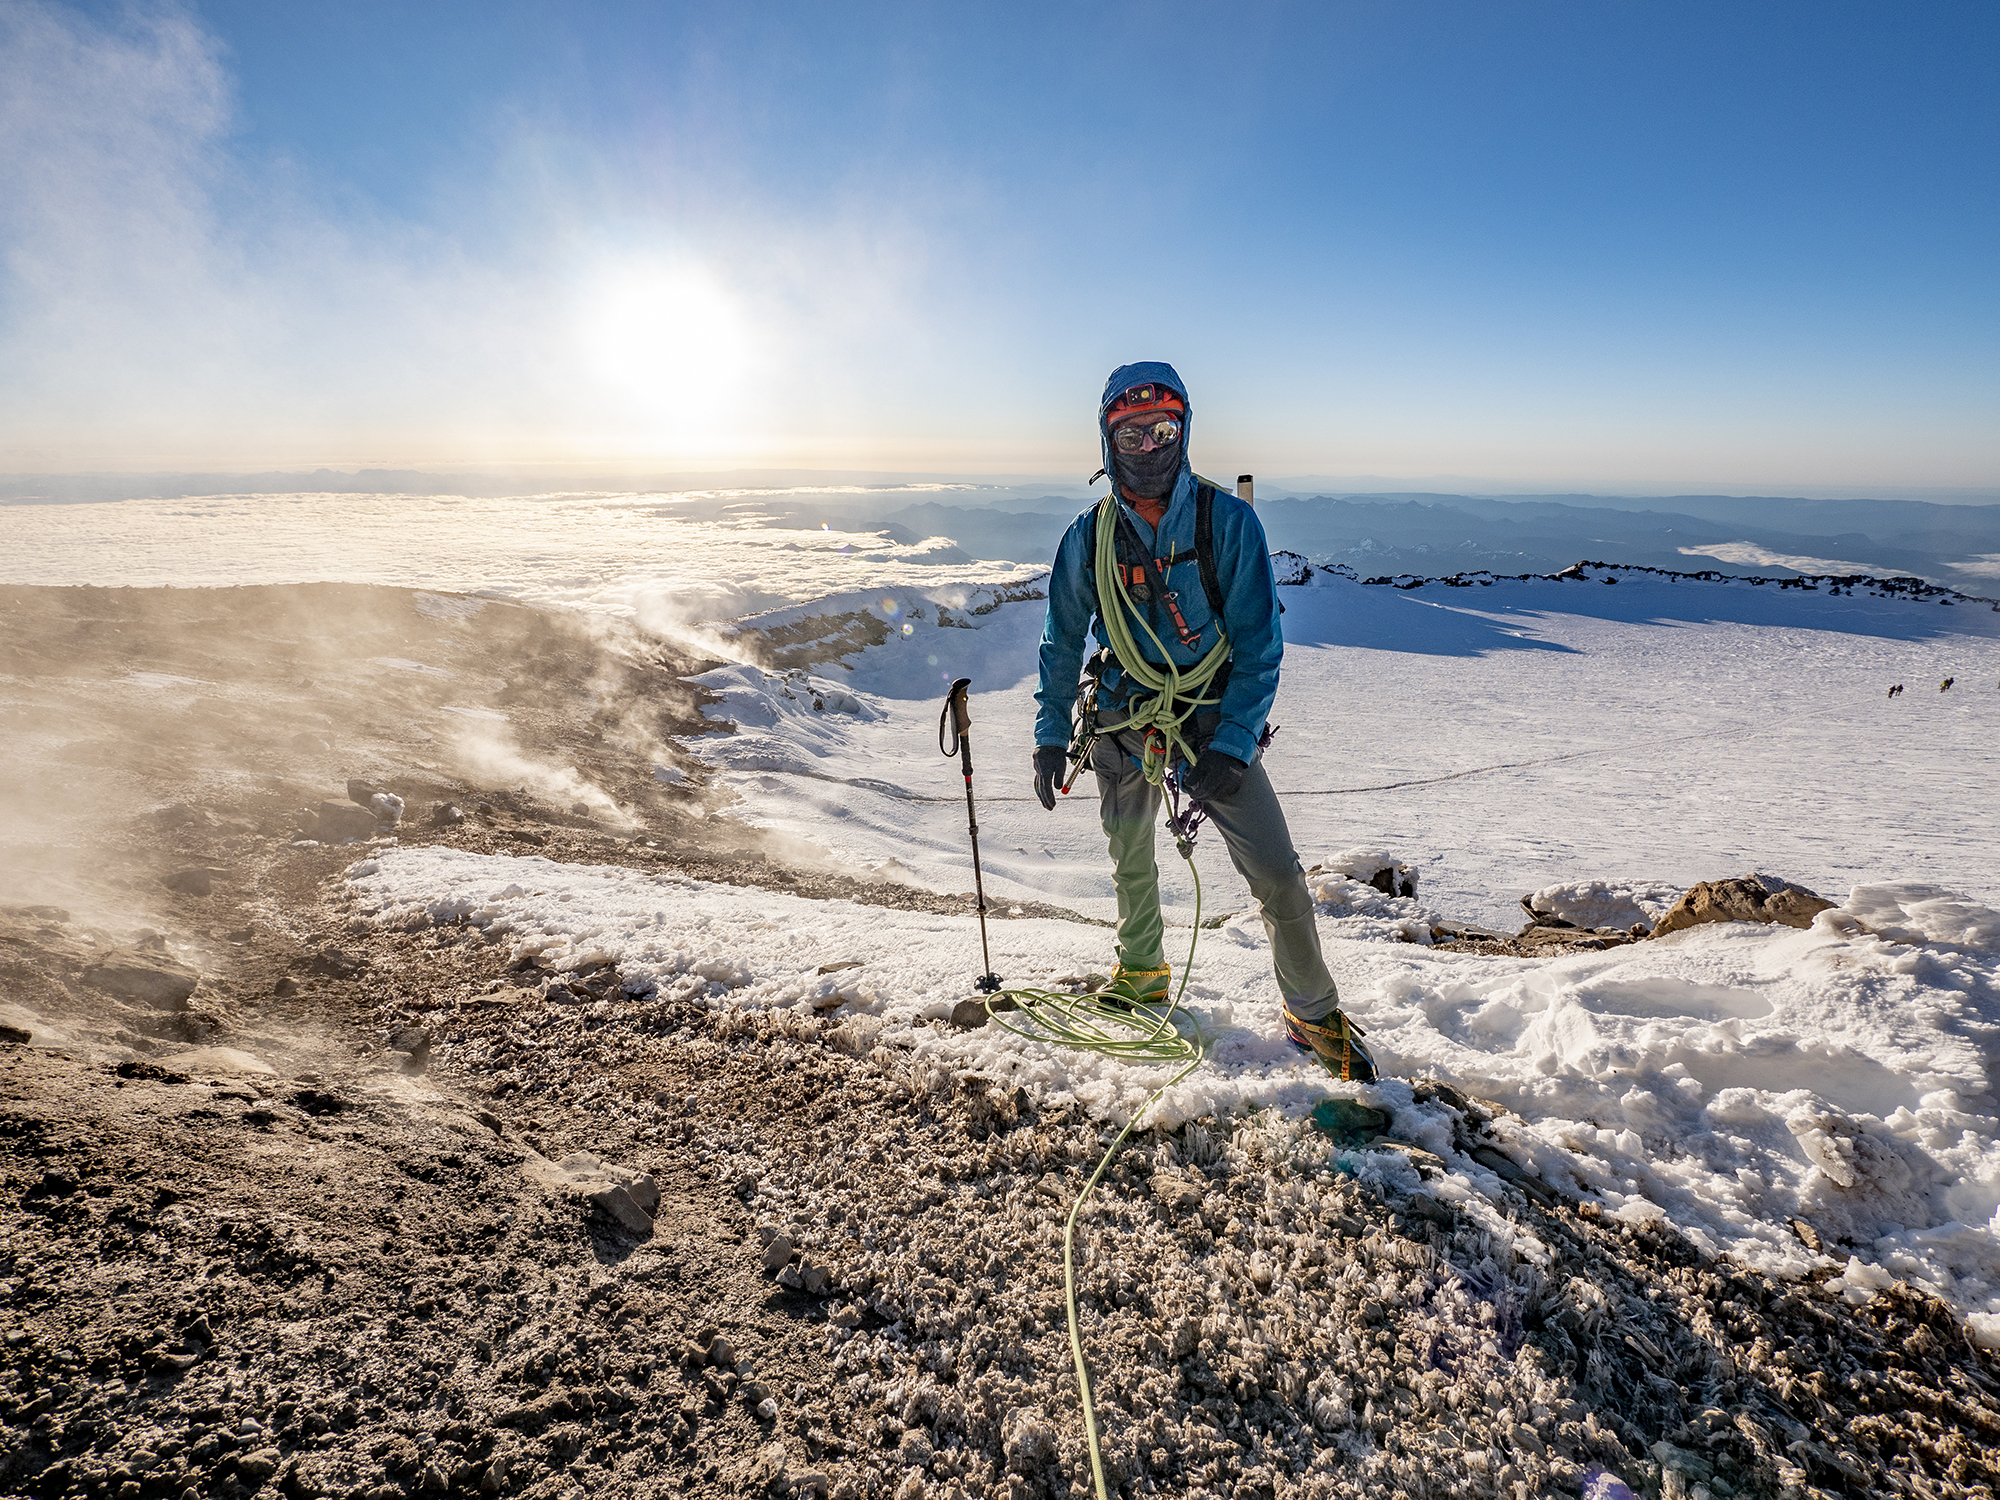
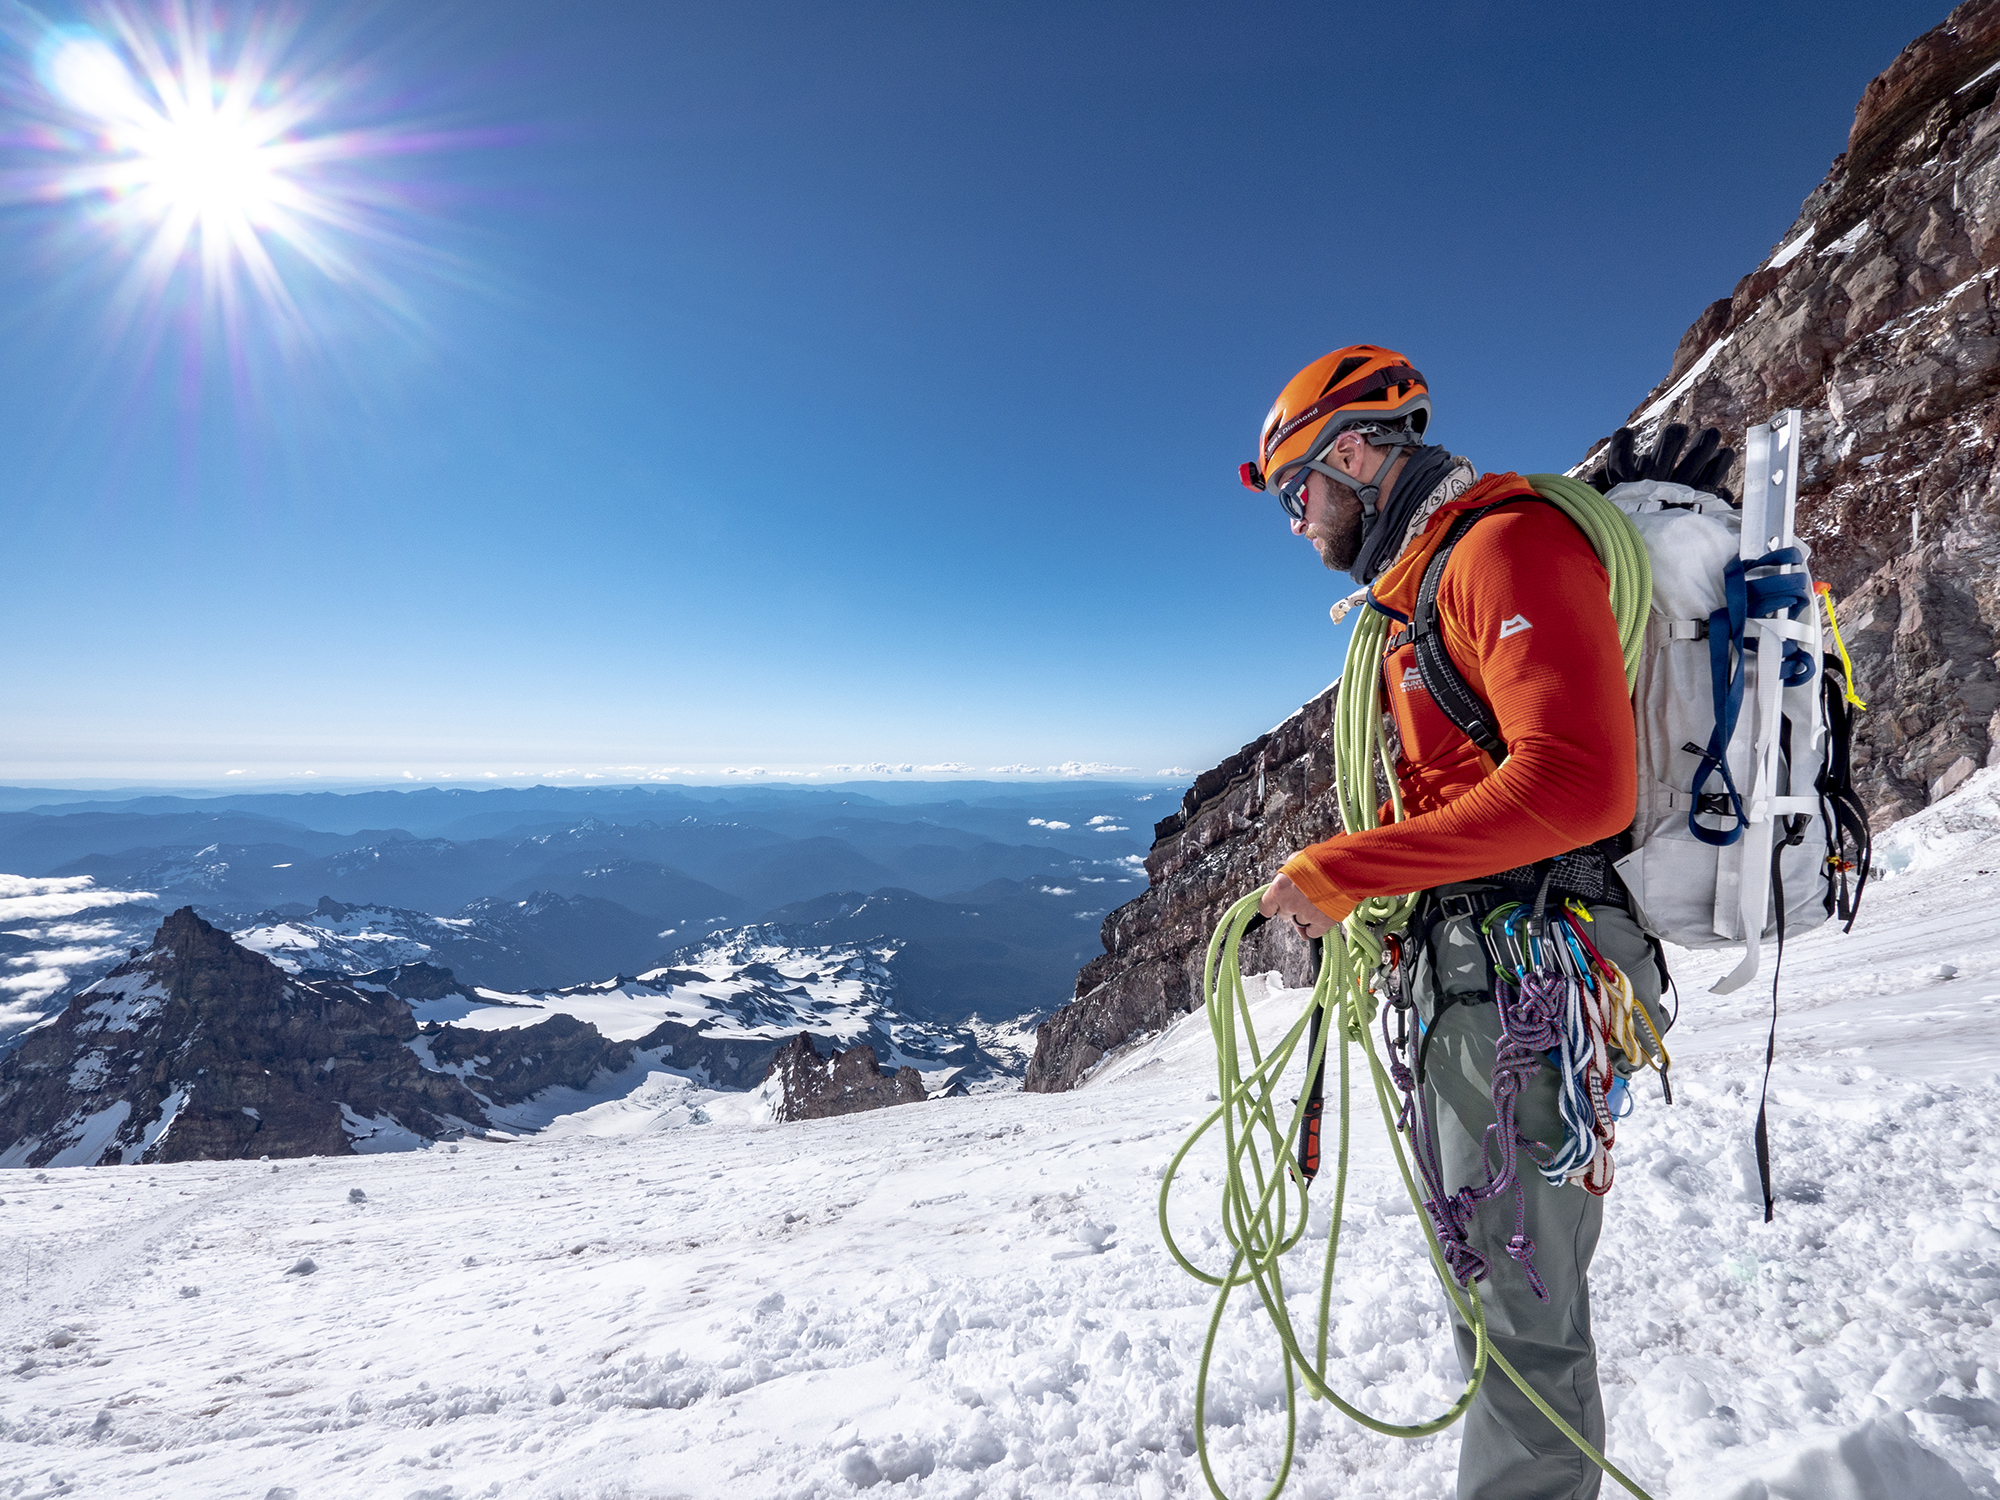
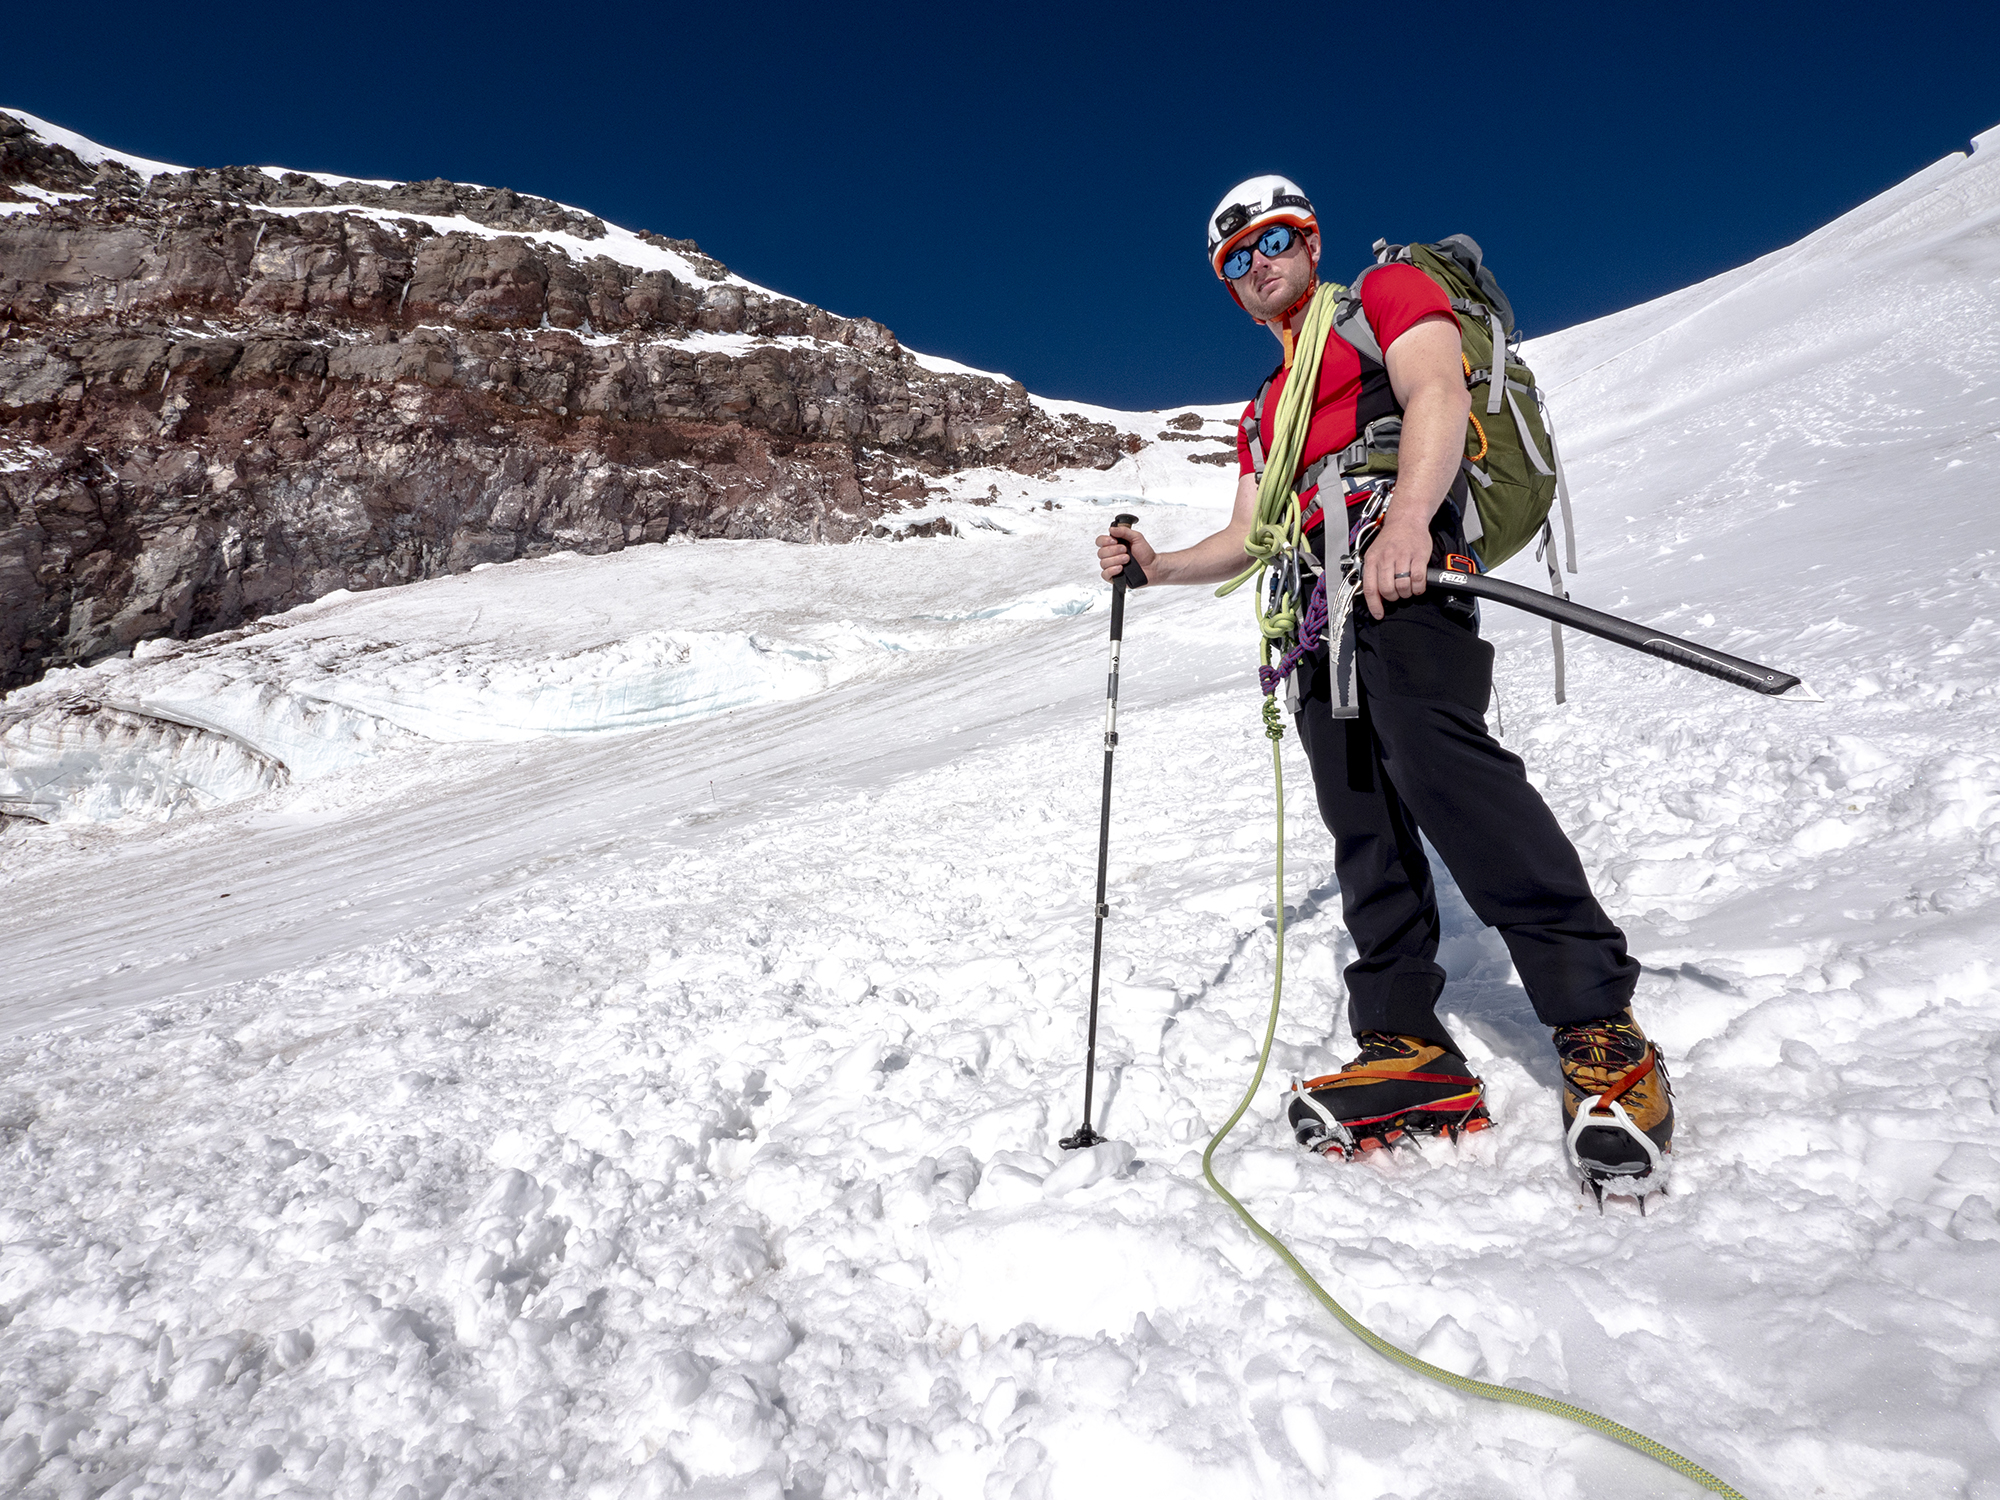
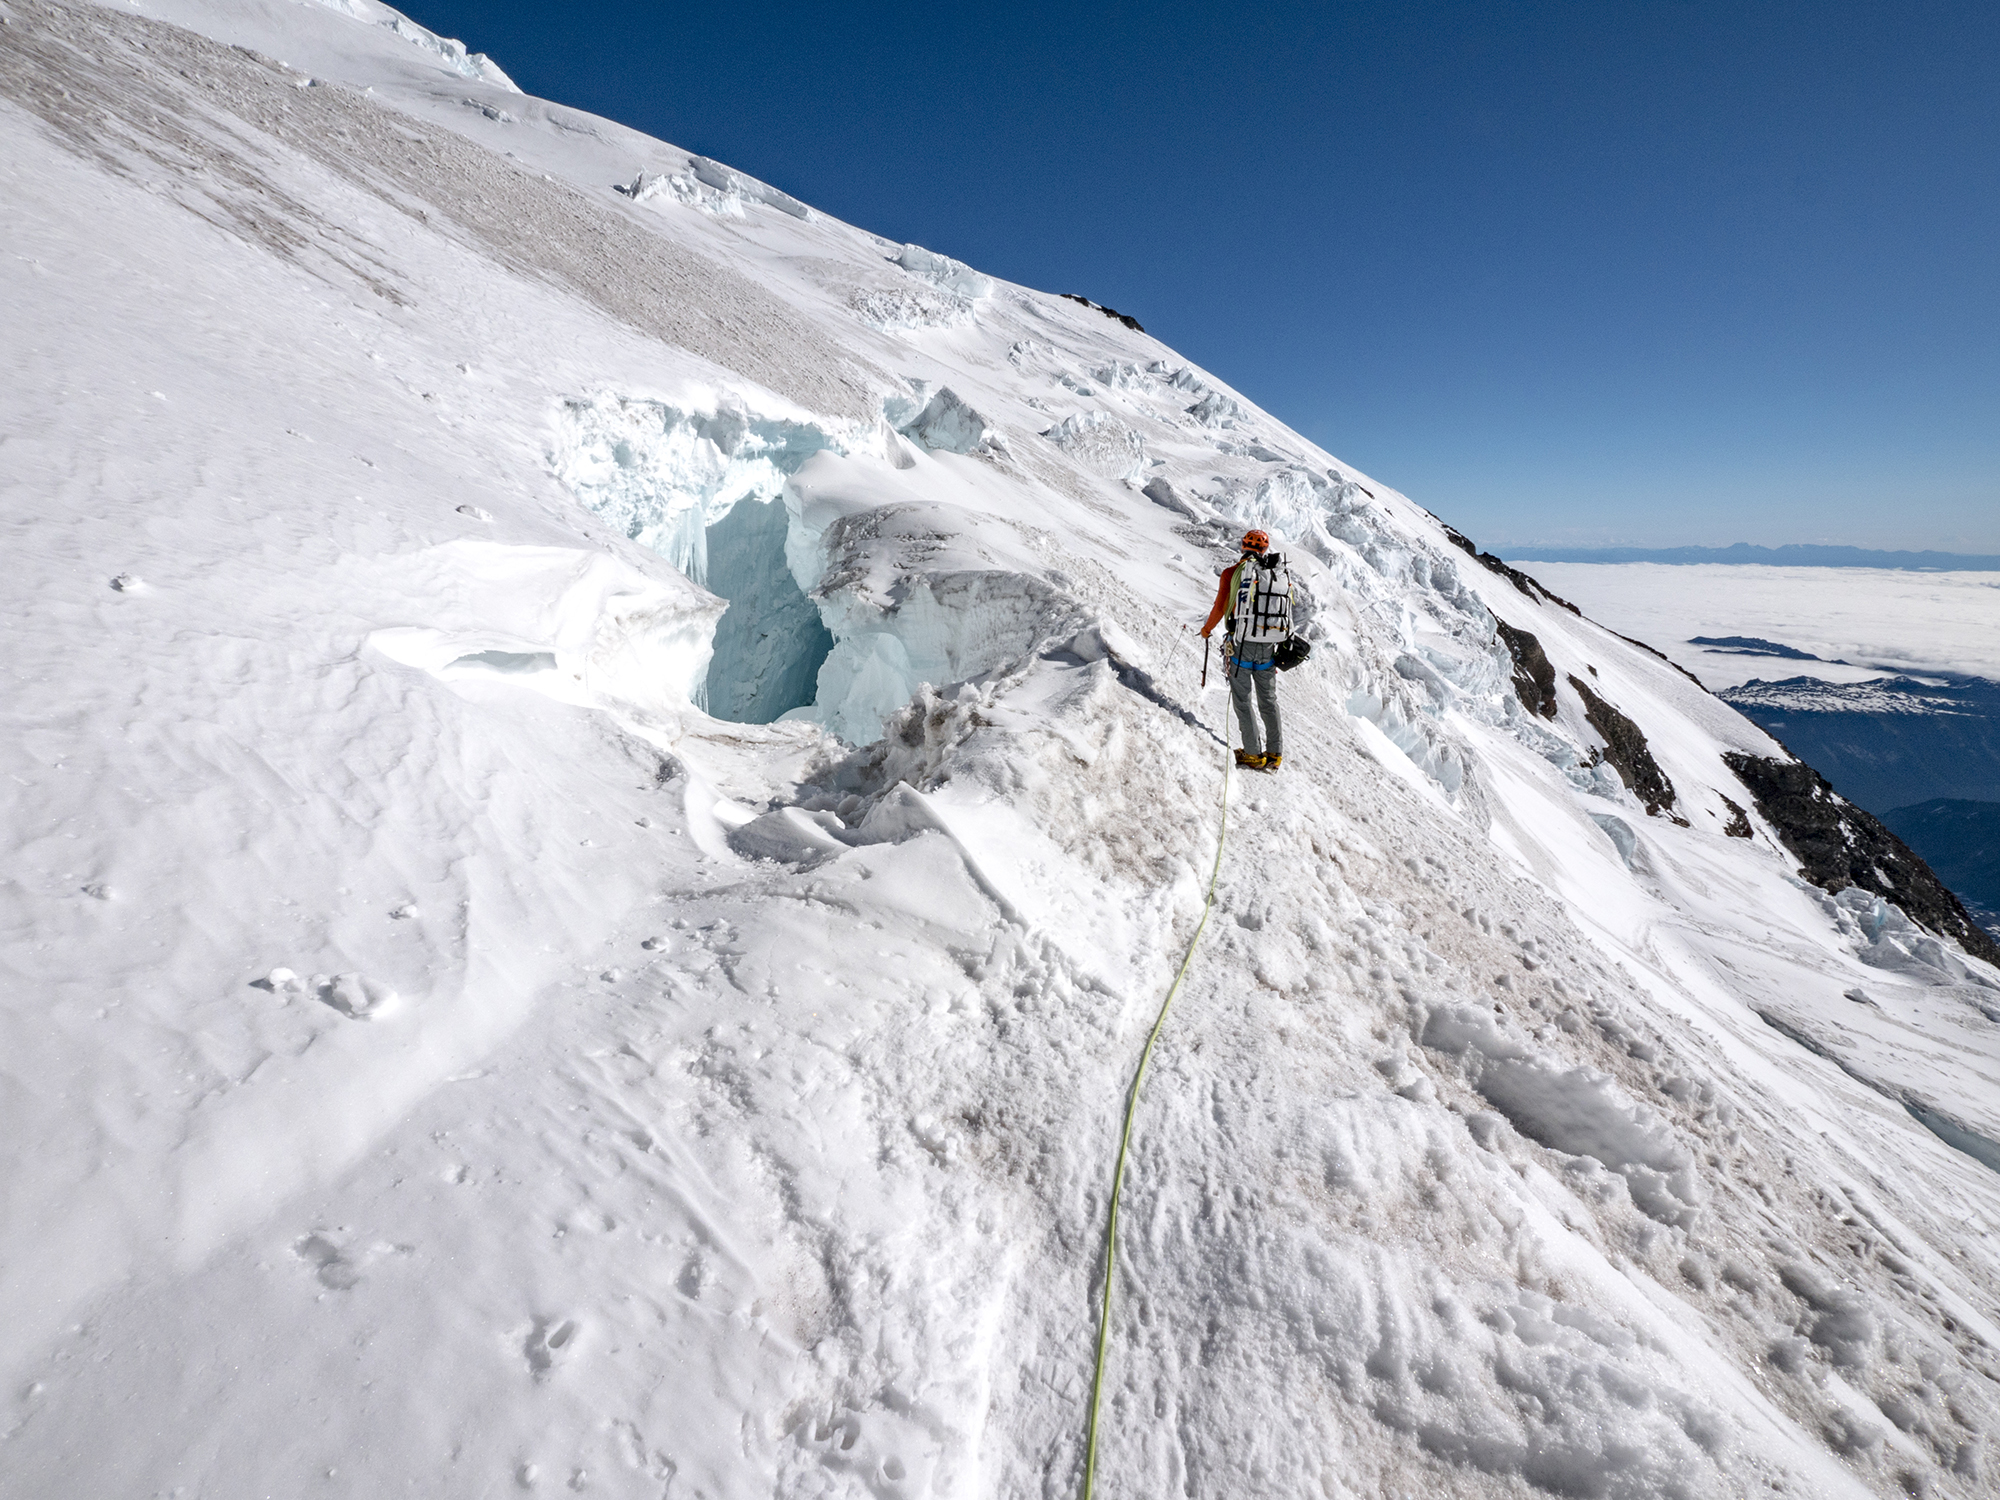
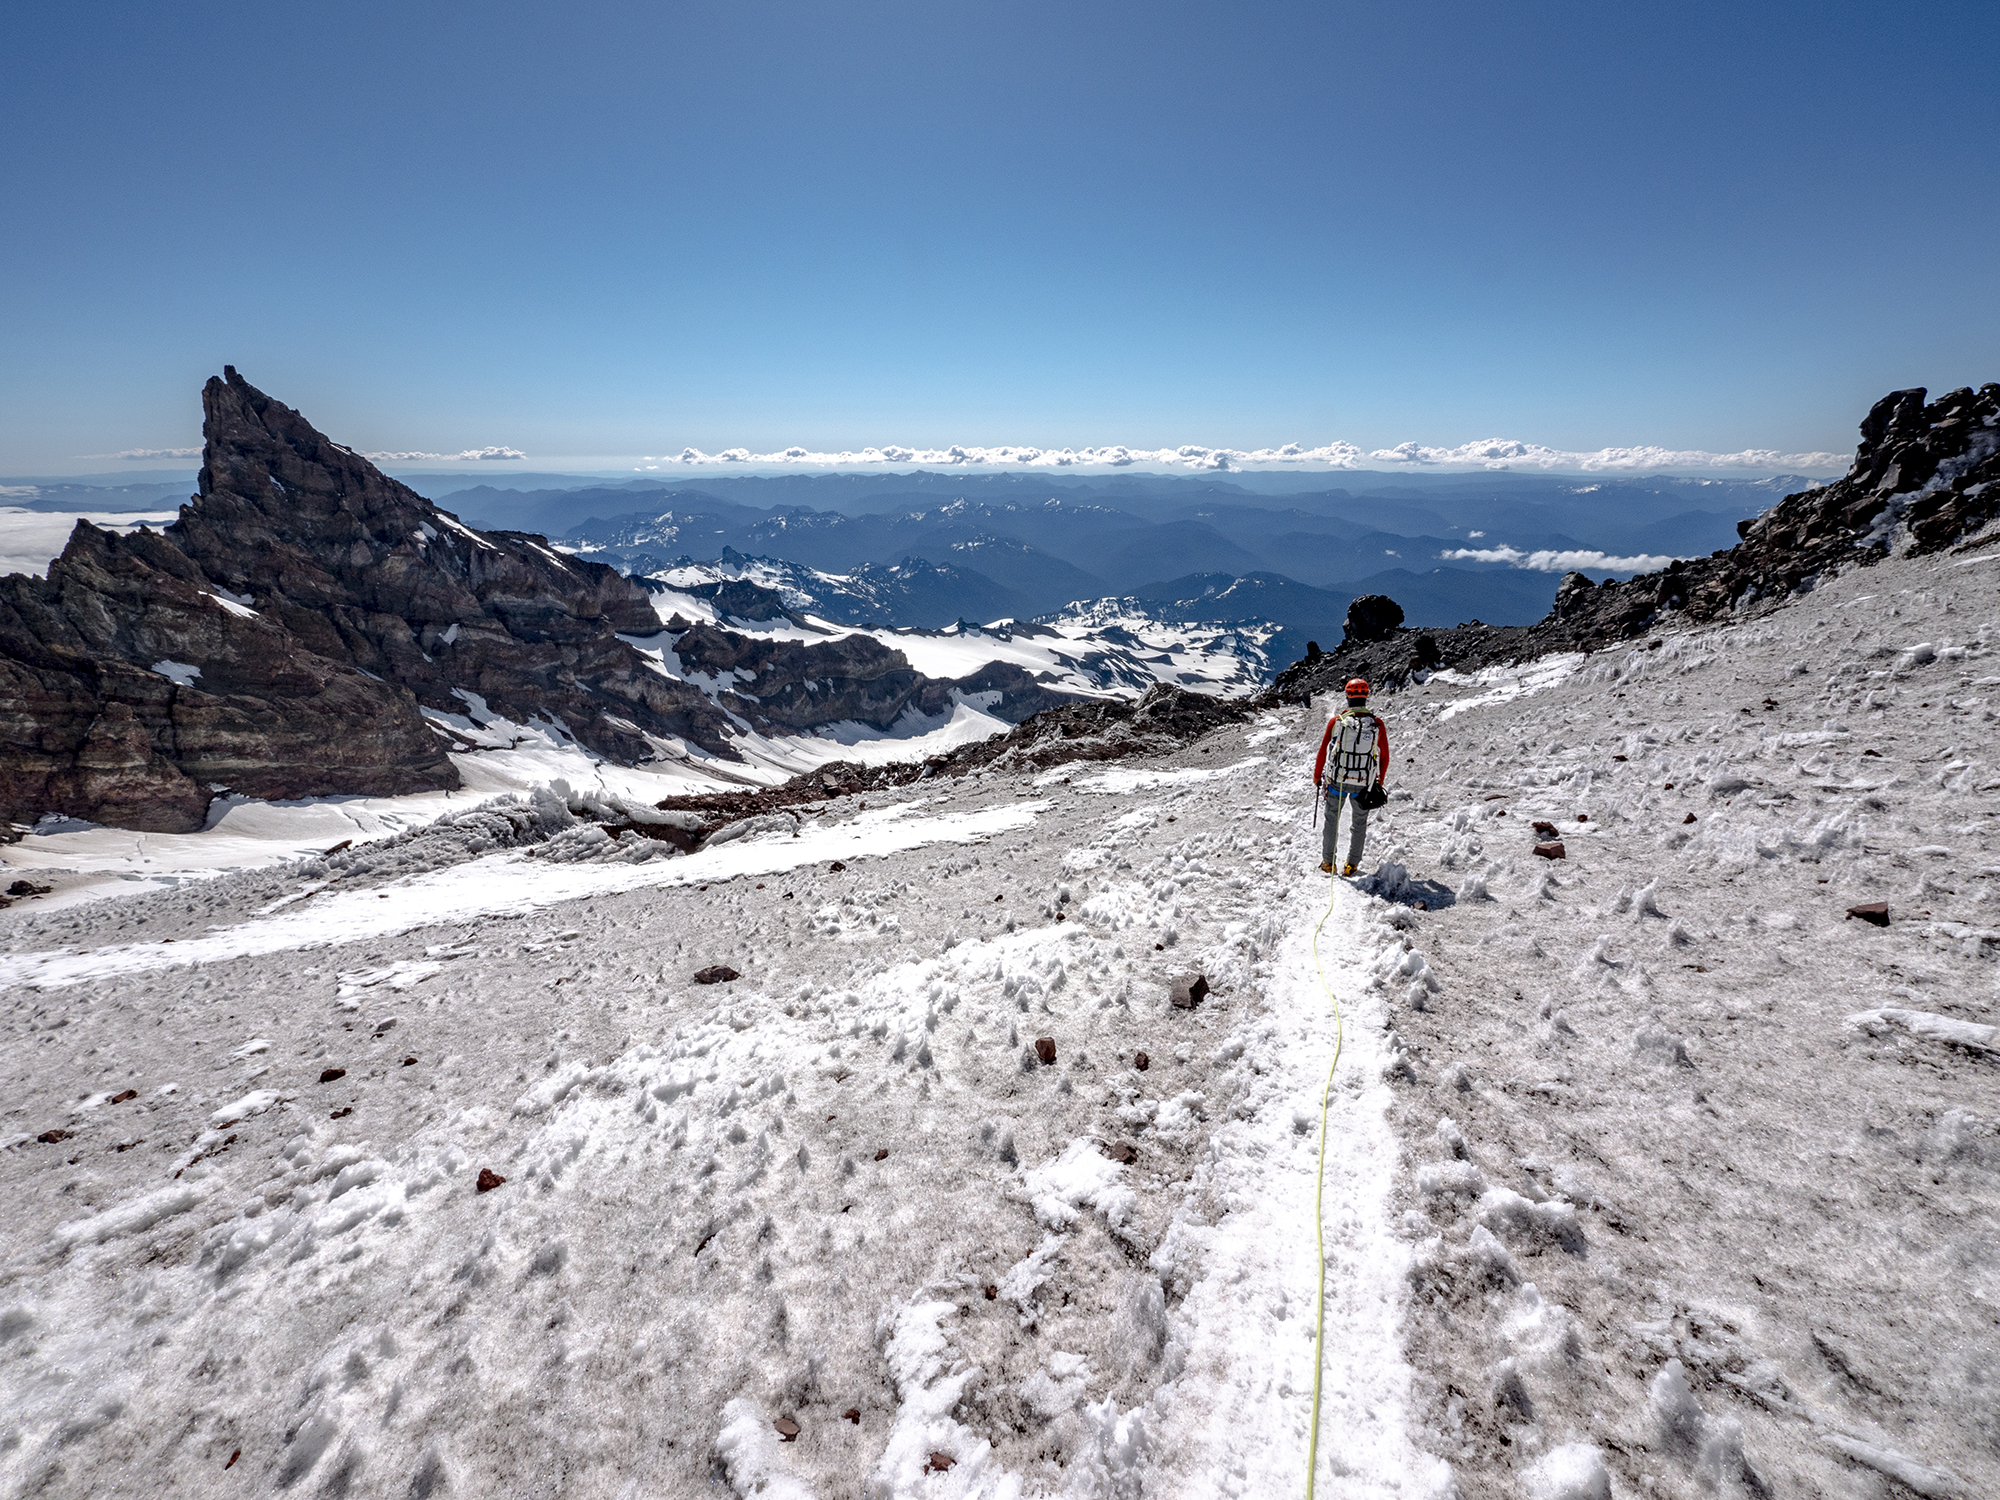
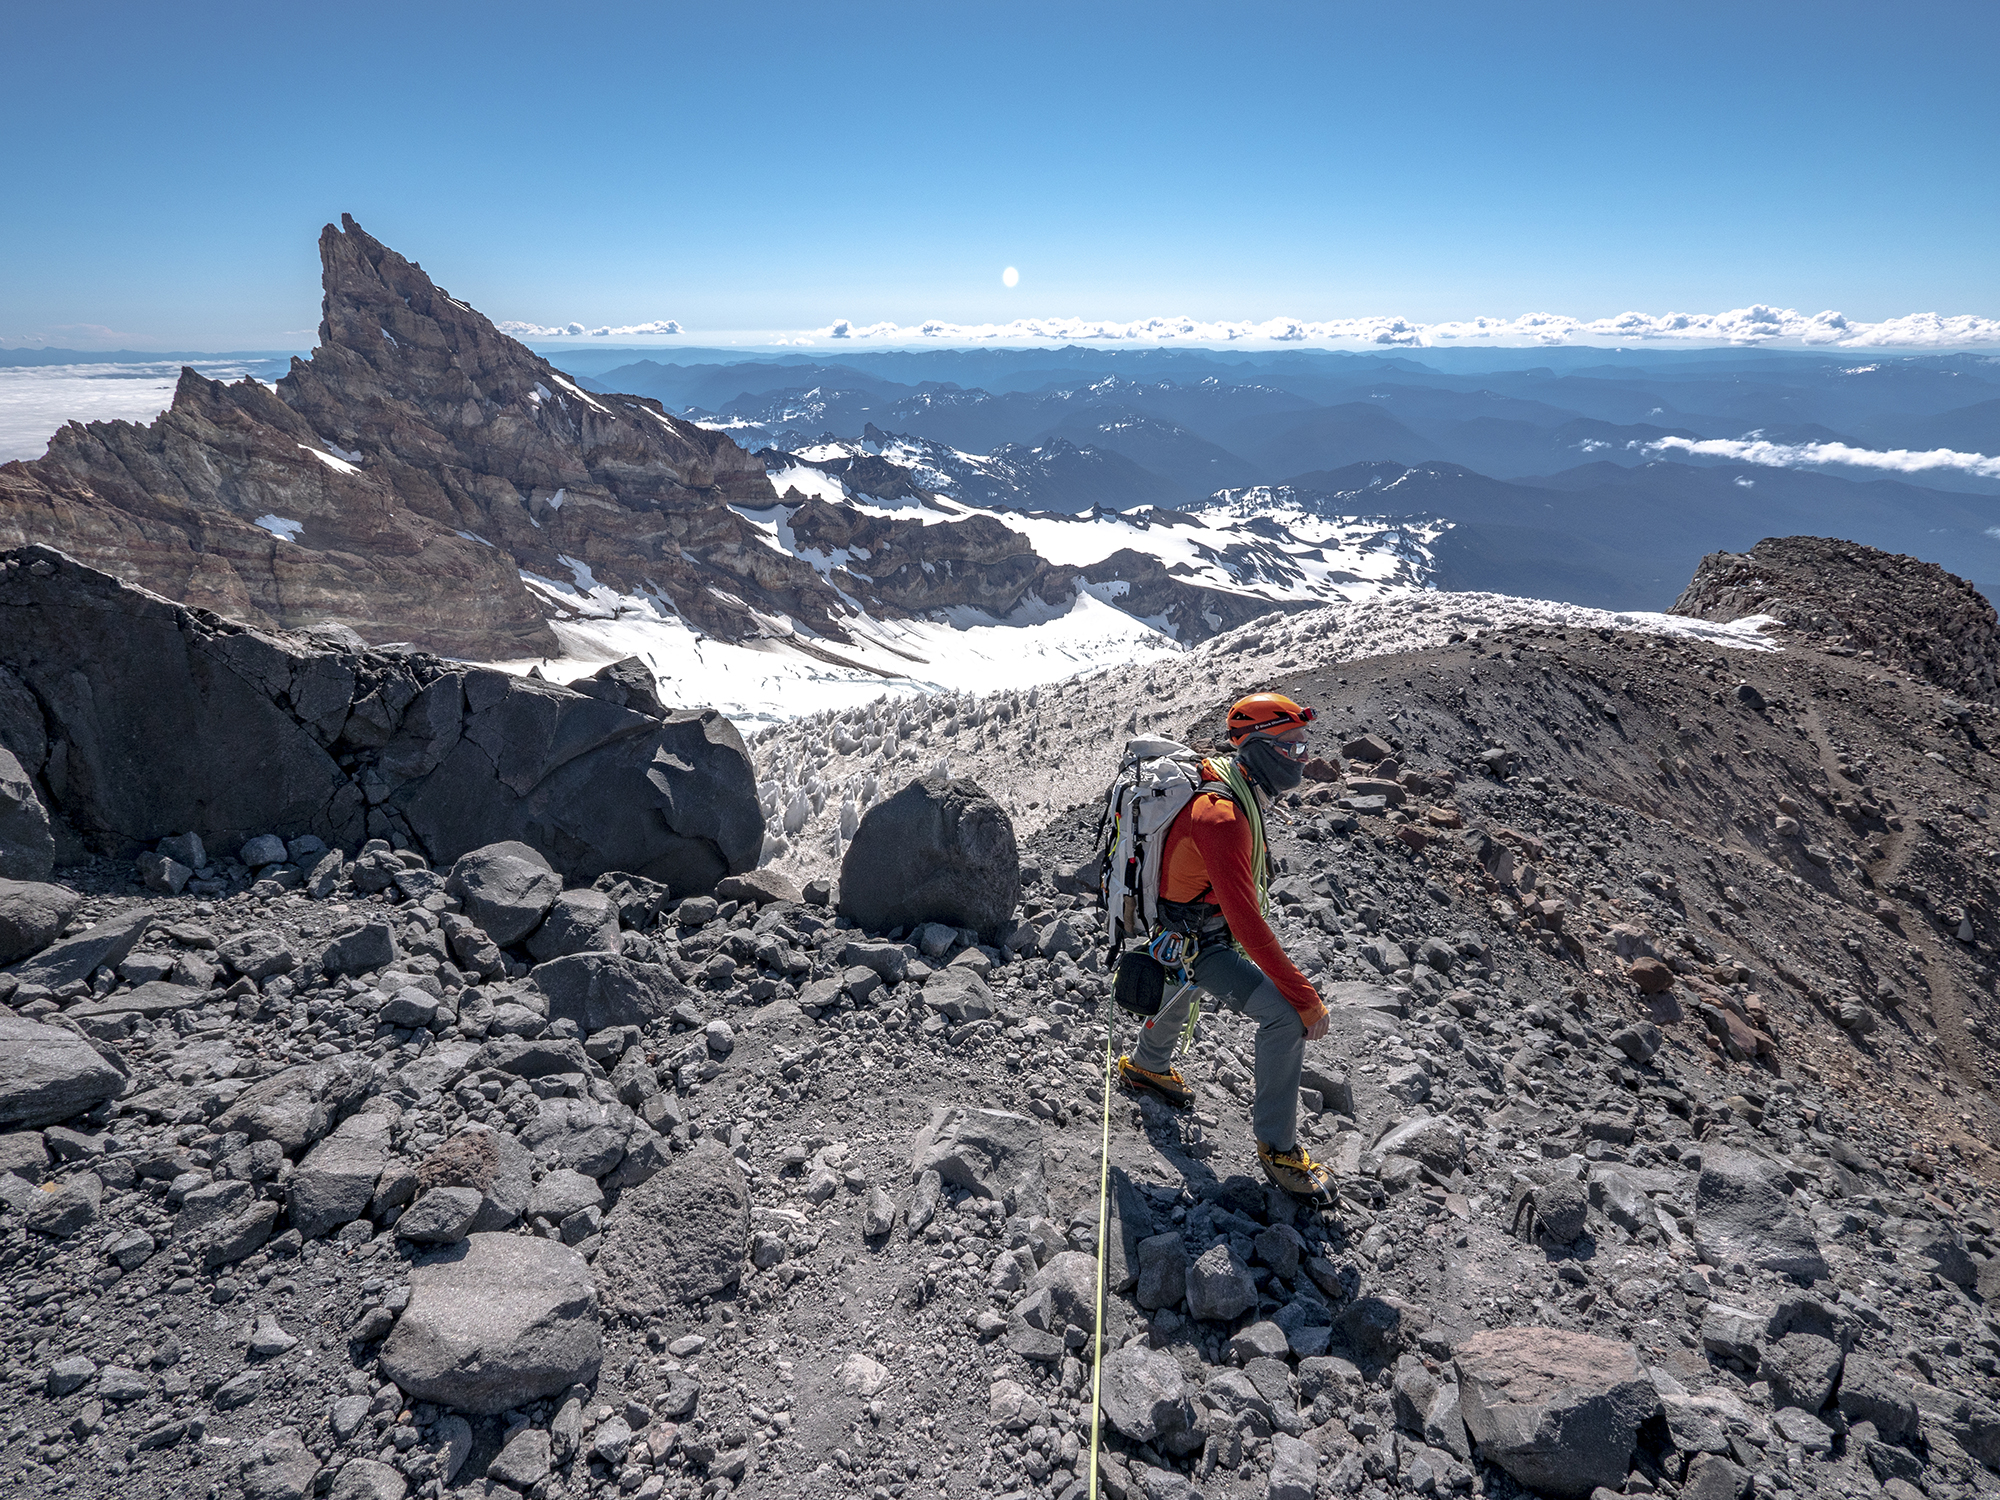
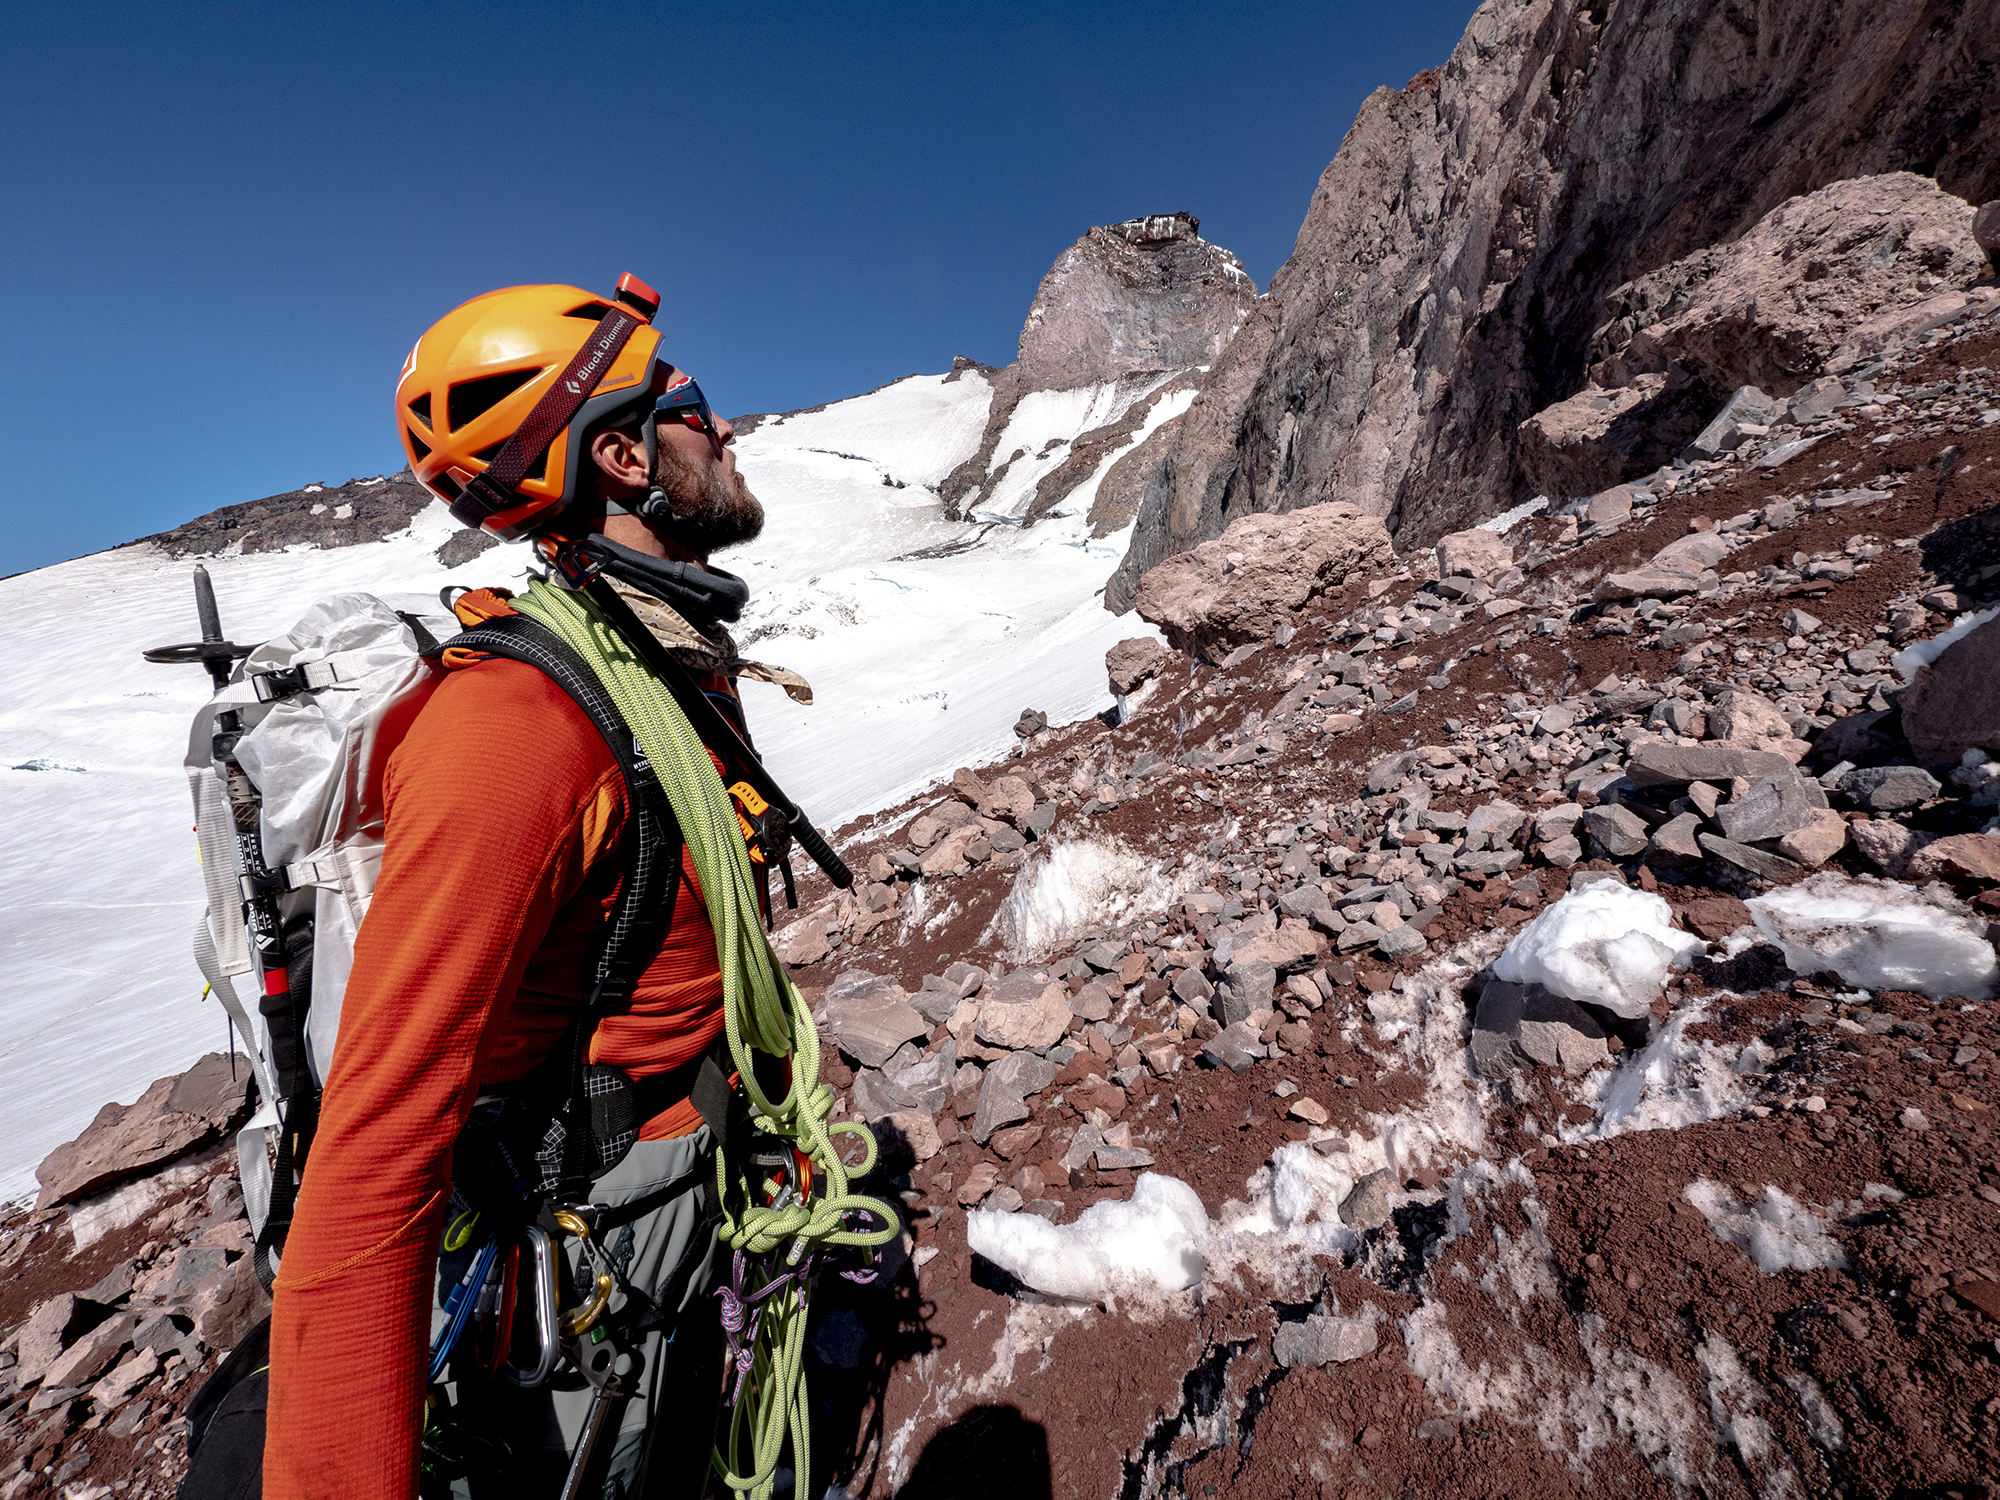
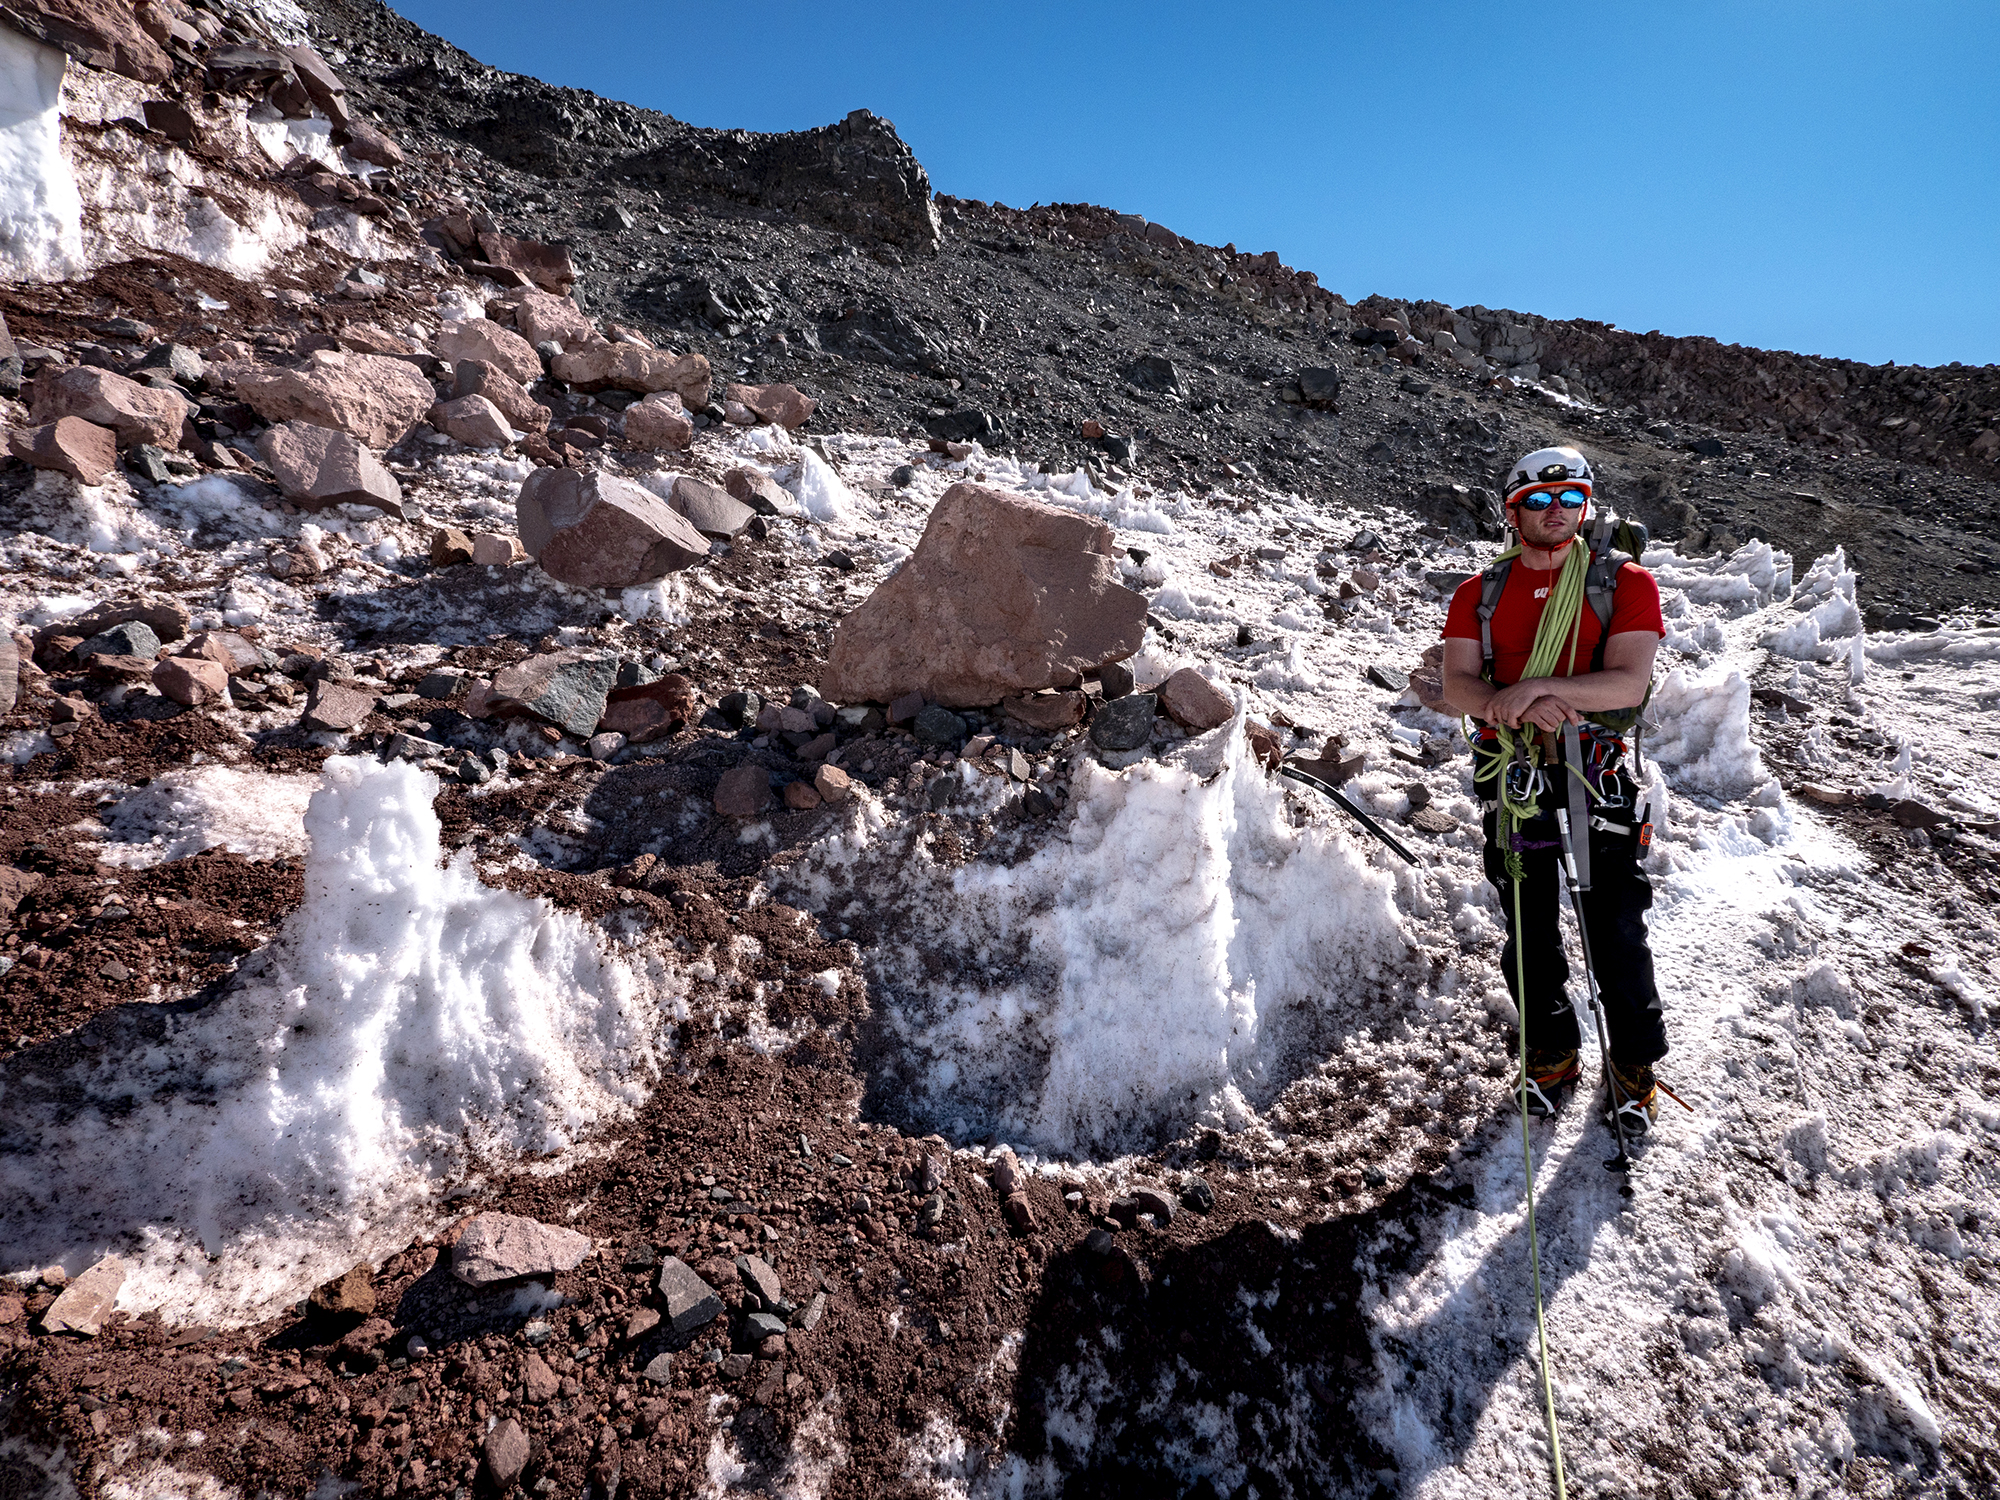
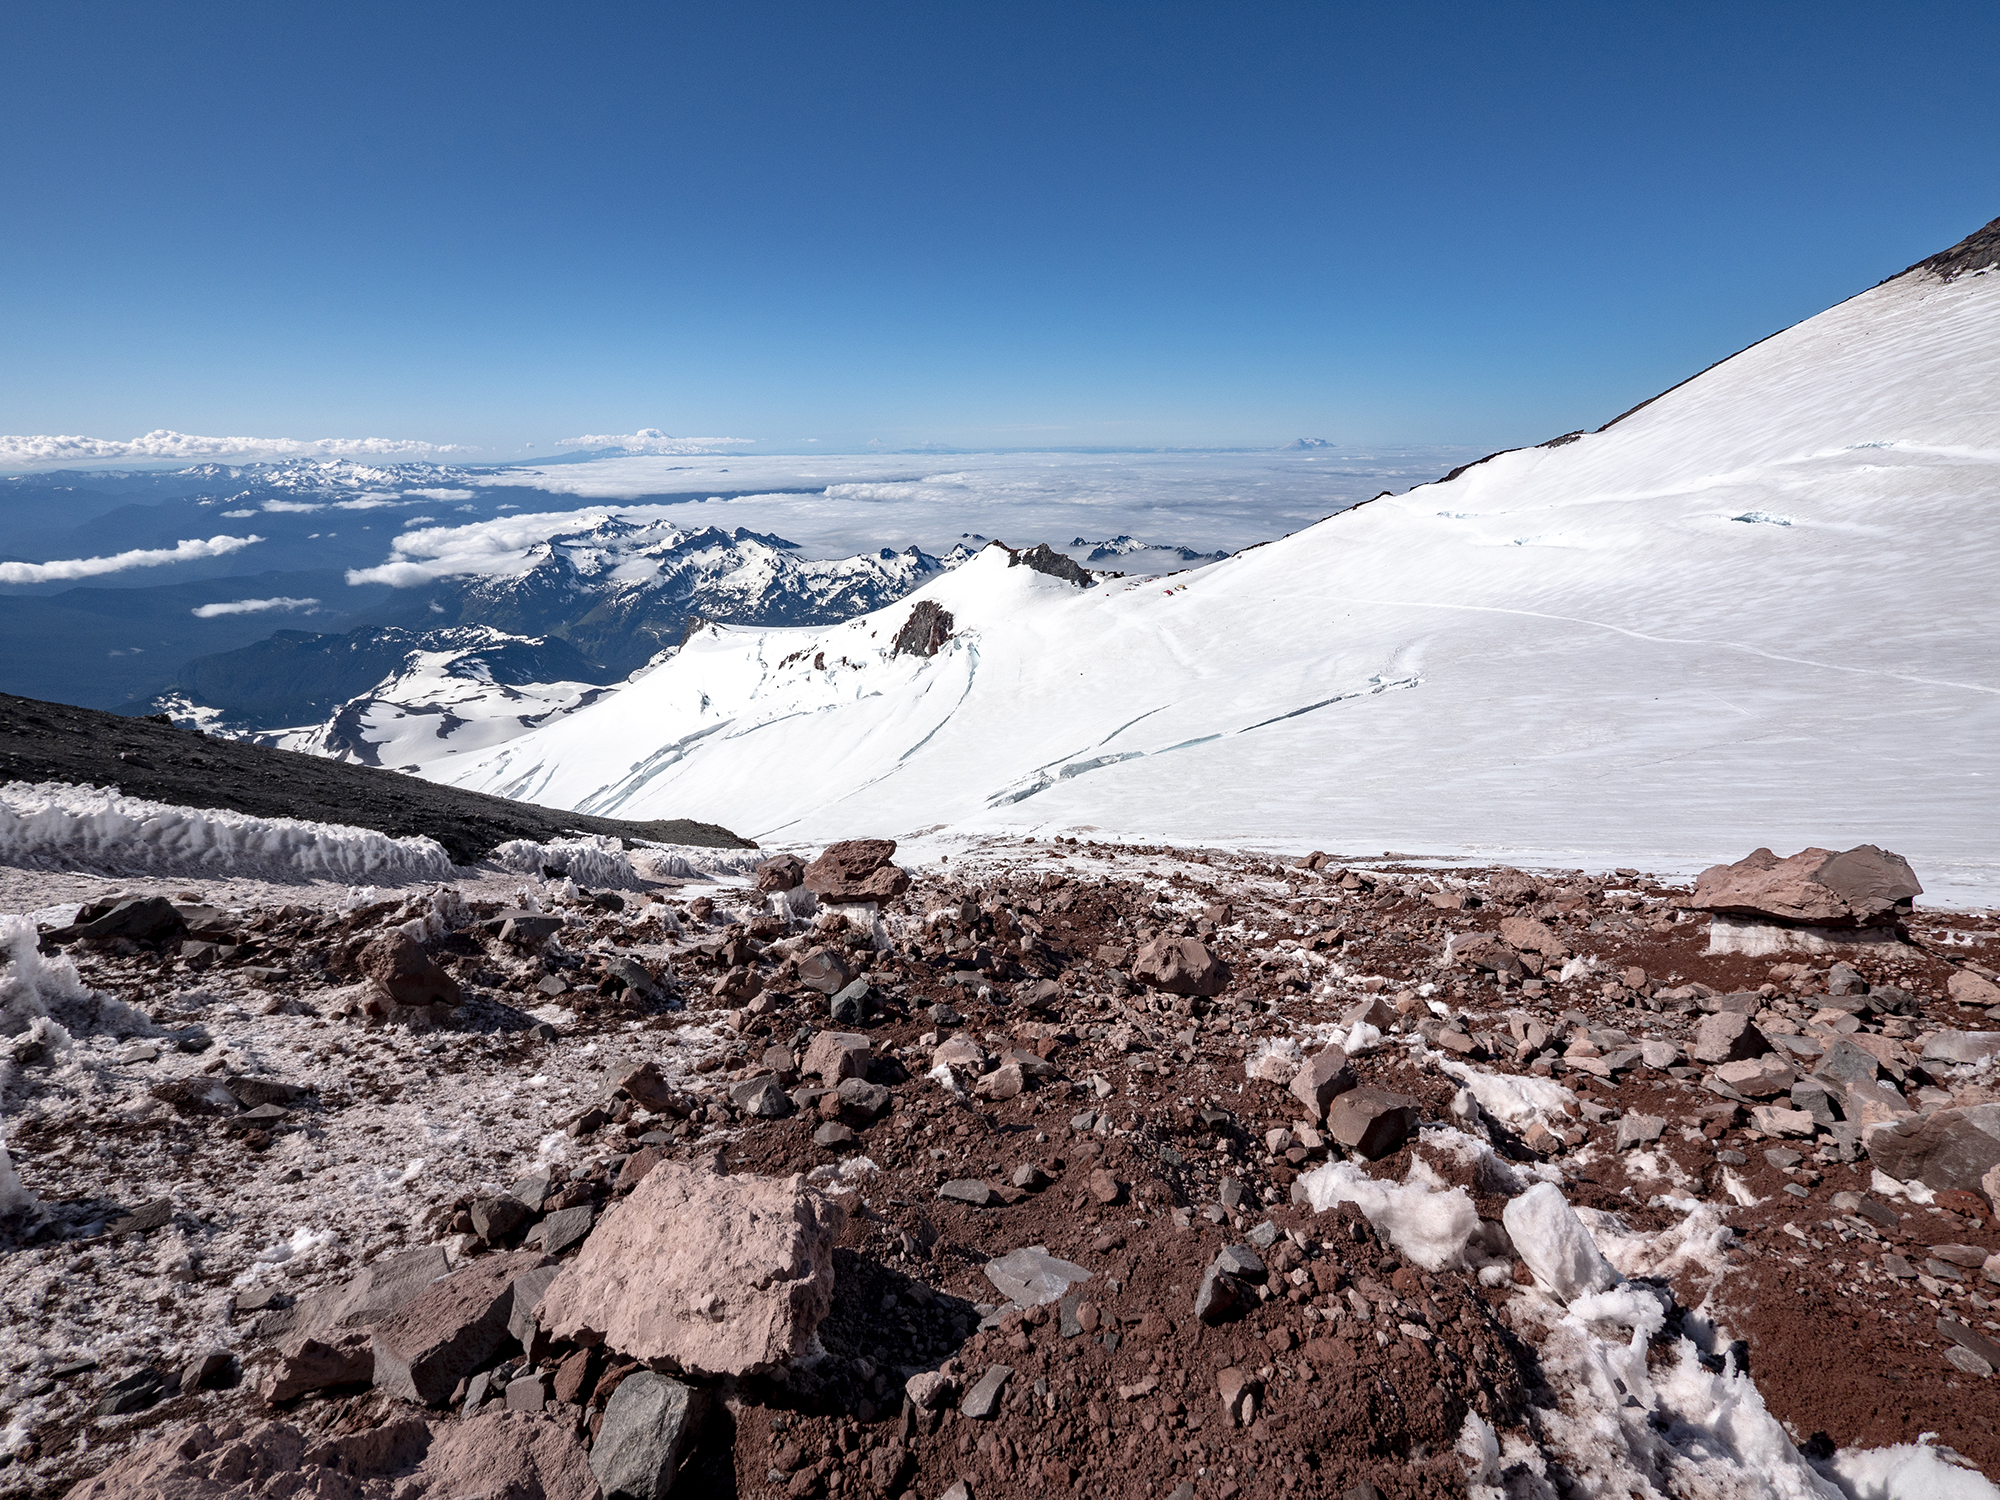
Ascent
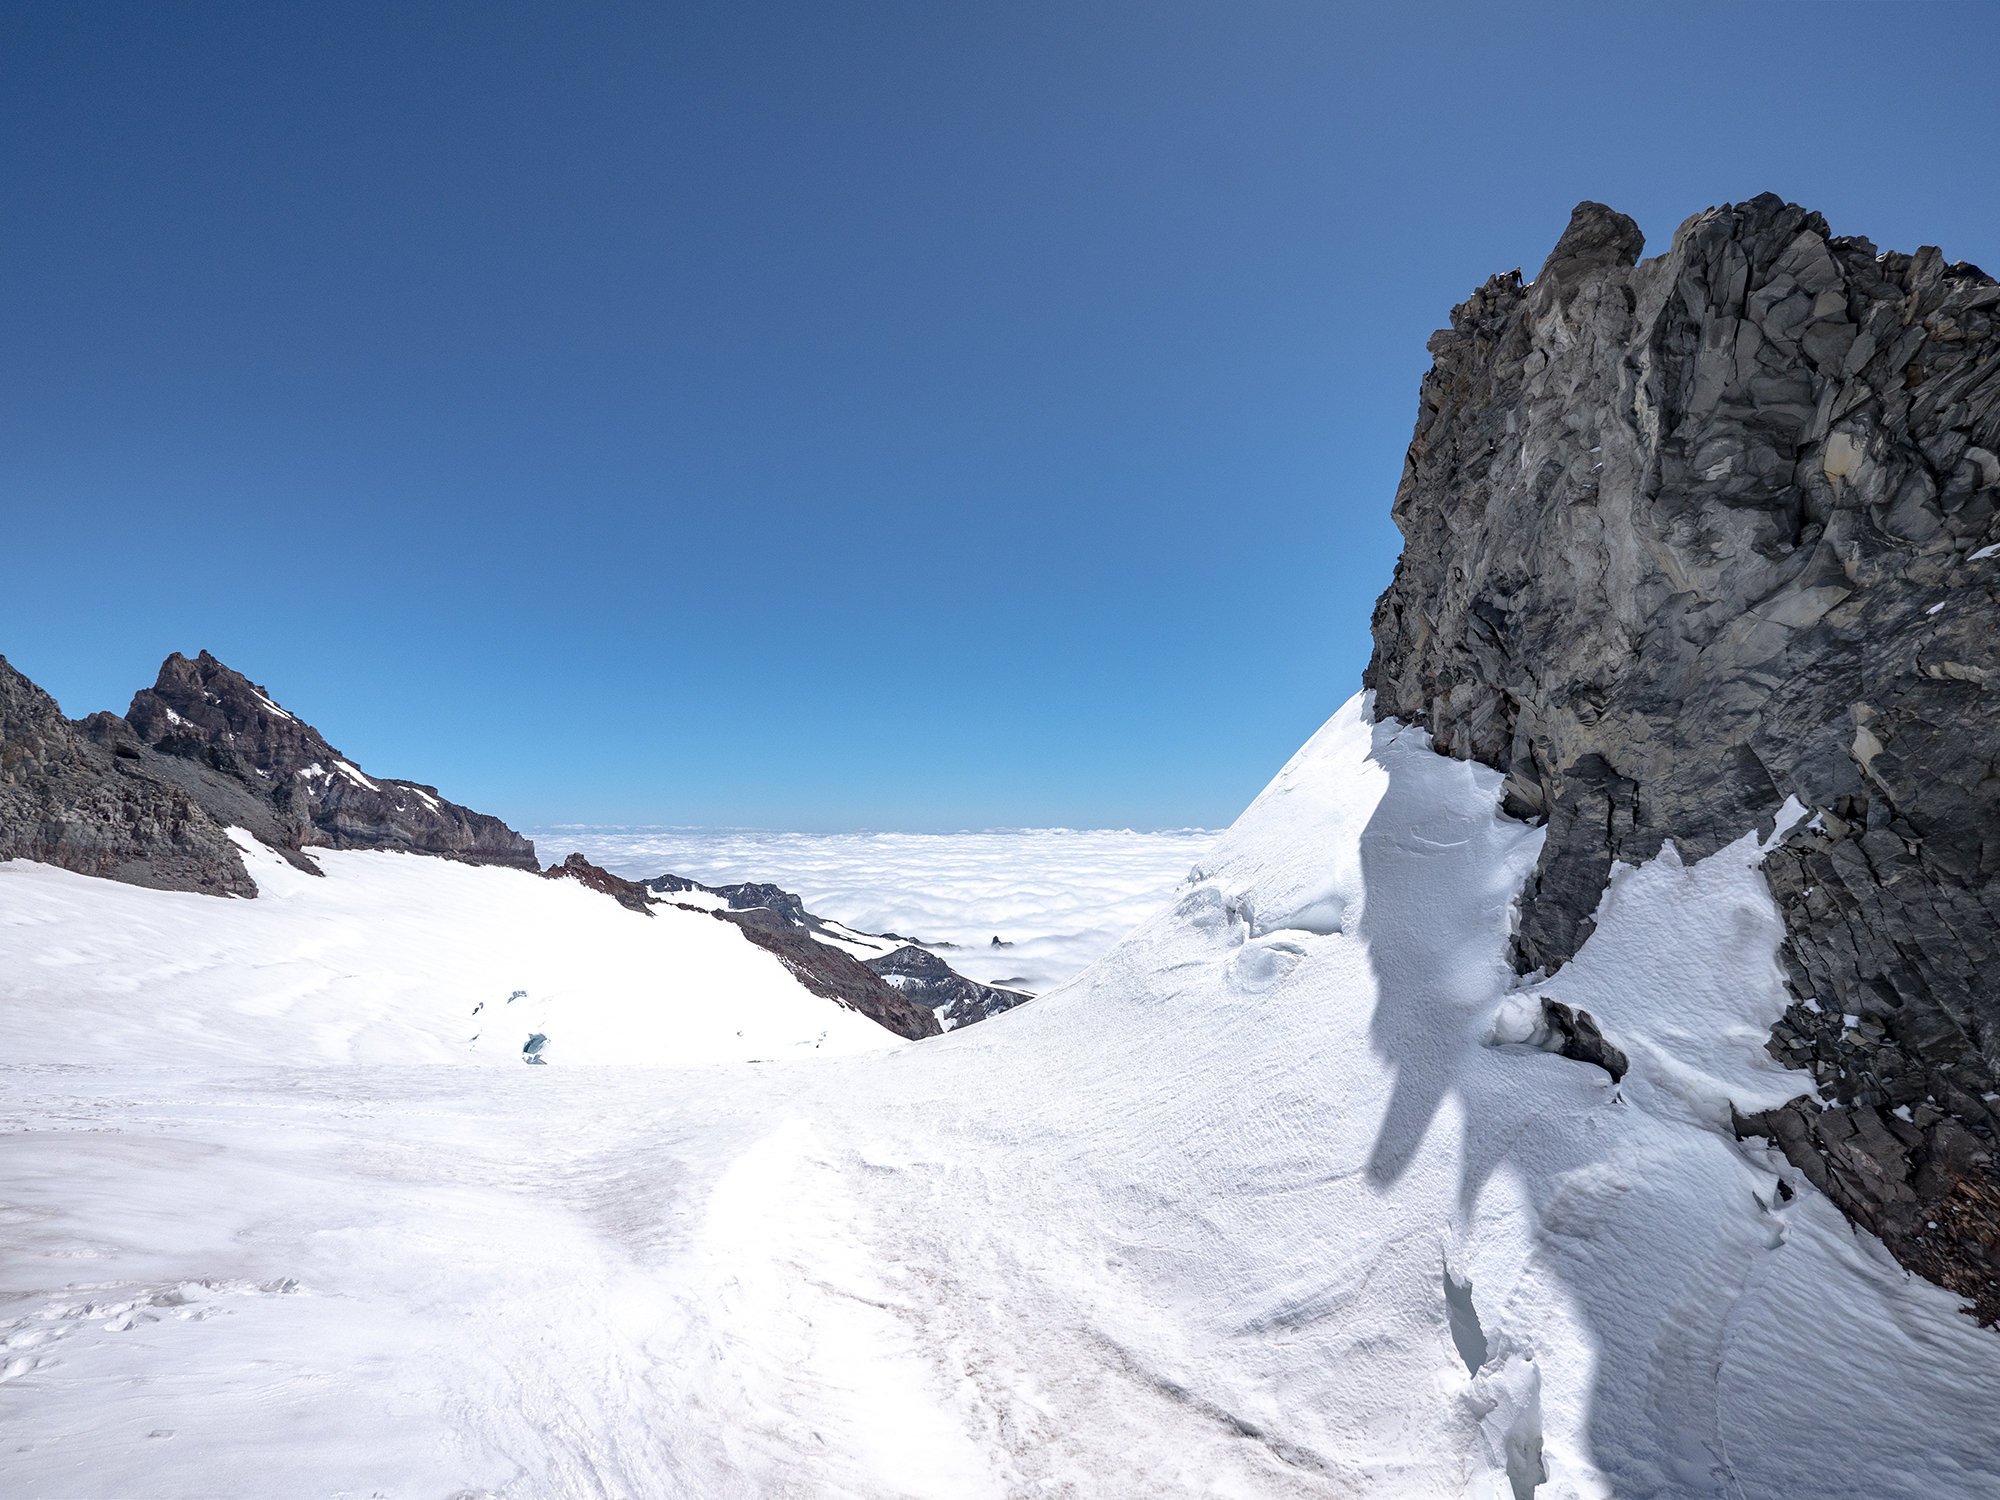
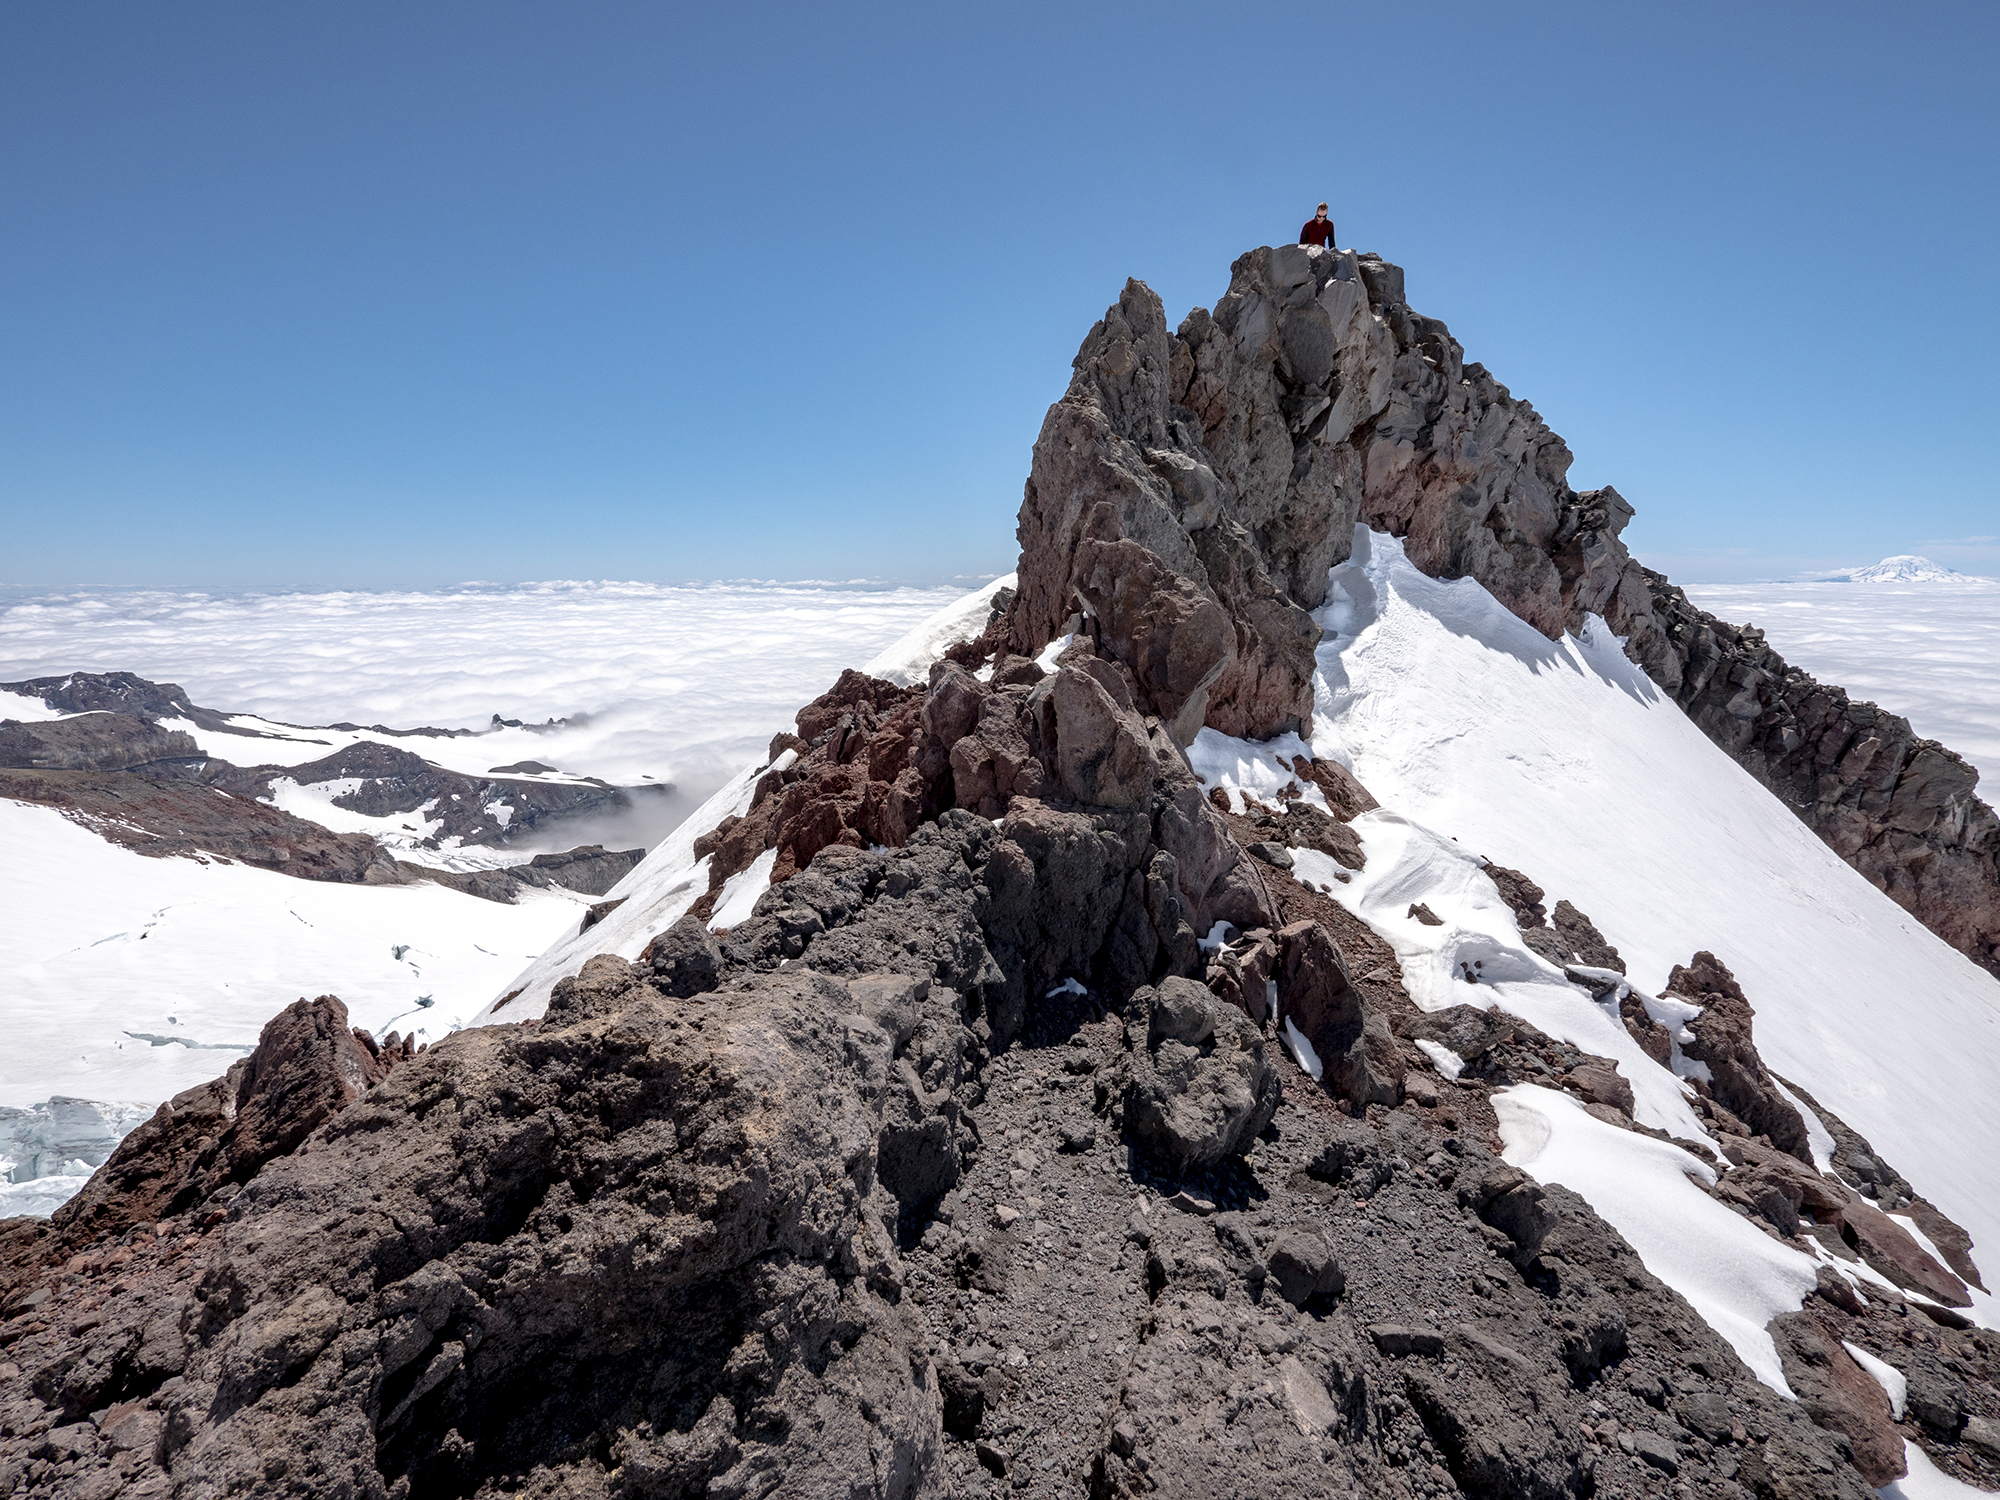
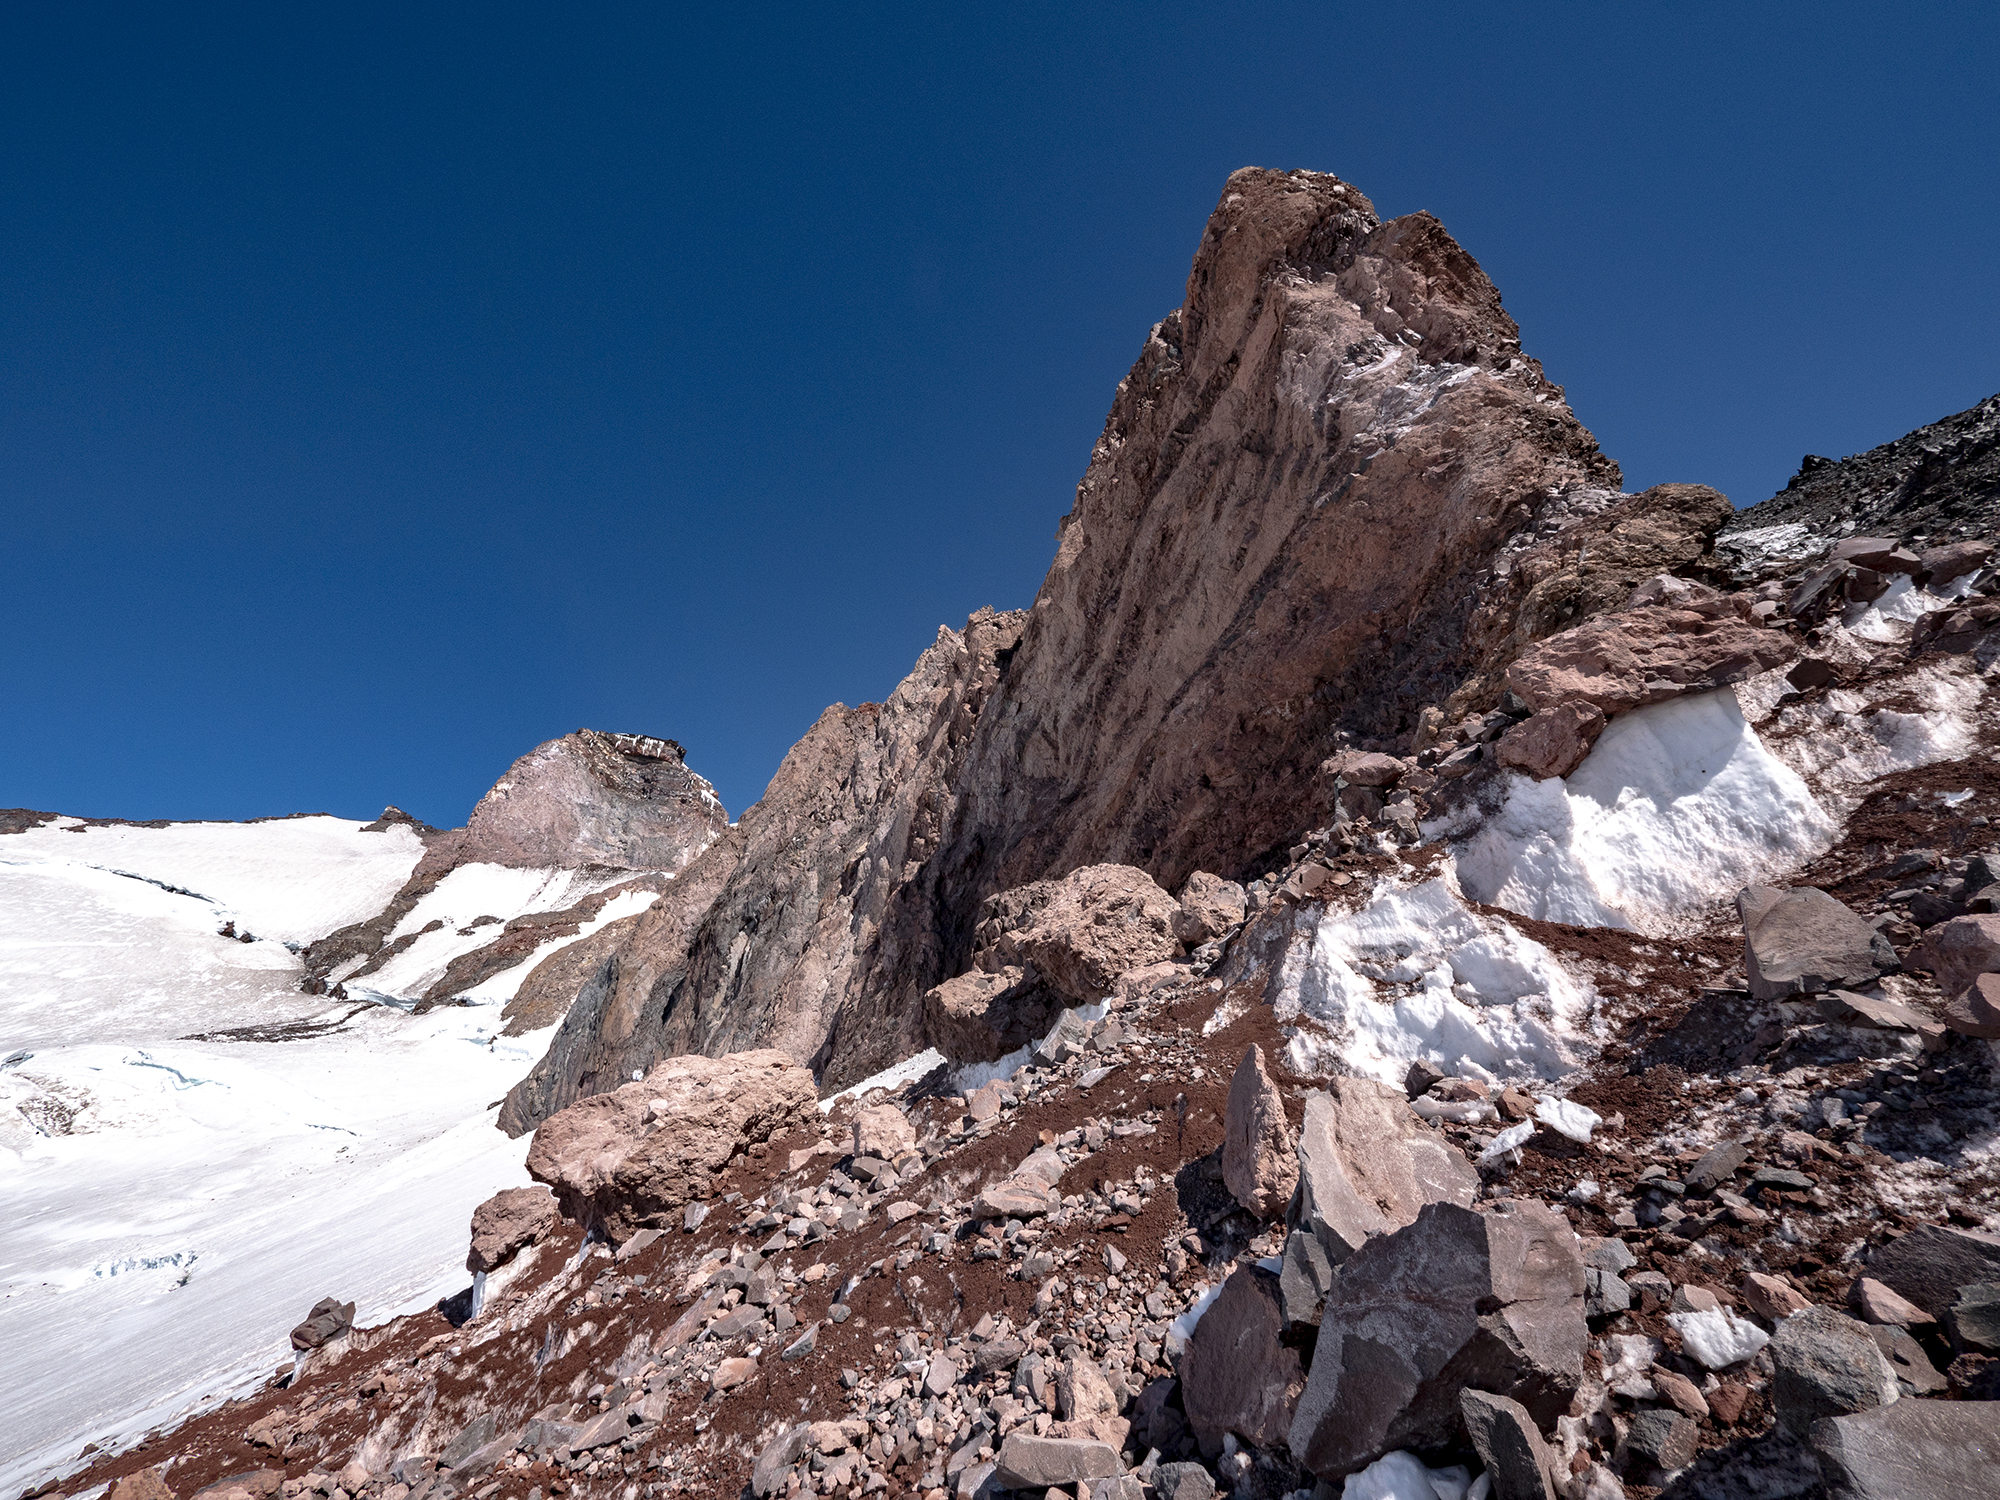
Route: Ingraham Glacier Direct
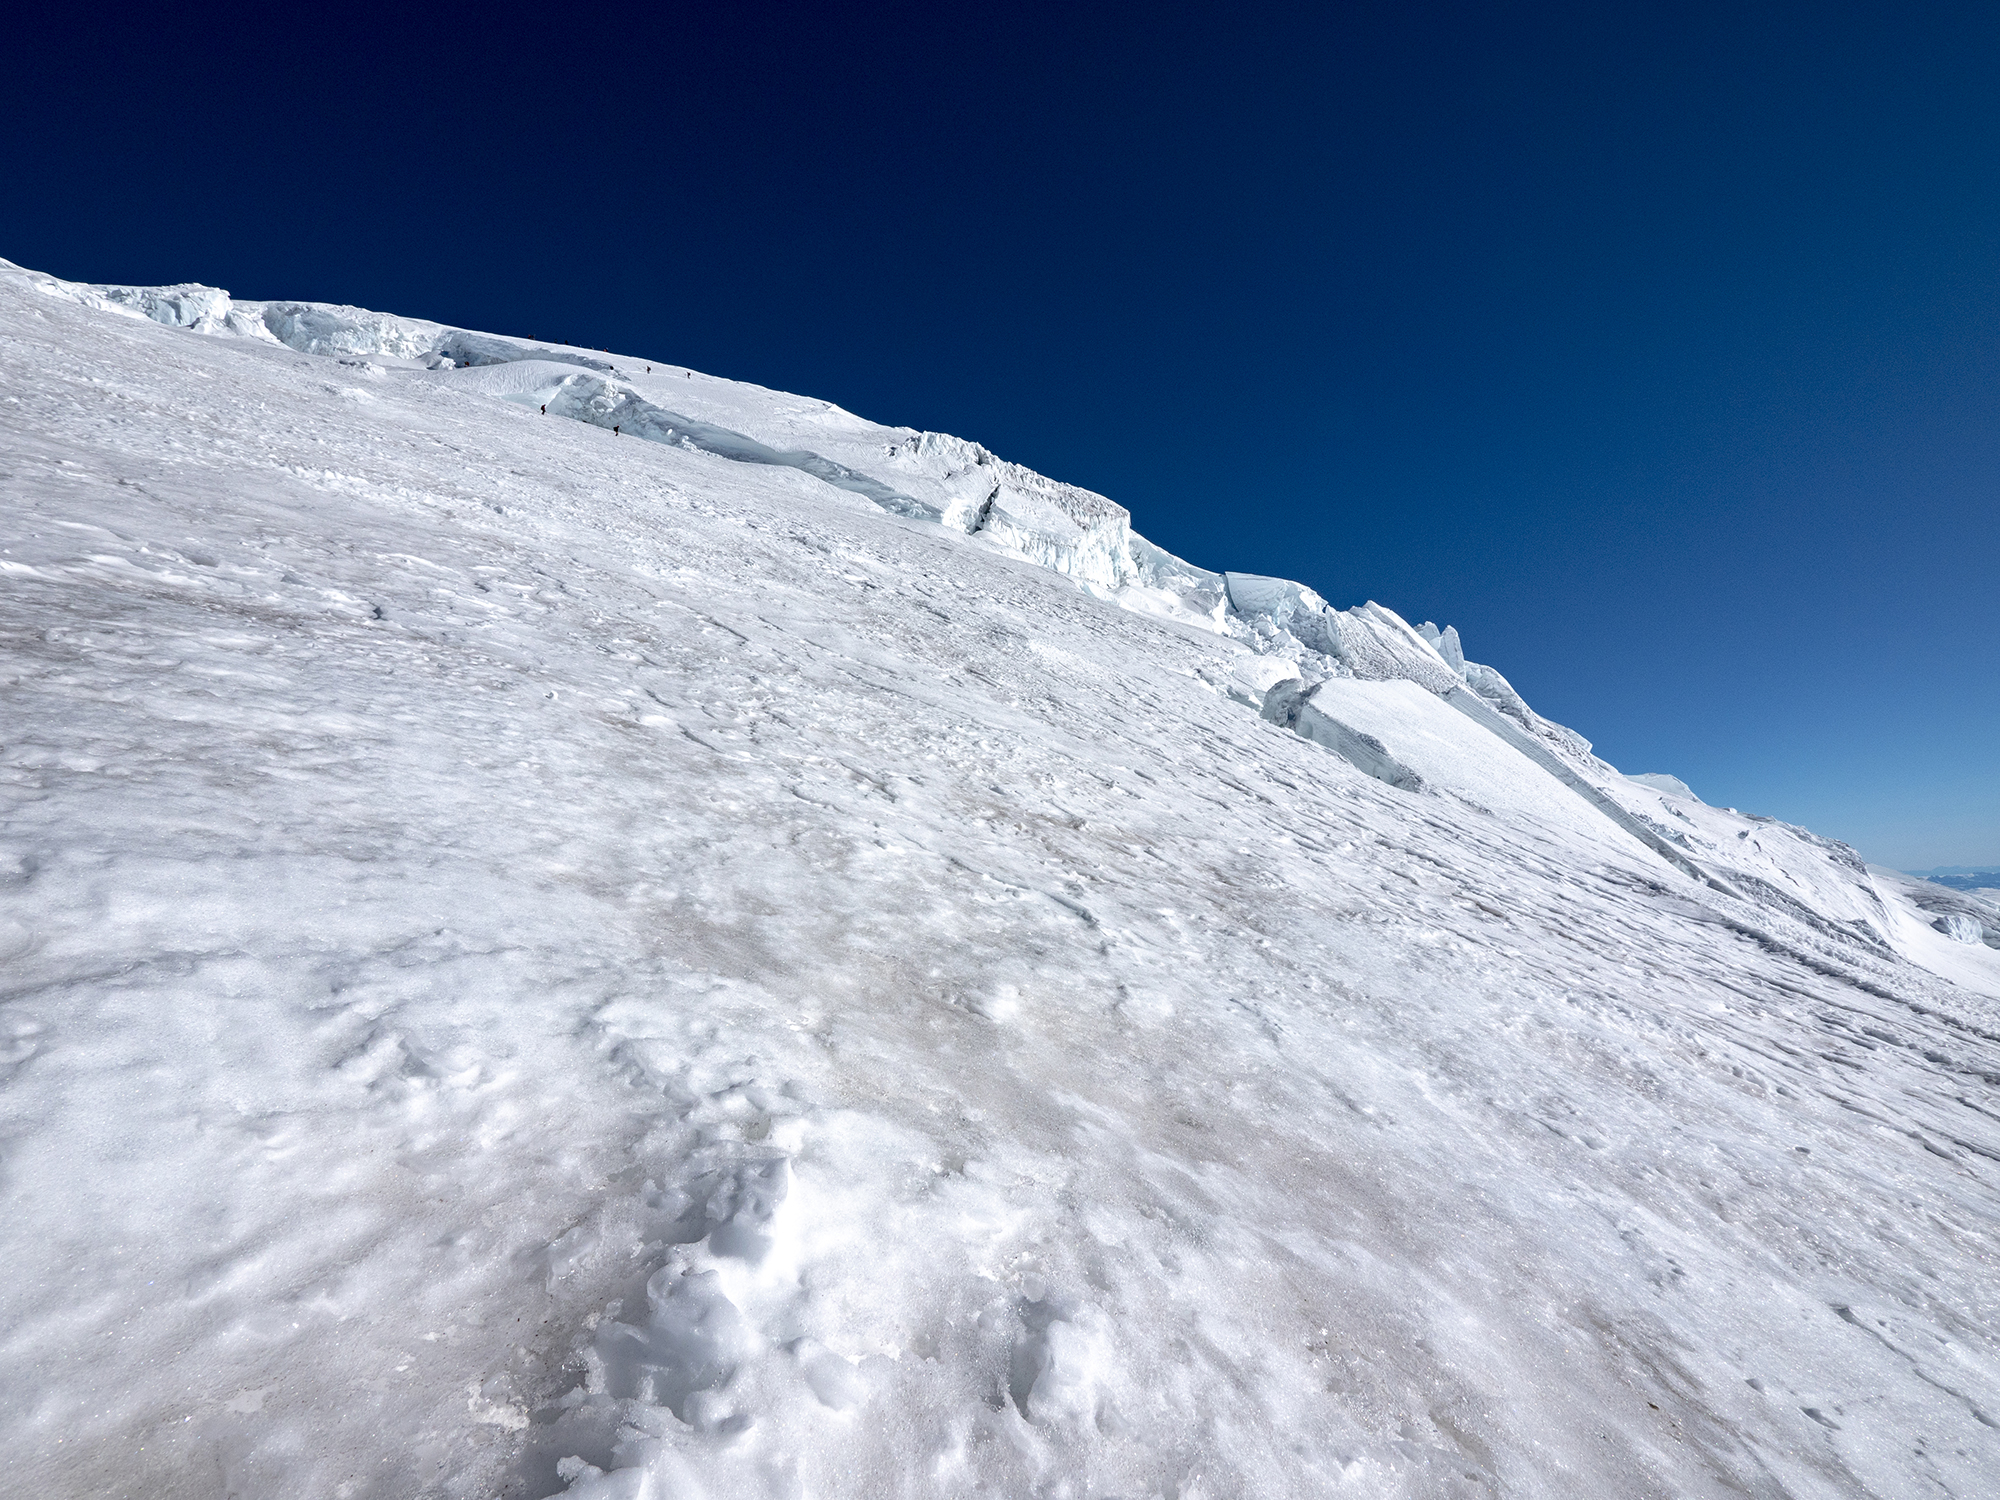
“The Ingraham Glacier Direct is the standard route on Mount Rainier during the winter (December to the end of May)…. The route heads directly up the 45 degree headwall of the Ingraham Glacier avoiding many small and some huge crevasses. The stomped out route usually follows a switchback pattern, lowering the climbing slope to about 35 to 40 degrees.” – Summit Post
Distance: 4.7km (2.9mi)
Starting elevation: 3,072m (10,078ft)
Summit elevation: 4,392m (14,411 ft)
Elevation gain: 1,320m (4,330ft)
Time: 4.5hrs (Most groups take 5-8hrs.)
Conditions encountered: Early June is about the time that climbers shift from the Ingraham Direct route to Disappointment Cleaver due to melting snow bridges across crevasses. We estimated that the snow bridges we crossed would be too weak to cross within a week or two of our trip.
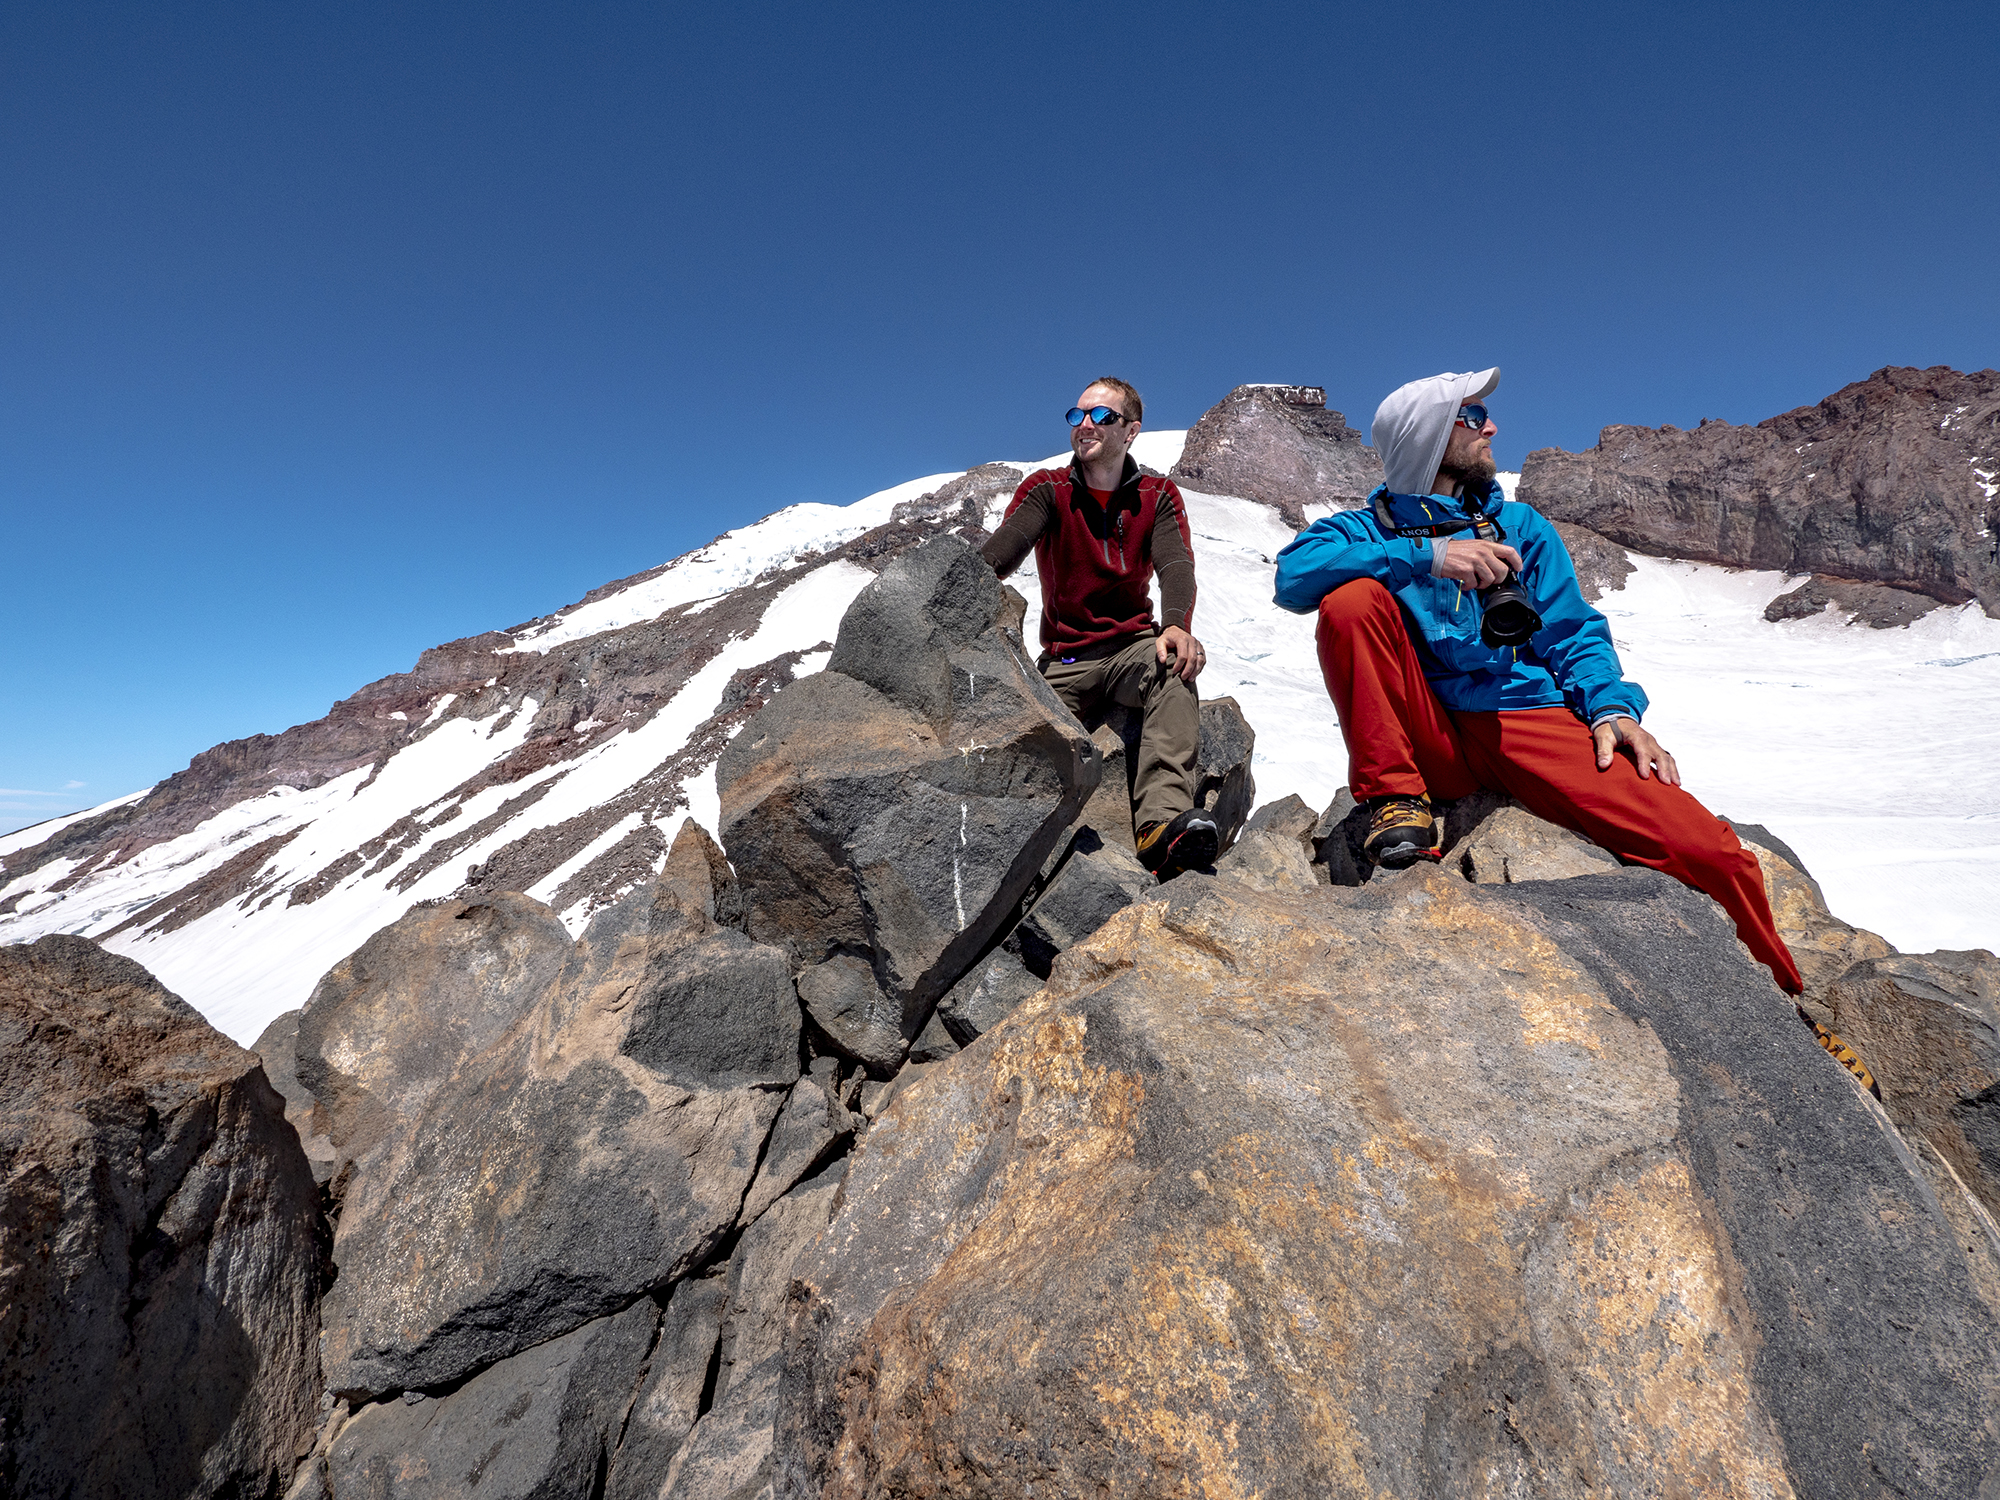
There were several rock sections where you will need to short rope.
On the summit, the temperature was about 11°F plus windchill. You will need hard shell gloves with liners to avoid frostnip.
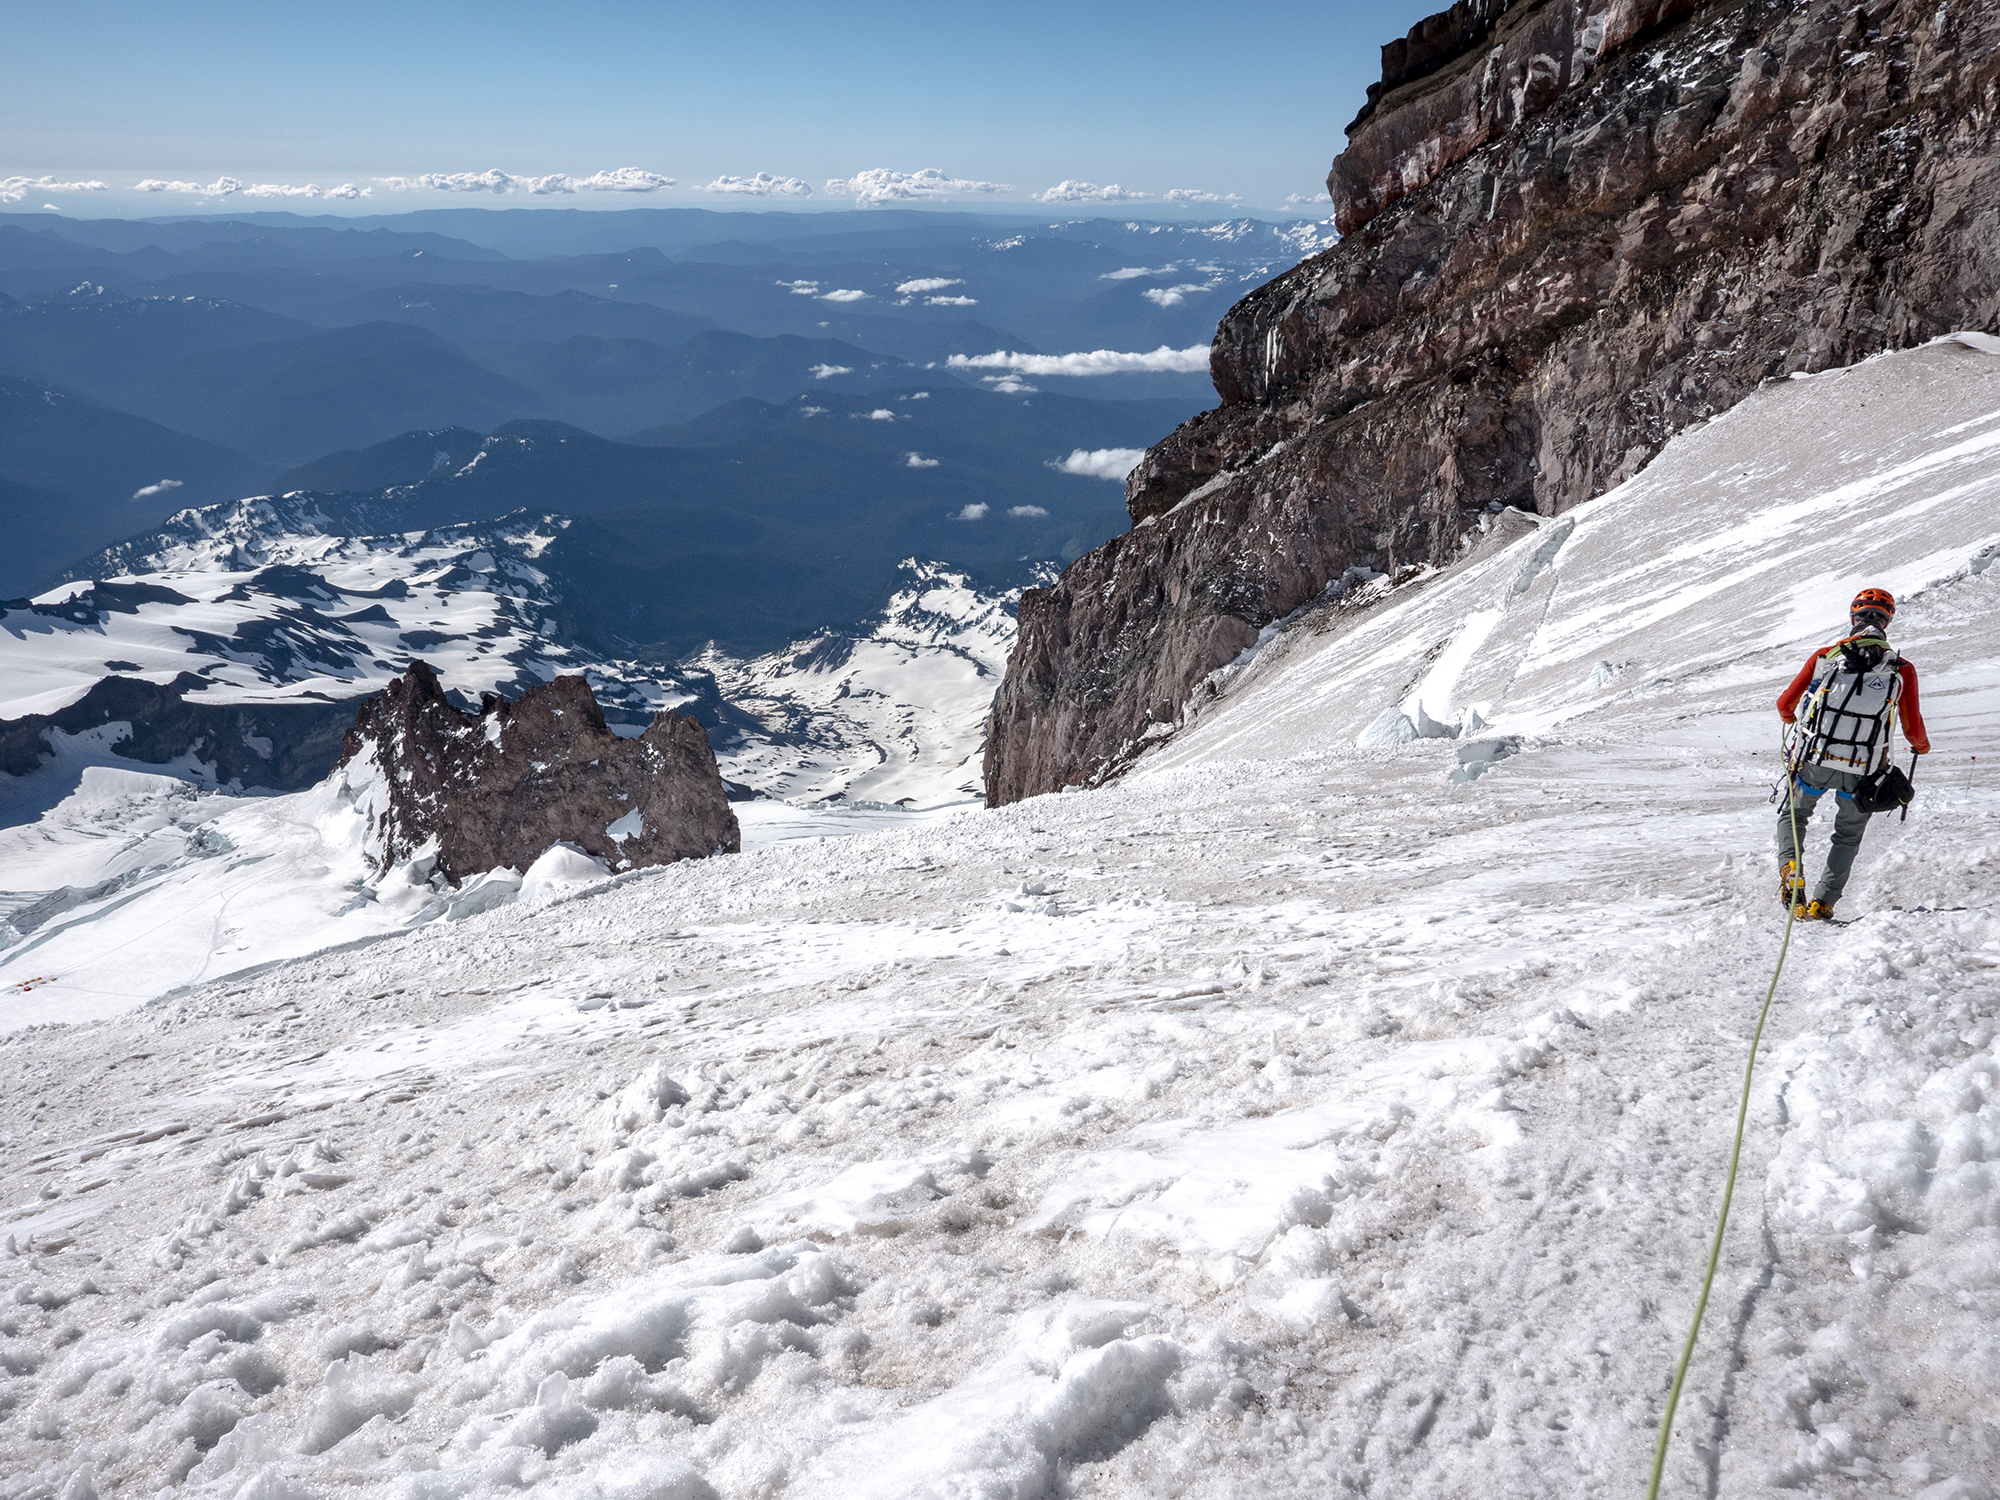
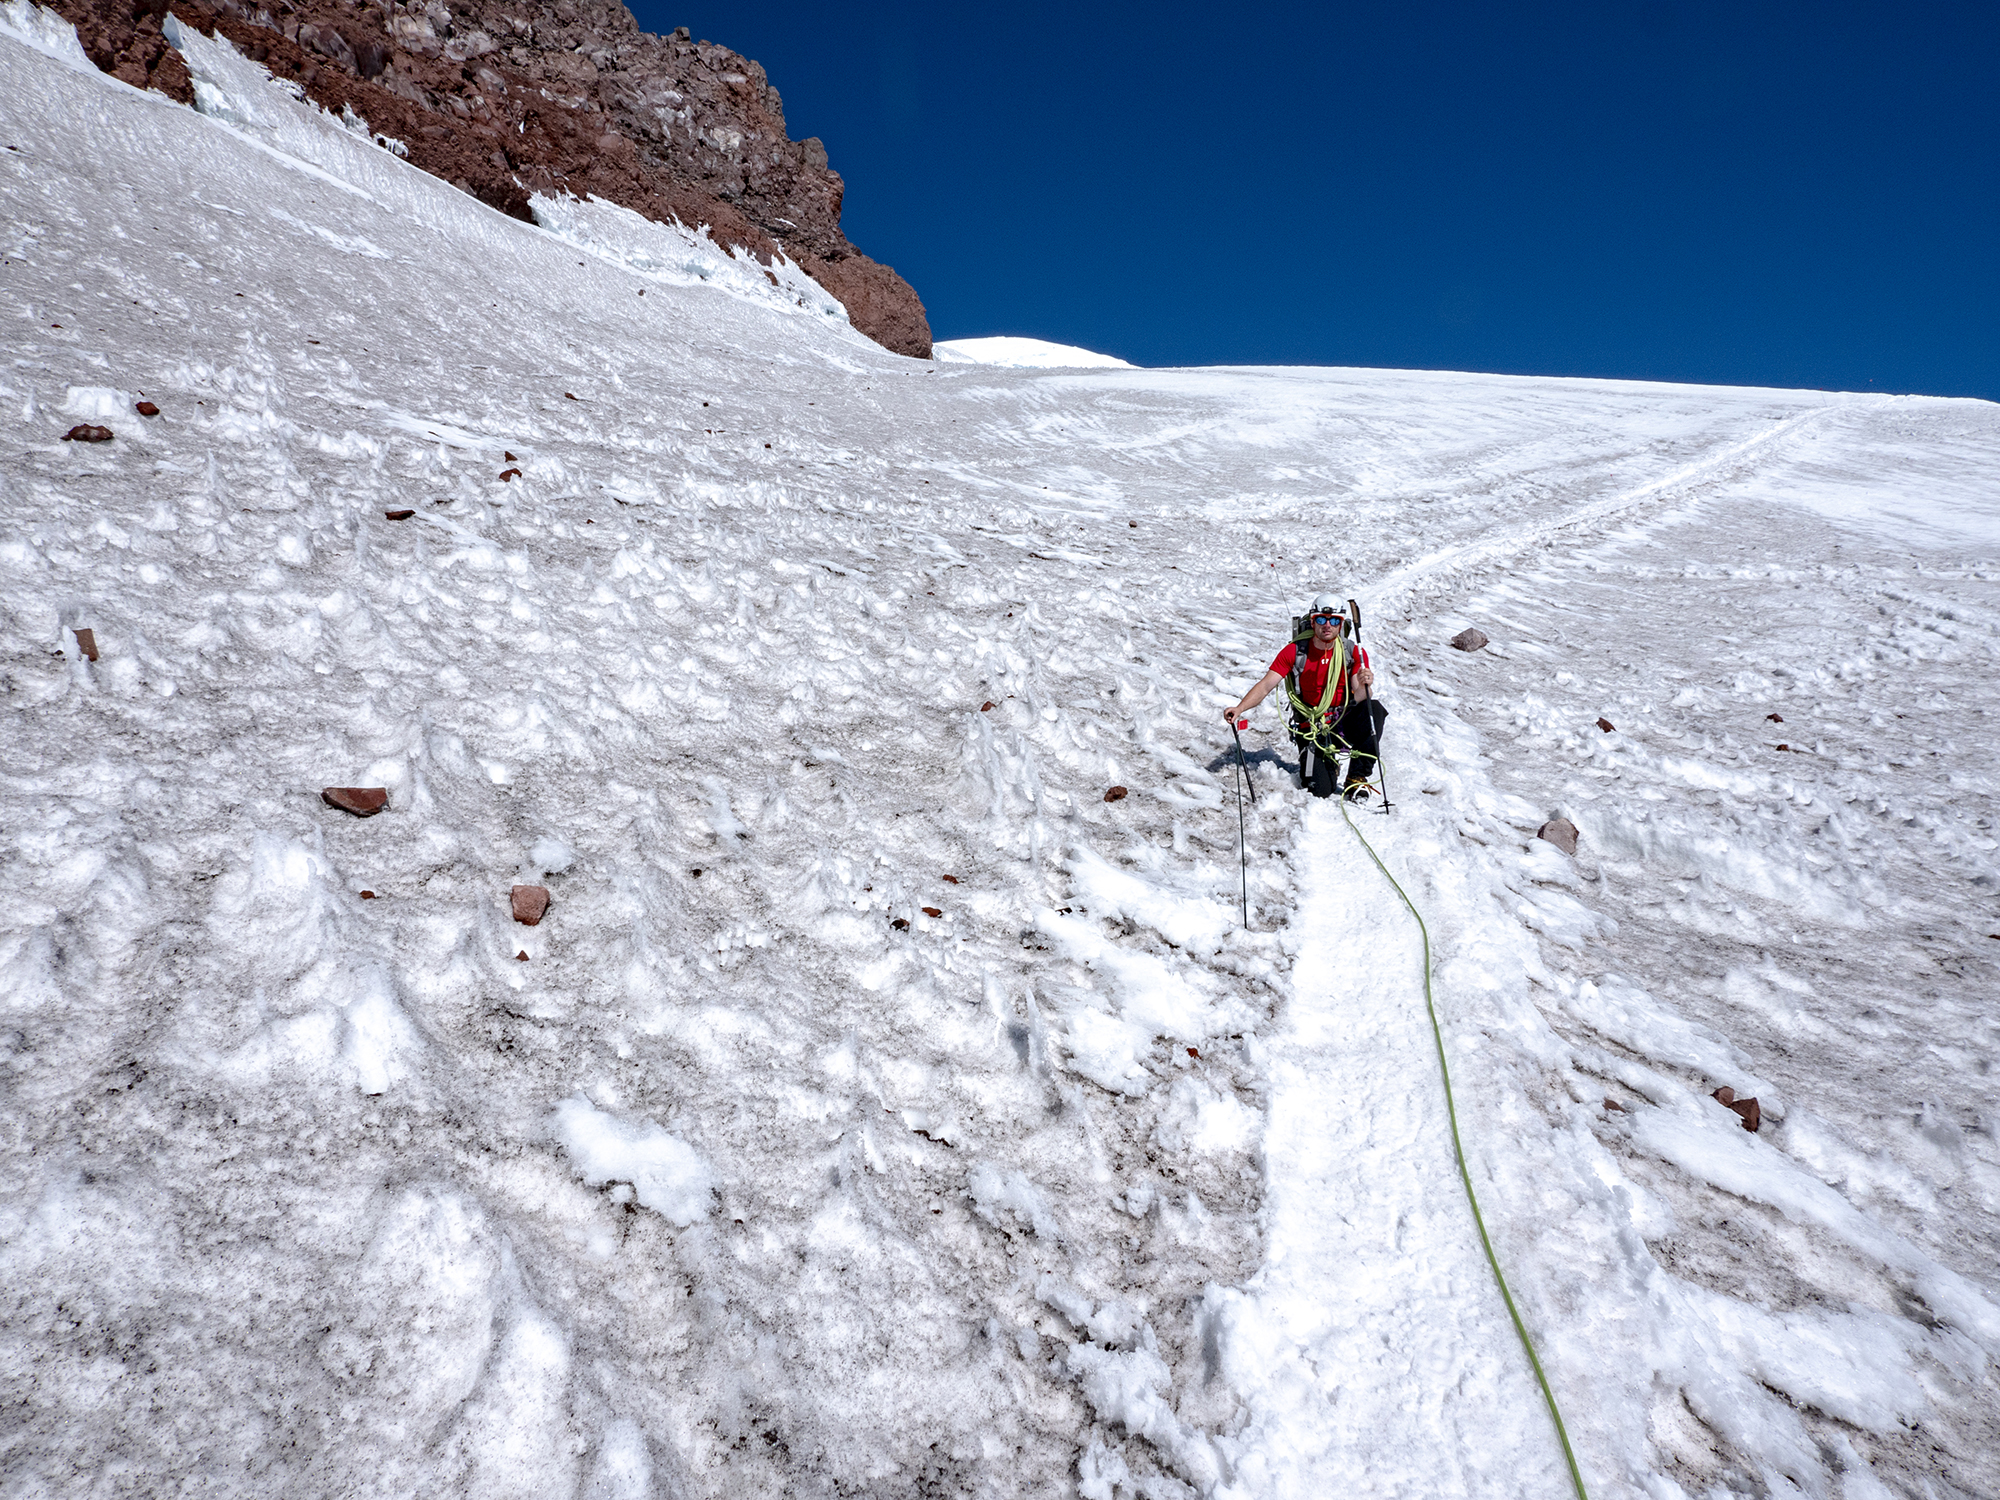
Descent
Time: 5hrs (Most groups take 2-5 hours. We stopped several times for photographs, food and water.)
Conditions encountered: As expected, the snow and ice began to thaw after the sun rose, and the trail down the Ingraham Glacier became more dangerous. The earlier in the morning you can descend, the better. We were back at Camp Muir around 10:30am.

If you have questions after reading this post, feel free to reach out to me via a DM on Instagram.